5 Easy Steps to Alphabetize Excel Sheets Quickly
In today's data-driven world, managing large sets of information efficiently is crucial. Whether you're handling client databases, inventory lists, or any other type of data, Microsoft Excel remains an indispensable tool for organizing, analyzing, and presenting data. One common task that Excel users often need to perform is alphabetizing data, which can streamline readability, data entry, and analysis. Here are five easy steps to alphabetize Excel sheets quickly, ensuring your workflow is as smooth as possible.
Step 1: Prepare Your Data

Before diving into alphabetizing, ensure your Excel sheet is ready:
- Ensure no merged cells within the range you want to sort.
- Check for consistent formatting and headers to avoid confusion.
🔍 Note: Consistent formatting helps prevent errors when sorting. If your headers are similar to the data, consider adding a color or distinct header row.
Step 2: Select the Range to Alphabetize

Depending on your goal:
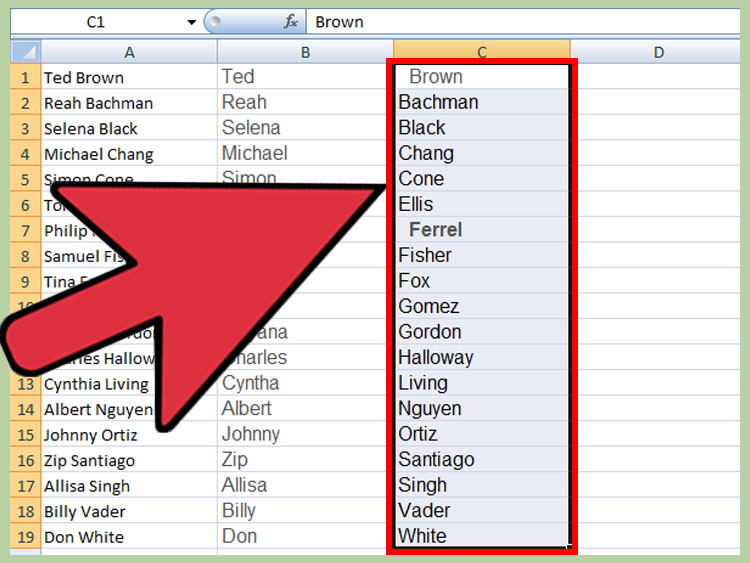
- For a single column: click the column header.
- For multiple columns: drag across multiple columns or click the first column header, hold Shift, and click the last column header.
- Include headers if you want them to remain at the top during sorting.

Step 3: Open the Sort Dialog
With your range selected:
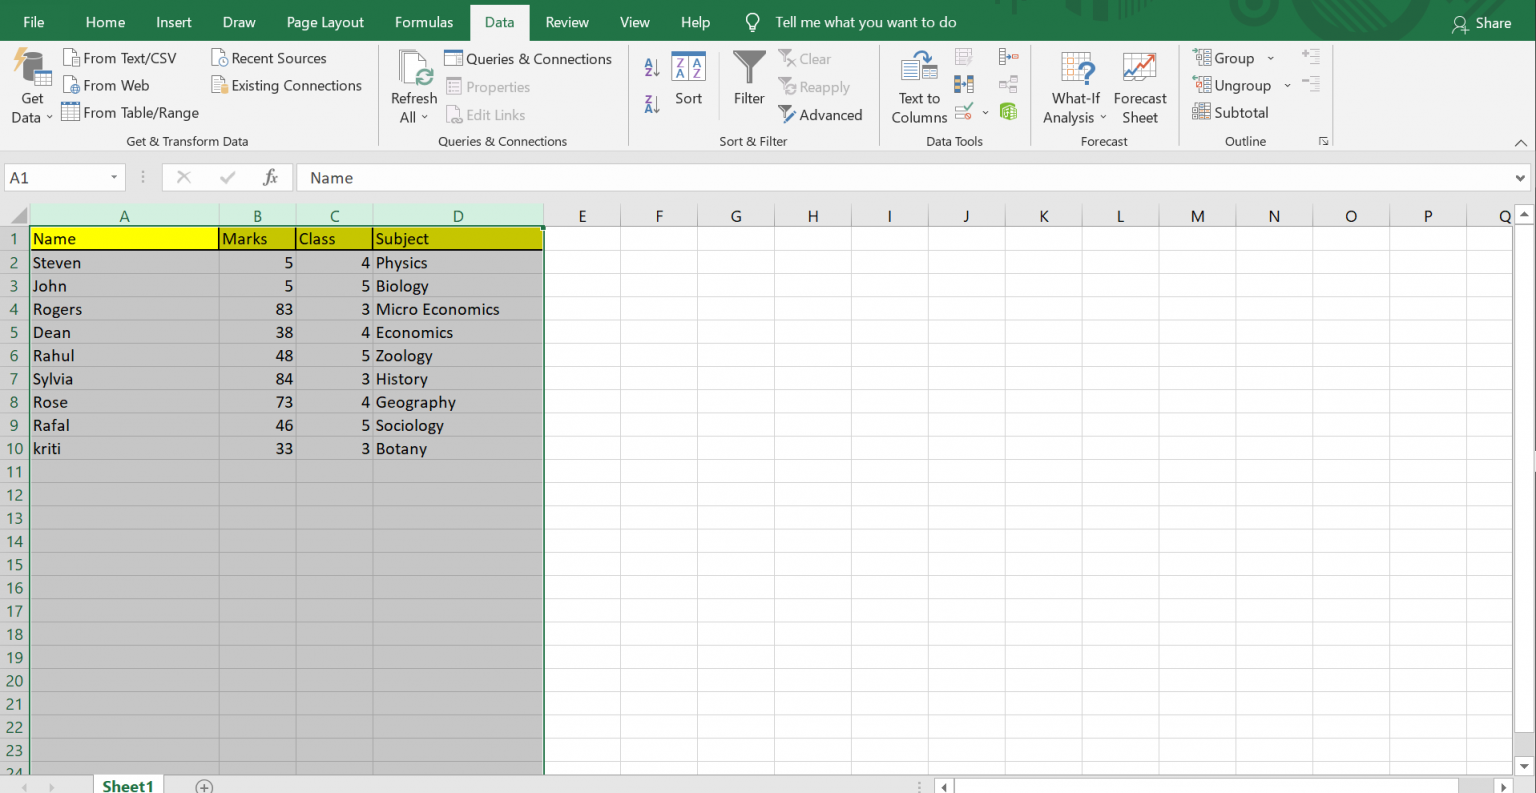
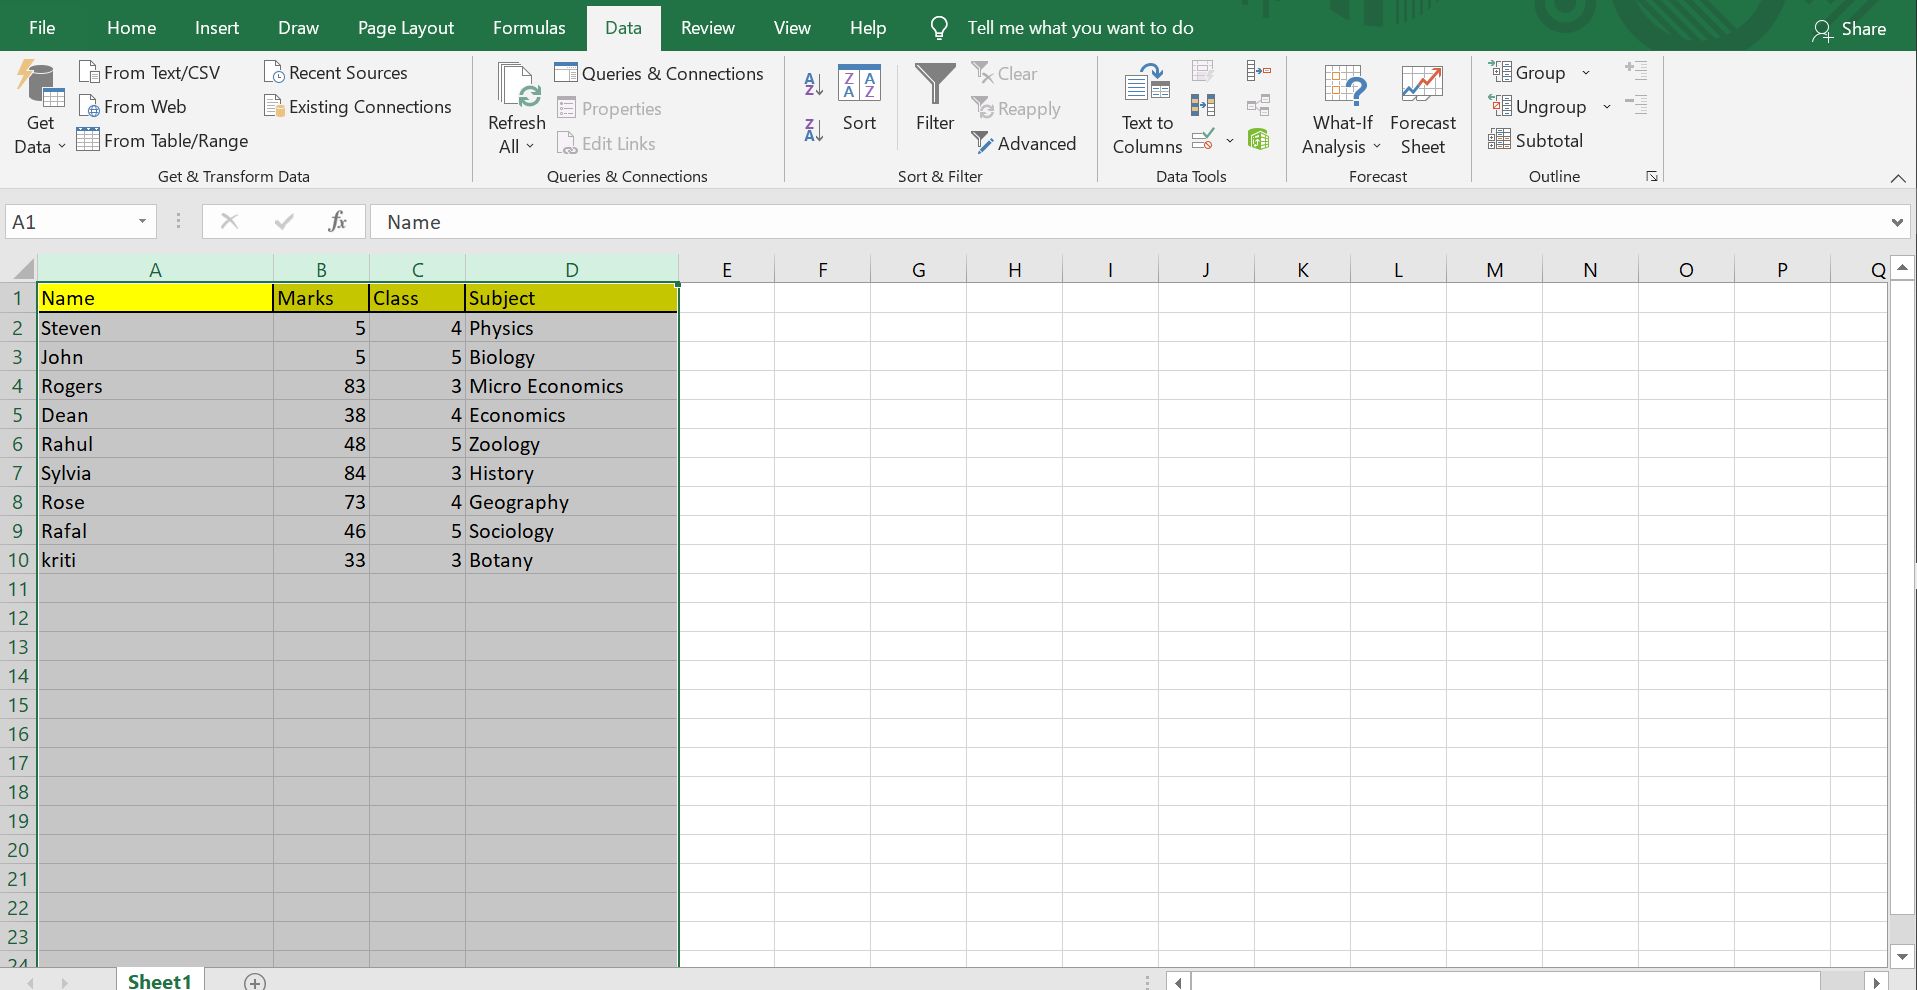
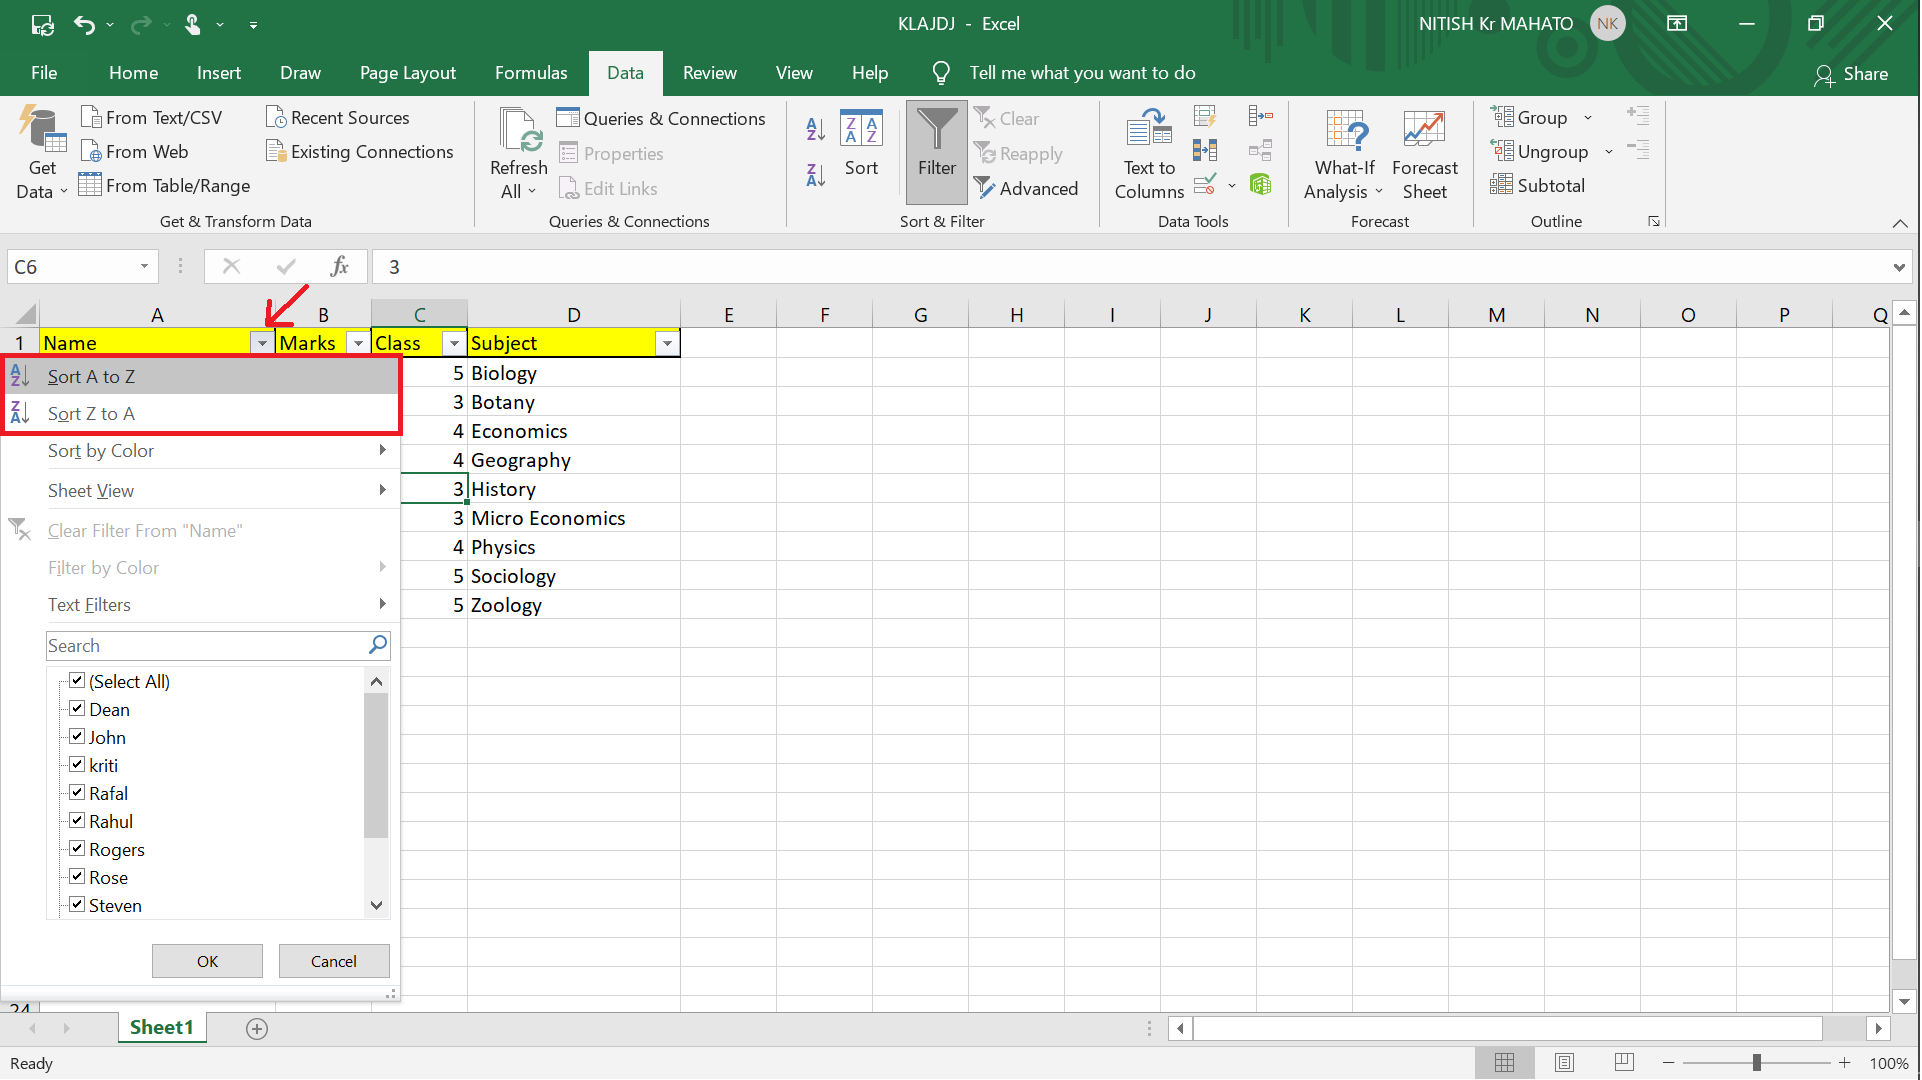
- Navigate to the Data tab on the ribbon.
- Click on Sort & Filter group.
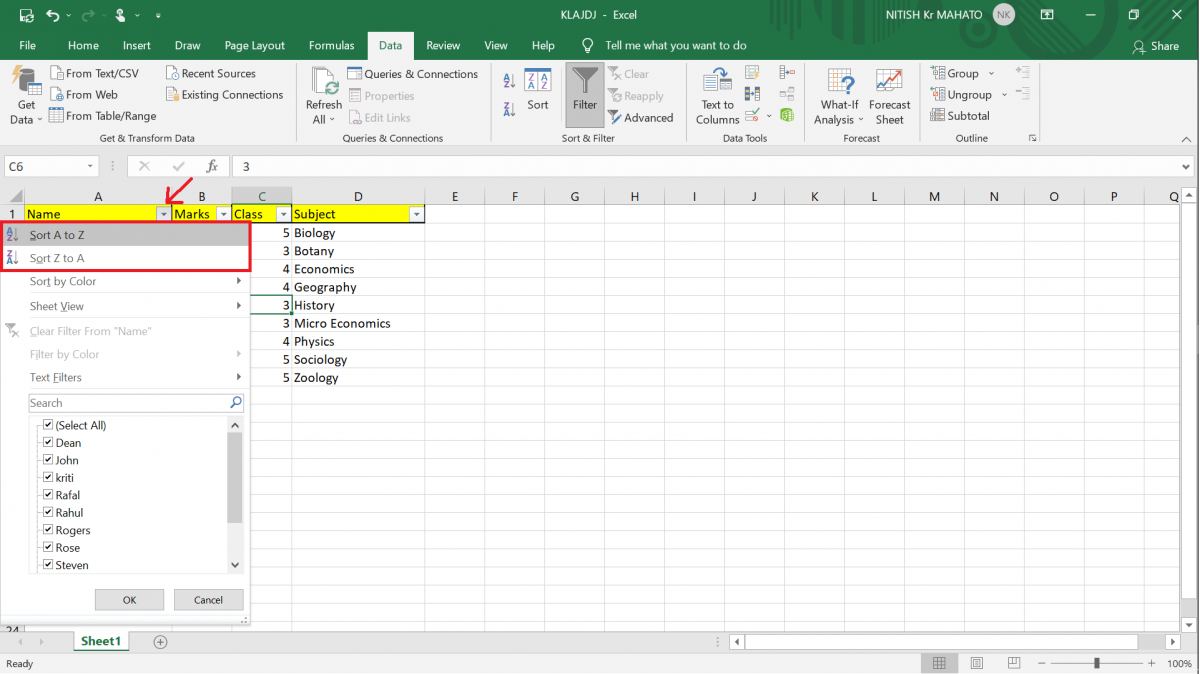
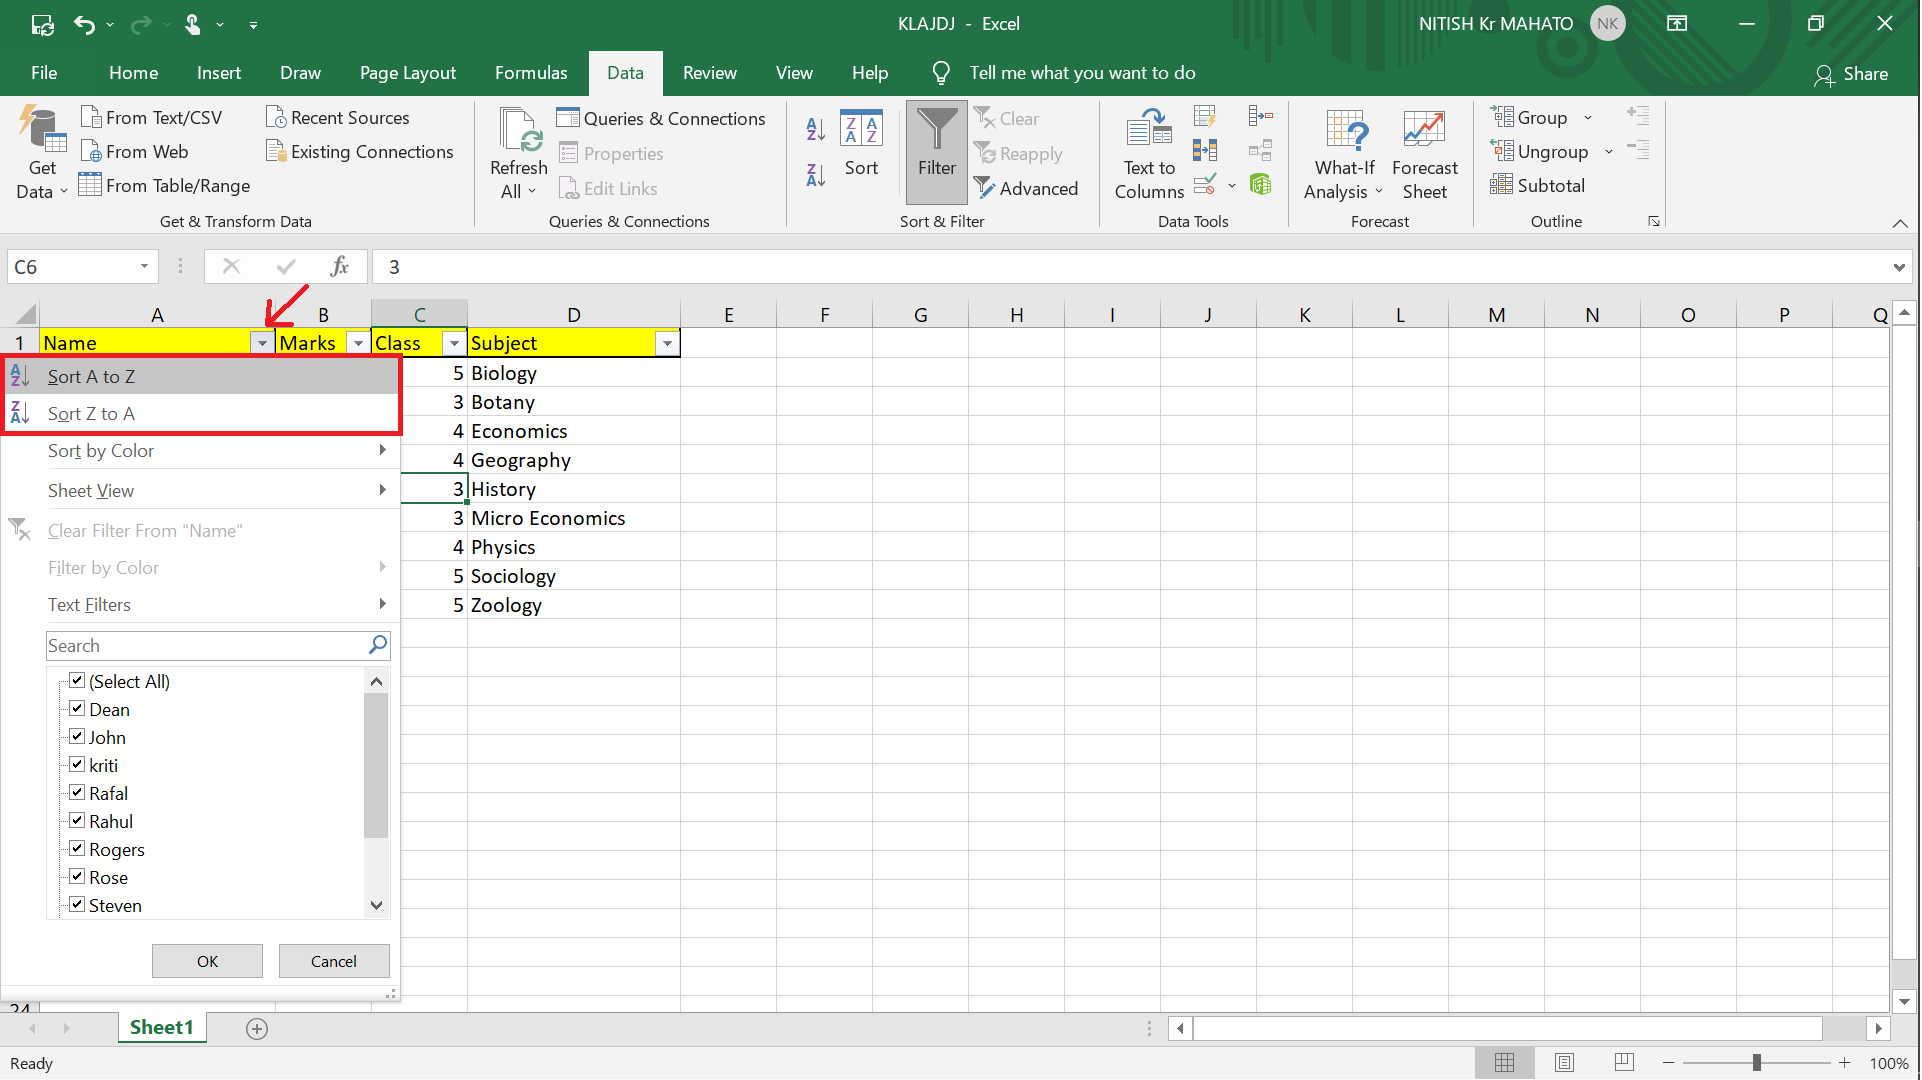
- Choose Sort A to Z for ascending or Z to A for descending order.
- If your sheet includes headers, select My data has headers.
📑 Note: Using the Sort A to Z or Sort Z to A buttons is quick for simple sorts. For more complex scenarios, use the Sort… option for full control.
Step 4: Customize Your Sort (Optional)
Excel allows you to customize sorting:
- In the Sort dialog, click on Options….
- Choose to sort by rows or columns.
- Set up multiple levels of sorting if needed (e.g., by last name then by first name).
| Level | Column | Sort On | Order |
|---|---|---|---|
| 1 | Last Name | Values | A to Z |
| 2 | First Name | Values | A to Z |
✏️ Note: Multiple levels of sorting can help with more complex data sets, providing you with greater control over how your data is ordered.
Step 5: Apply and Verify
After setting your sorting parameters:
- Click OK to apply the sort.
- Double-check that your data has been organized correctly. Look for any anomalies or misplacements.
By mastering these steps, you can quickly and efficiently alphabetize your Excel sheets, making data management a breeze. This simple yet powerful organization can save you considerable time when working with large datasets, ensuring that your work is both efficient and accurate.
How can I sort data by multiple columns?
+
In the Sort dialog, add additional levels. Set the primary sort by selecting the first column, then click Add Level to add secondary or tertiary columns to sort by.
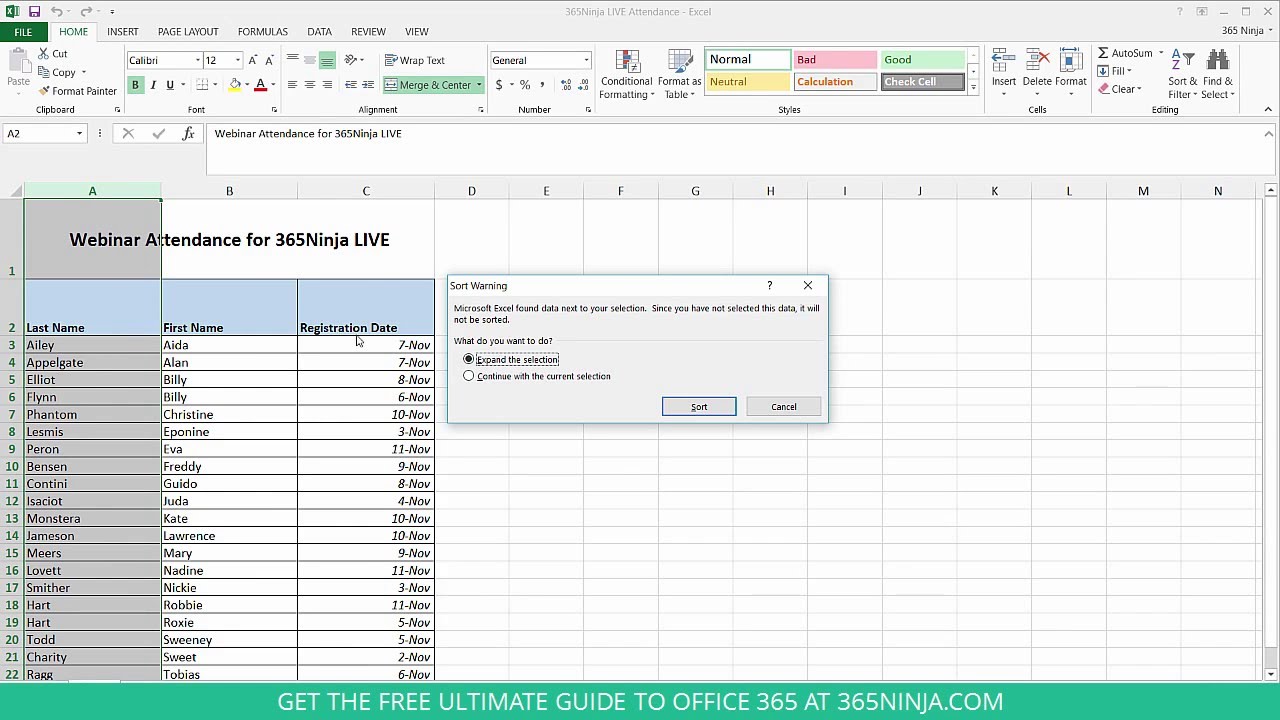
What if Excel doesn’t sort correctly?
+
Check for hidden rows or columns, ensure data consistency, and make sure Excel is set to sort all of your data, including empty cells or rows.
Can I undo a sort in Excel?
+
Yes, immediately after sorting, you can undo by pressing Ctrl + Z or clicking the Undo button. However, it’s best practice to have a backup or remember your original order in case of complex sorting scenarios.
