Remove Excel Sheet Duplicates Fast and Easy

In today's data-driven environment, working with large Excel spreadsheets is a common task for many professionals. Whether you're in finance, marketing, HR, or any other field, you've likely encountered the challenge of dealing with duplicate entries in your Excel sheets. Duplicates can clutter your data, skew your analyses, and lead to inefficiencies in your workflow. This comprehensive guide will teach you how to remove duplicates in Excel swiftly and efficiently, ensuring your data remains accurate and your reporting clear.
Understanding Duplicates in Excel

Before diving into the methods to remove duplicates, it’s crucial to understand what we mean by duplicates. In Excel:
- Full Row Duplicates: These are rows where all the values in each column match exactly.
- Partial Duplicates: These are rows where only certain columns match, which might require a different approach for removal.
⚠️ Note: Identifying duplicates accurately can be tricky if you don’t specify what “unique” means for your dataset.
Using Excel’s Built-in Functionality to Remove Duplicates

1. Basic Removal with Excel’s ‘Remove Duplicates’ Feature

Excel provides a straightforward way to remove duplicates:
- Select the range of cells from which you want to remove duplicates.
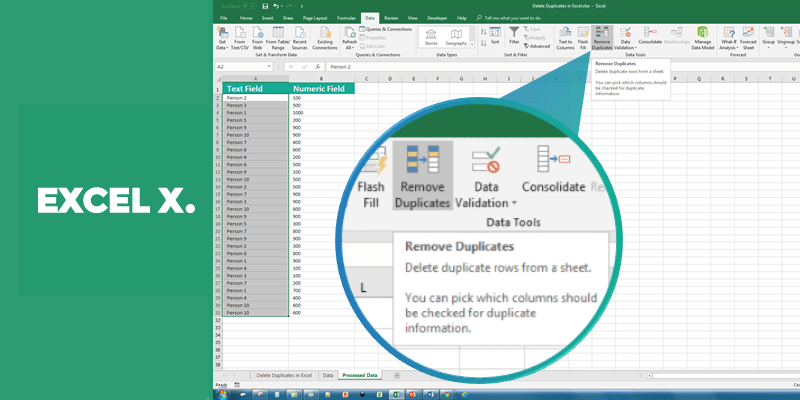
- Navigate to the Data tab, then click on Remove Duplicates in the ‘Data Tools’ group.
- In the dialog box, you can choose the columns you want Excel to check for duplicates. By default, all columns are selected.
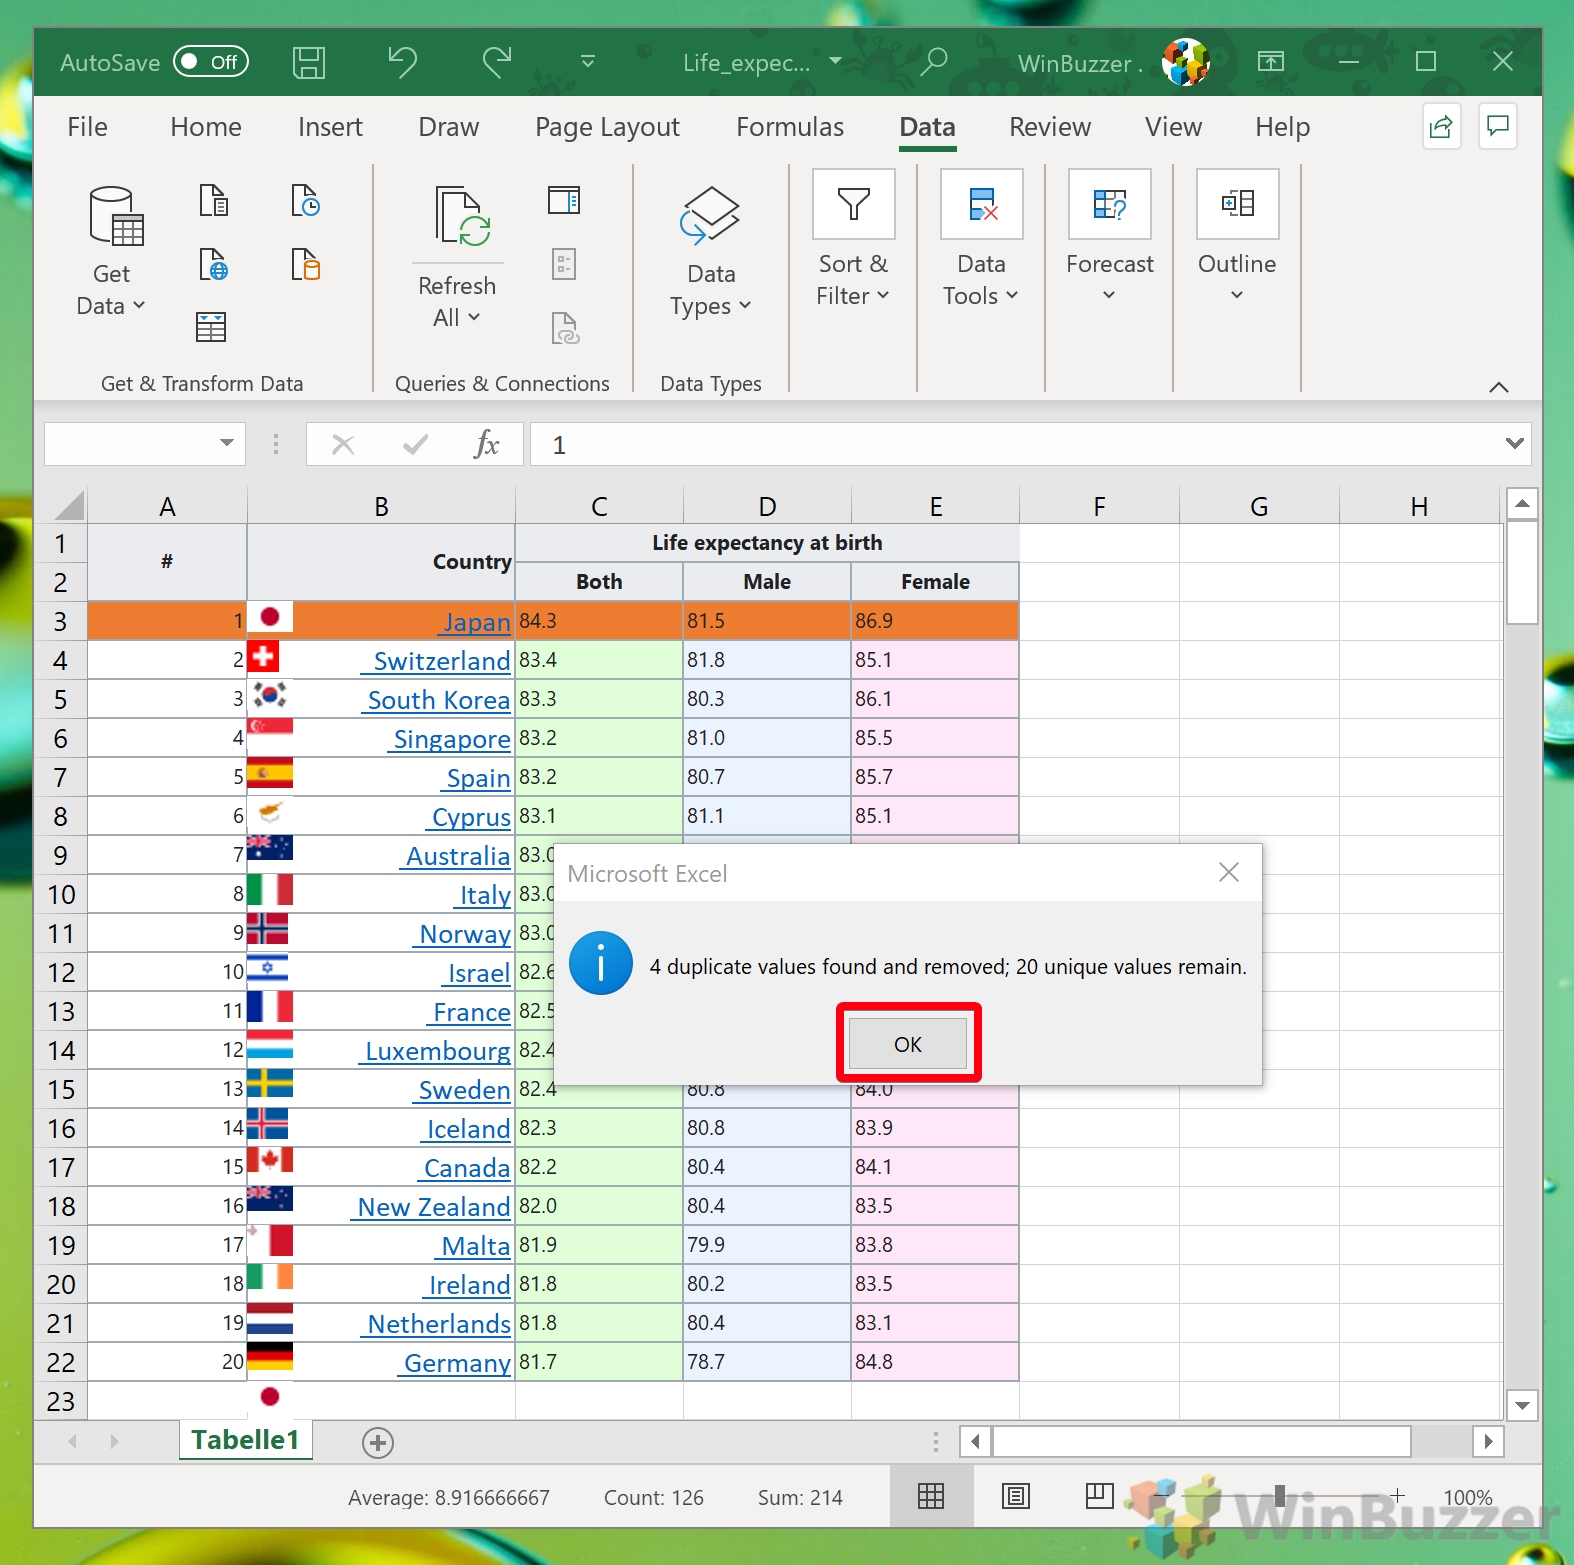
- Confirm your selections and click OK. Excel will remove duplicates and show you how many it has removed.
2. Advanced Duplicate Removal with Conditional Formatting

If you need to visualize duplicates before removing them, or if you want to apply more complex rules:
- Select the range you want to check.
- Go to Home > Conditional Formatting > Highlight Cells Rules > Duplicate Values.
- Choose a format to highlight duplicates.
After highlighting:
- Use filters to sort by the highlighted color to see all duplicates grouped together, which can help in manual checking before removal.
3. Using Formulas to Identify Duplicates

For a more customized approach or to automate the identification of duplicates:
- You can use the COUNTIF function like so:
=COUNTIF(A:A, A2)to count how many times a value appears in column A. - Using conditional formatting with this formula will highlight cells where the count is greater than 1, indicating duplicates.
To remove these highlighted rows:
- Sort by the column you used for highlighting.
- Manually delete the duplicate entries, or use Excel’s Remove Duplicates function after filtering.
Dealing with Partial Duplicates
When dealing with partial duplicates, you might need to:
- Create a helper column that combines key columns (e.g.,
=CONCAT(A2, “ “, B2)). - Use the helper column to apply the ‘Remove Duplicates’ method described above.
💡 Note: Helper columns can also be used with VLOOKUP or INDEX/MATCH to find and remove duplicates across multiple sheets.
Using Advanced Techniques for Large Datasets
For very large datasets, Excel’s performance might degrade when using built-in features. Here are some advanced techniques:
Power Query for Advanced Data Manipulation

Power Query can handle large datasets much more efficiently:
- From the Data tab, select Get Data, then From Other Sources.
- Import your data into Power Query Editor.
- Select columns to remove duplicates from, and click Remove Rows > Remove Duplicates.
VBA for Custom Solutions

If you frequently encounter datasets with duplicates, VBA can automate your workflow:
Sub RemoveDuplicates() Dim lastRow As Long lastRow = Cells(Rows.Count, “A”).End(xlUp).RowRange("A1:C" & lastRow).RemoveDuplicates Columns:=Array(1, 2), Header:=xlYes
End Sub
🔔 Note: Always back up your data before running any VBA script to prevent data loss.
In the fast-paced world of data analysis and management, being able to quickly and effectively remove duplicates from Excel is essential. This guide has walked you through multiple methods, from simple built-in tools to advanced techniques using Power Query and VBA, allowing you to manage data with greater precision and efficiency. Remember, regular cleaning of your data ensures better decision-making, cleaner presentations, and a more streamlined workflow. By mastering these techniques, you’ll not only clean your data but also save time that can be invested in more strategic activities.
What’s the difference between using ‘Remove Duplicates’ and filtering for duplicates?

+
‘Remove Duplicates’ automatically deletes the duplicate rows, whereas filtering for duplicates just highlights them for manual review or removal. Using filters allows for a manual check before deleting, ensuring no vital data is removed accidentally.
Can Excel remove duplicates based on criteria in multiple columns?

+
Yes, Excel can remove duplicates based on multiple columns. In the ‘Remove Duplicates’ dialog, you can select which columns to consider when defining uniqueness.
What are some pitfalls to watch out for when removing duplicates?

+
Here are some common issues:
- Data Loss: Accidental removal of unique entries due to sorting or filtering errors.
- Ignoring Unique Identifiers: Sometimes unique identifiers like ID numbers are not considered, leading to loss of important data.
- Undetected Duplicates: Partial duplicates might not be removed if only certain columns are checked.
How does Power Query improve the duplicate removal process?

+
Power Query allows for better performance with large datasets, the ability to combine data from multiple sources, and the creation of repeatable, reusable workflows for data cleaning including duplicate removal.

