How to Print Excel Sheets on A4 Paper Easily

Printing Excel spreadsheets on A4 paper can often be a daunting task due to its complex layout and data management features. Whether you're creating a budget, report, or simple list, ensuring your spreadsheet looks just as professional on paper as it does on screen is crucial. In this detailed guide, we'll walk through the steps needed to print your Excel sheets on A4 paper with ease, maintaining readability, and preserving the structure of your data.
Choosing the Right Layout

Before printing, it’s essential to configure your Excel sheet for the best print output:
- Page Orientation: Decide whether your data will fit better in portrait or landscape orientation. Reports with many columns often require landscape to accommodate data better.
- Margins: Adjust your margins to maximize the space on the page without sacrificing readability. Excel allows you to set custom margins for each side.
- Print Area: If you need to print only a specific part of your worksheet, set the print area to prevent unnecessary pages from printing.

📝 Note: Ensure to use ‘File > Page Setup’ to access these settings easily.
Adjusting Scale and Fit

Often, your Excel sheet might not fit on one page due to its size or complexity. Here are ways to handle this:
- Fit to Page: You can tell Excel to scale your print so that it fits on one or a specific number of pages. This can be done via ‘Page Layout’ then selecting ‘Page Setup’, and adjusting the ‘Fit to’ option.
- Scaling: Manually adjust the scale percentage under the ‘Scaling’ option to control how much your data is reduced or enlarged.
📝 Note: Reducing scale too much might make the print hard to read; find a balance.
Formatting Your Printout

The aesthetics of your printout can significantly influence its reception:
- Font: Use clear, legible fonts like Calibri or Arial, and consider size adjustments for better visibility.
- Gridlines and Borders: Choose whether to print with or without gridlines, and add borders if it enhances clarity.
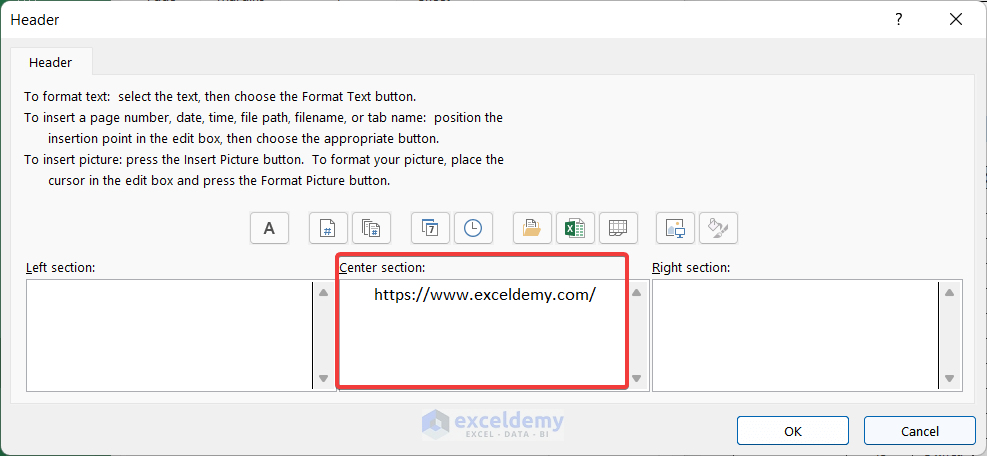
- Headers and Footers: Include headers with page numbers or titles, and footers for additional notes or dates.
- Repetitive Headers: Ensure column and row headers appear on every printed page by using ‘Page Layout’ and selecting ‘Print Titles’.

Preview and Print

The final step before committing to print involves previewing your document:
- Print Preview: Always use the Print Preview feature to check how your spreadsheet will look on paper.
- Adjust as Needed: Make any last-minute changes to layout or scaling if the preview shows issues.
When you are satisfied with the layout, proceed to print using ‘File > Print’ or the Ctrl + P shortcut.
📝 Note: Use different print settings if you have color or black and white printing needs.
To wrap up, printing your Excel sheet on A4 paper can be made simple by following these steps. This guide not only helps in making your prints look professional but also ensures your data's readability and structure are preserved. Remember, the key is in preparation and adjustment, making sure your spreadsheets are as effective in print as they are on the screen.
Why doesn’t my Excel sheet fit on one A4 page?

+
Often, spreadsheets are too wide or long to fit onto a single A4 page. Adjusting the page orientation, scaling, or selecting the fit to page option can help accommodate your data on one or fewer pages.
How do I print Excel with gridlines?

+
Go to the ‘Page Layout’ tab, under ‘Sheet Options’, check the box for ‘Print’ under ‘Gridlines’ to include gridlines in your printout.
Can I print only selected cells from my Excel sheet?

+
Yes, select the cells you want to print, then go to ‘File > Print > Print Active Sheets’, or set the print area under ‘Page Layout’ to include only those cells.
What if my Excel sheet has lots of data and it’s hard to manage?

+
Consider using Excel features like grouping, outlining, or even creating a separate summary sheet for printing. You might also print your data in multiple batches or pages for better organization.


