Maximize Your Excel Sheets: Print Full Page Easily

Are you looking to make your Excel data presentation more effective by ensuring every piece of information fits perfectly on a printed page? Managing how data looks when printed from Excel can be a challenge, especially when you want to avoid cutting off information or having the layout stretched across several pages. Let's explore detailed steps to print your Excel sheets full page easily and efficiently.
Understanding Excel’s Page Layout

Before diving into the methods for printing, understanding Excel’s page layout setup is crucial. Here are the key elements you need to know:
- Page Orientation: Determines how your content fits on the page, either Portrait or Landscape.
- Margins: Sets the blank space around your content. Small margins can help fit more information on a single page.
- Scaling: Adjusts the size of your content relative to the paper size, allowing you to fit more data on a page.
- Print Area: Defines which part of your worksheet you want to print.

Steps to Print Full Page

1. Open Page Layout View

Begin by switching to the Page Layout view in Excel:
- Navigate to the ‘View’ tab.
- Select ‘Page Layout’ to see how your sheet will look when printed.
2. Adjust the Page Setup

From the ‘Page Layout’ tab:
- Change the orientation to Landscape if necessary. Use Ctrl + P to see your changes in real-time.
- Click on the ‘Margins’ dropdown and choose ‘Narrow’ to reduce the margin space.
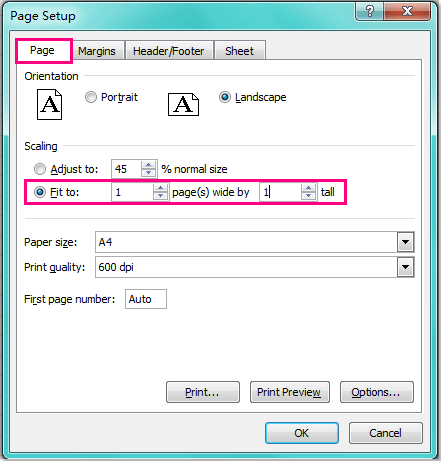
- Set your Scaling to ‘Fit to:

🔎 Note: Be mindful that changing the scaling can sometimes affect readability. Ensure that your data is still legible.
3. Use the Scale to Fit Option

To precisely fit your content, adjust the scaling:
- Go to the ‘Page Layout’ tab.
- Select ‘Scale to Fit’.
- Change ‘Width’ to 1 page and ‘Height’ to 1 page.
4. Set Print Area

If you only want to print a portion of your sheet:
- Select the range you want to print.
- Go to ‘Page Layout’ > ‘Print Area’ > ‘Set Print Area’.
5. Preview Before Printing

Always preview your document to avoid print errors:
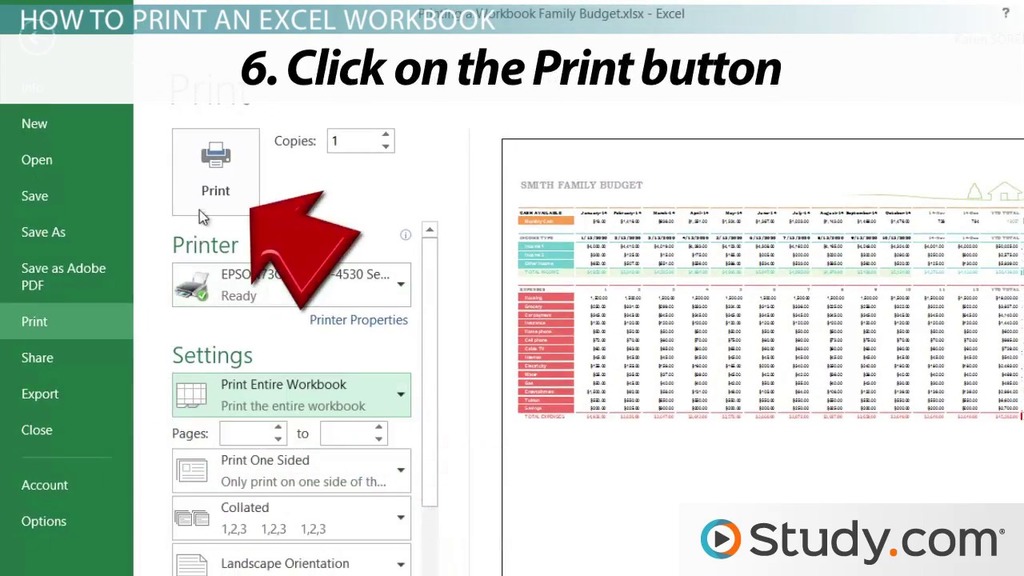
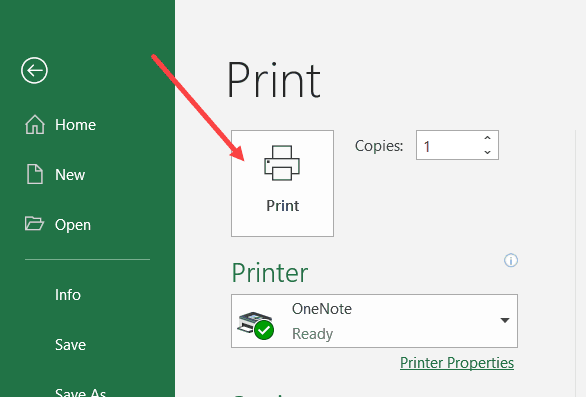
- Press Ctrl + P or navigate to ‘File’ > ‘Print’.
- Check the preview pane for any cut-off content or layout issues.
6. Adjust Headers and Footers

If needed, add or modify headers and footers:
- Go to ‘Page Layout’ > ‘Header/Footer’.
- Customize as per your requirement.
Troubleshooting Common Printing Issues

Here are some common problems when printing and how to solve them:
- Incorrect Page Size: Ensure your printer’s page size matches Excel’s settings.
- Cut-Off Text: Reduce margins or scale down the content to fit on one page.
- Unwanted Print Area: Double-check your print area selection.
Conclusion

Printing your Excel sheet as a full page does not need to be complicated. By understanding and utilizing Excel’s page layout options effectively, you can achieve professional-looking prints that fit perfectly on a single page. From setting your print area to adjusting scaling, these steps empower you to control how your data is presented on paper. Remember, always preview before printing to ensure every element is where you expect it to be, ensuring your printed documents are both effective and visually appealing.
Can I print multiple sheets at once in full page?

+
Yes, you can print multiple sheets at once in full page. Simply hold Ctrl and select the sheets you want to print. Then follow the steps for printing full page.
How do I handle charts or images when printing to full page?

+
When scaling to fit a full page, ensure that charts or images are resized proportionally to avoid distortion. You might need to manually adjust their sizes for the best fit.
What if my data still doesn’t fit on one page?

+
If your data refuses to fit on one page even after scaling, consider reducing font sizes, removing unnecessary borders or gridlines, or splitting your data into multiple pages. Alternatively, utilize Excel’s ‘Page Break Preview’ to manually adjust page breaks.


