3 Simple Tips to Fit Excel Sheets in Word Docs

In today's fast-paced world, integrating Excel spreadsheets into Microsoft Word documents is an essential skill for creating comprehensive reports, financial statements, or any data-driven documentation. This integration allows for clearer data presentation and better communication of insights. Here, we outline three straightforward techniques to seamlessly fit Excel sheets into Word documents, ensuring your documents are both aesthetically pleasing and functional.
Method 1: Copy and Paste

One of the simplest methods to embed Excel sheets in Word documents is by using the Copy and Paste function:
- Open your Excel file and select the cells you wish to include in your Word document.
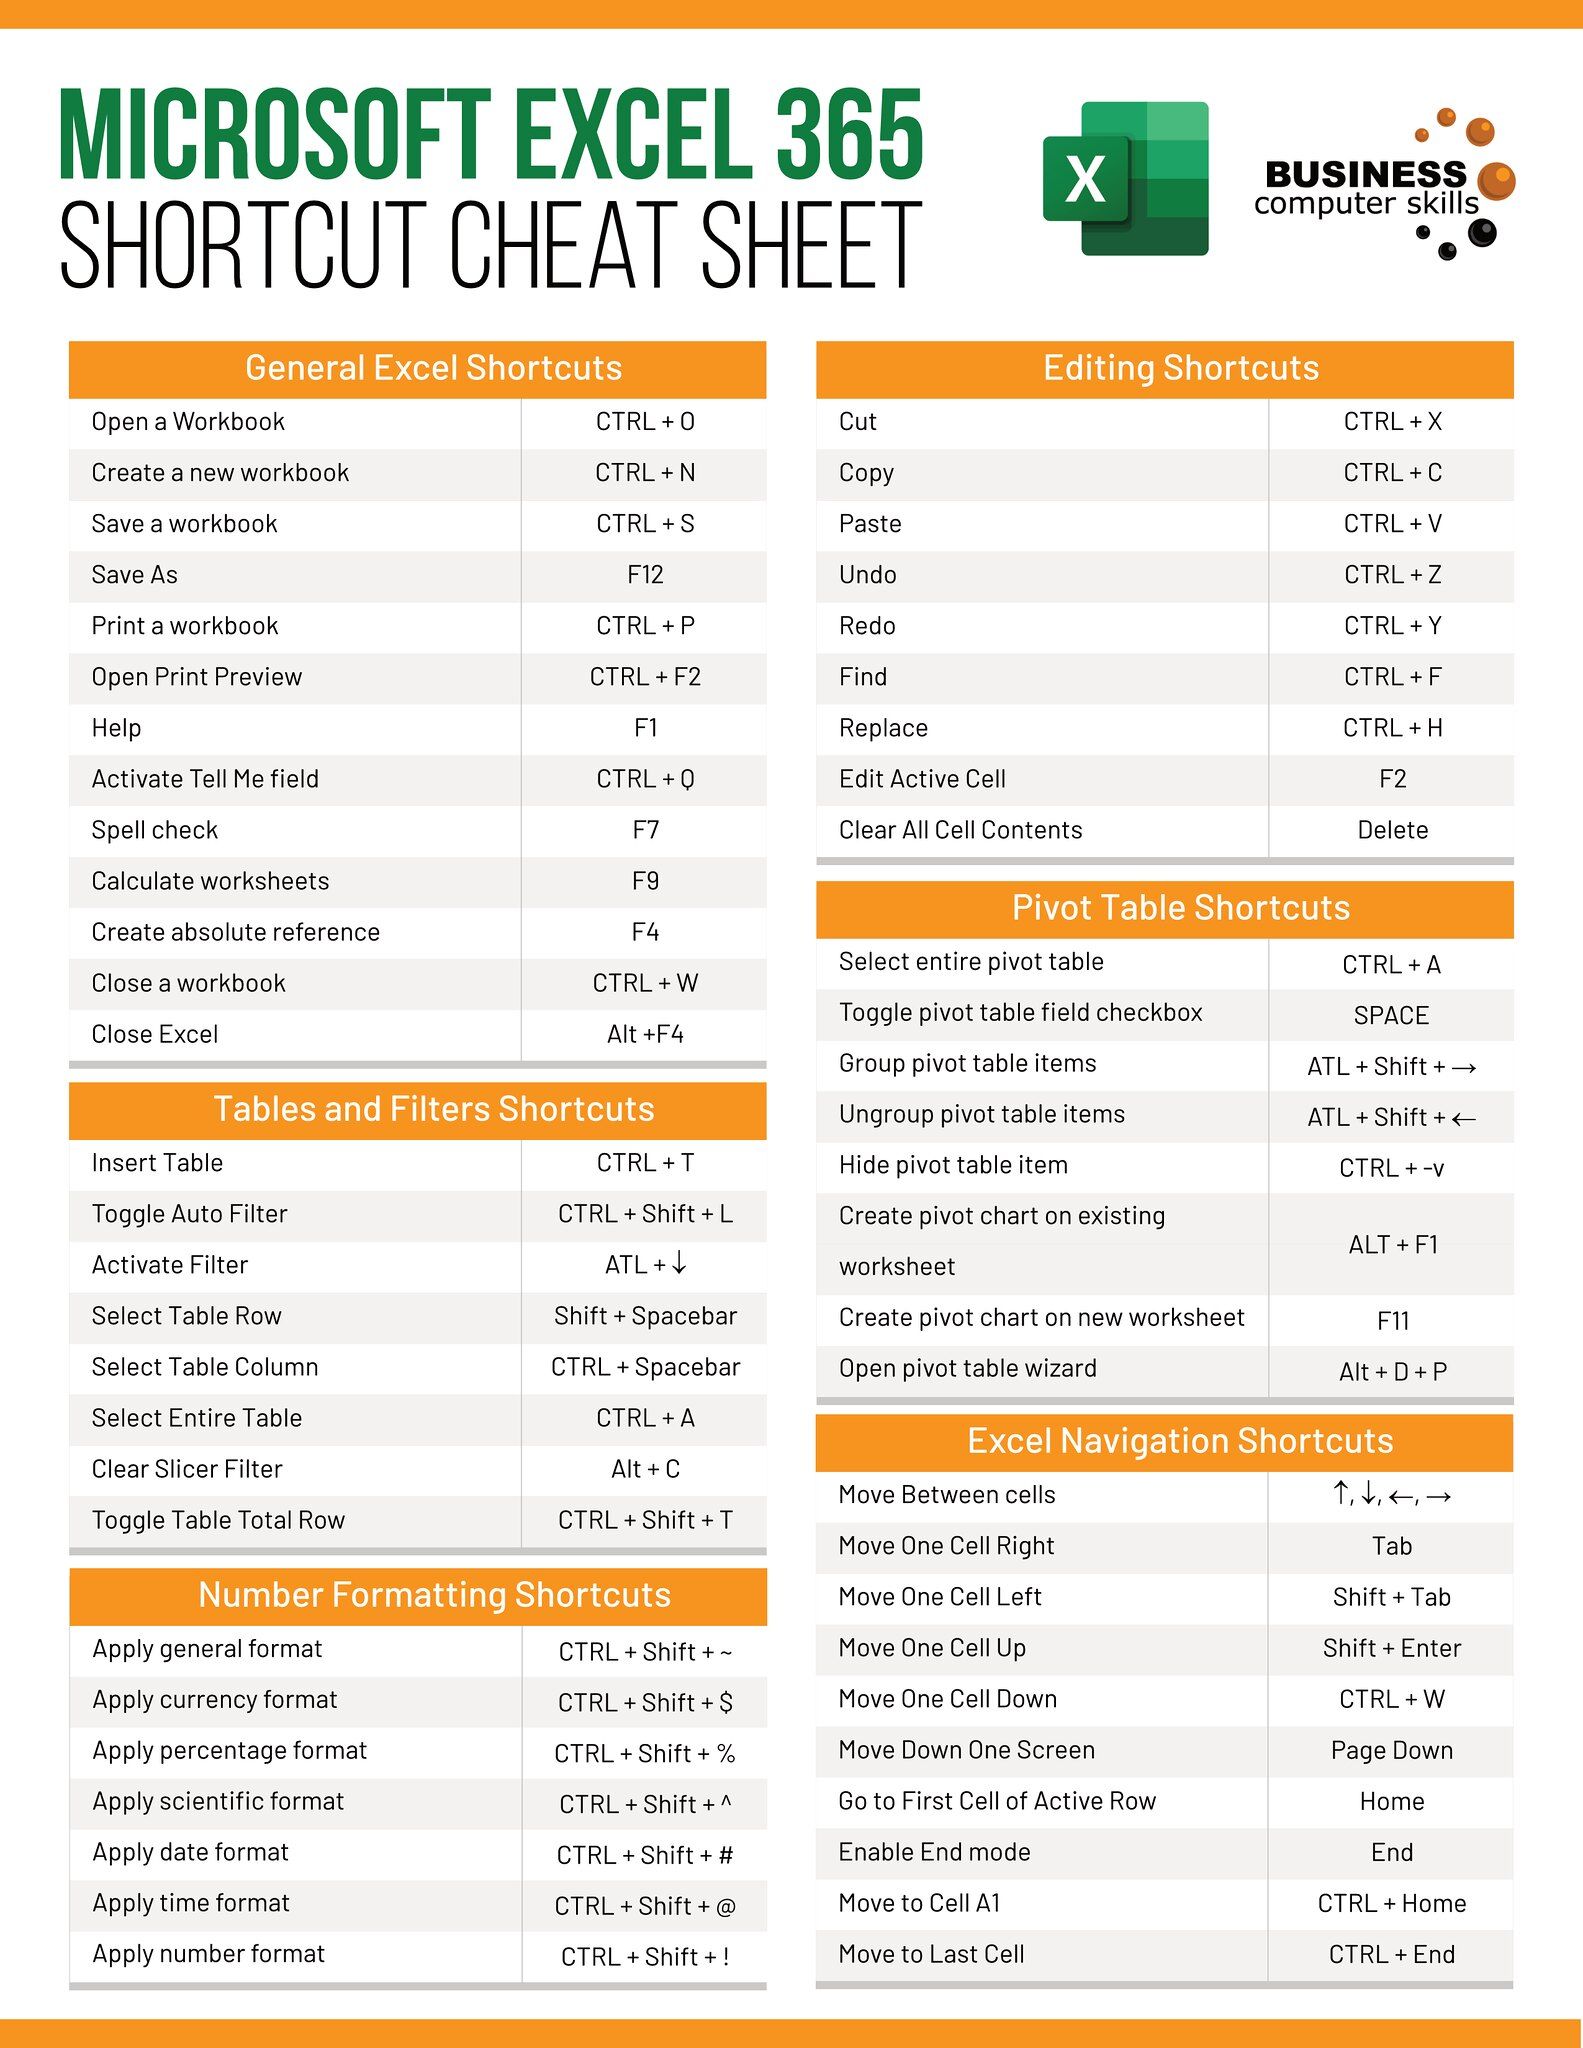
- Right-click and choose Copy or press Ctrl+C.
- Go to your Word document, place the cursor where you want the table to appear, right-click, and select Paste or press Ctrl+V.
This method allows for different pasting options, such as:
- Paste (straightforward paste without retaining any formatting).
- Paste Special (for embedding as an object with various formatting options).
Adjusting Your Table

After pasting, you might need to adjust the table’s appearance:
- Adjust the table’s width or height to match your document’s layout.
- Change fonts, colors, or text alignment to enhance readability.
⚠️ Note: When you adjust the pasted Excel table in Word, it becomes an independent entity from the original Excel file, meaning any changes made in Excel after pasting will not reflect in Word.
Method 2: Embedding Excel as an Object

This method ensures that your Excel data remains linked to the source file, allowing for live updates:
- In your Word document, go to Insert > Object > Create from File.
- Select the Excel file you want to insert, and decide whether to display it as an icon or directly as a table.
- If you want to keep the Excel table linked to the source file, choose Link to file. Otherwise, leave it unchecked.
Benefits of Embedding as an Object

- Data synchronization - updates in Excel will reflect in Word.
- Interactivity - users can interact with the table in Word to view or modify data.
- Reduced file size - only a link or icon to the Excel file is stored, not the entire data set.
⚠️ Note: Be cautious with linked tables; if the original Excel file moves or is renamed, the link might break.
Method 3: Using the Table Menu

Another intuitive way to insert Excel data is through Word’s Table menu:
- In Word, select Table > Insert Table, then choose Excel Spreadsheet.
- An Excel-like grid appears where you can input data or paste from an Excel sheet.
- Upon exiting the grid, the data integrates into a Word table.
Formatting Options

- You can adjust the grid to fit your Word document’s layout, or change the cell colors, borders, and alignment as desired.
- This method provides flexibility but results in data being static once inserted.
Each of these methods has its unique advantages, and your choice should depend on the specifics of your document's purpose:
- Copy and Paste - for standalone presentations without the need for live data updates.
- Embedding as Object - when real-time data integration is crucial.
- Table Menu - for flexibility in formatting and immediate visibility without opening an external file.
Remember, when integrating Excel data into Word, consider the document's purpose and how you want your audience to interact with the data. The techniques described above provide multiple ways to meet various data presentation needs effectively.
Can I edit the Excel data after inserting it into Word?

+
Yes, you can edit the data, but it depends on how you’ve inserted it. When you use the Copy and Paste method, the data becomes part of the Word document, and you can edit it directly. However, if you’ve embedded the Excel object with Link to file, you must update the data in Excel for changes to reflect in Word. For the Table Menu method, data becomes static once inserted, but you can format it in Word.
How do I ensure that my Excel data fits nicely within my Word document?

+
To ensure your Excel data fits well:
- Adjust the table’s dimensions by dragging its edges or using Word’s table properties.
- Use Word’s Wrap Text or Text Direction options for better text flow around the table.
- Consider using the Layout Options for precise placement within your document.
What should I do if my Excel table doesn’t look right when I paste it into Word?

+
If the table looks off:
- Try the Paste Special function and choose Microsoft Excel Worksheet Object for more control over formatting.
- Adjust cell sizes, font, and alignment in Word after pasting.
- Reformat the table in Word or re-copy from Excel with Paste as Picture for a more visual approach.


