5 Simple Steps to Create a Sign-In Sheet in Excel
Keeping track of attendees at events, meetings, or training sessions can be streamlined with an Excel sign-in sheet. Excel, known for its robust functionality, offers simple yet effective tools to create an efficient sign-in sheet. Below, we’ll walk you through 5 simple steps to craft your own sign-in sheet in Excel, making registration processes seamless and organized.
Step 1: Open Excel and Plan Your Layout

Before diving into the design, consider what information you want to capture:
- Name
- Date
- Time In/Time Out
- Signature
- Contact Information
Open Excel and select a blank workbook. Determine the layout that best fits your needs. Here, simplicity is key; keep your design straightforward for ease of use.
Step 2: Set Up Your Headers

Start by creating headers in the first row to label each column:
- A1: Name
- B1: Date
- C1: Time In
- D1: Time Out
- E1: Signature
- F1: Email/Phone
📝 Note: If you have fewer or additional details to collect, adjust the headers accordingly.
Step 3: Format Your Sheet

Formatting your sign-in sheet for readability and professionalism includes:
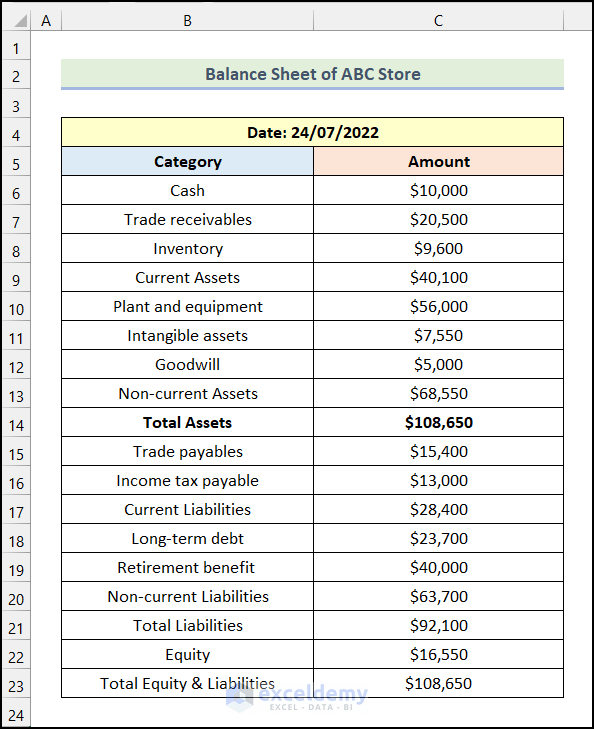
- Bold the header row for emphasis.
- Adjust column widths to fit content comfortably.
- Use borders to delineate columns and rows clearly.
- Choose a clean, legible font and size (e.g., Arial 10-12pt).
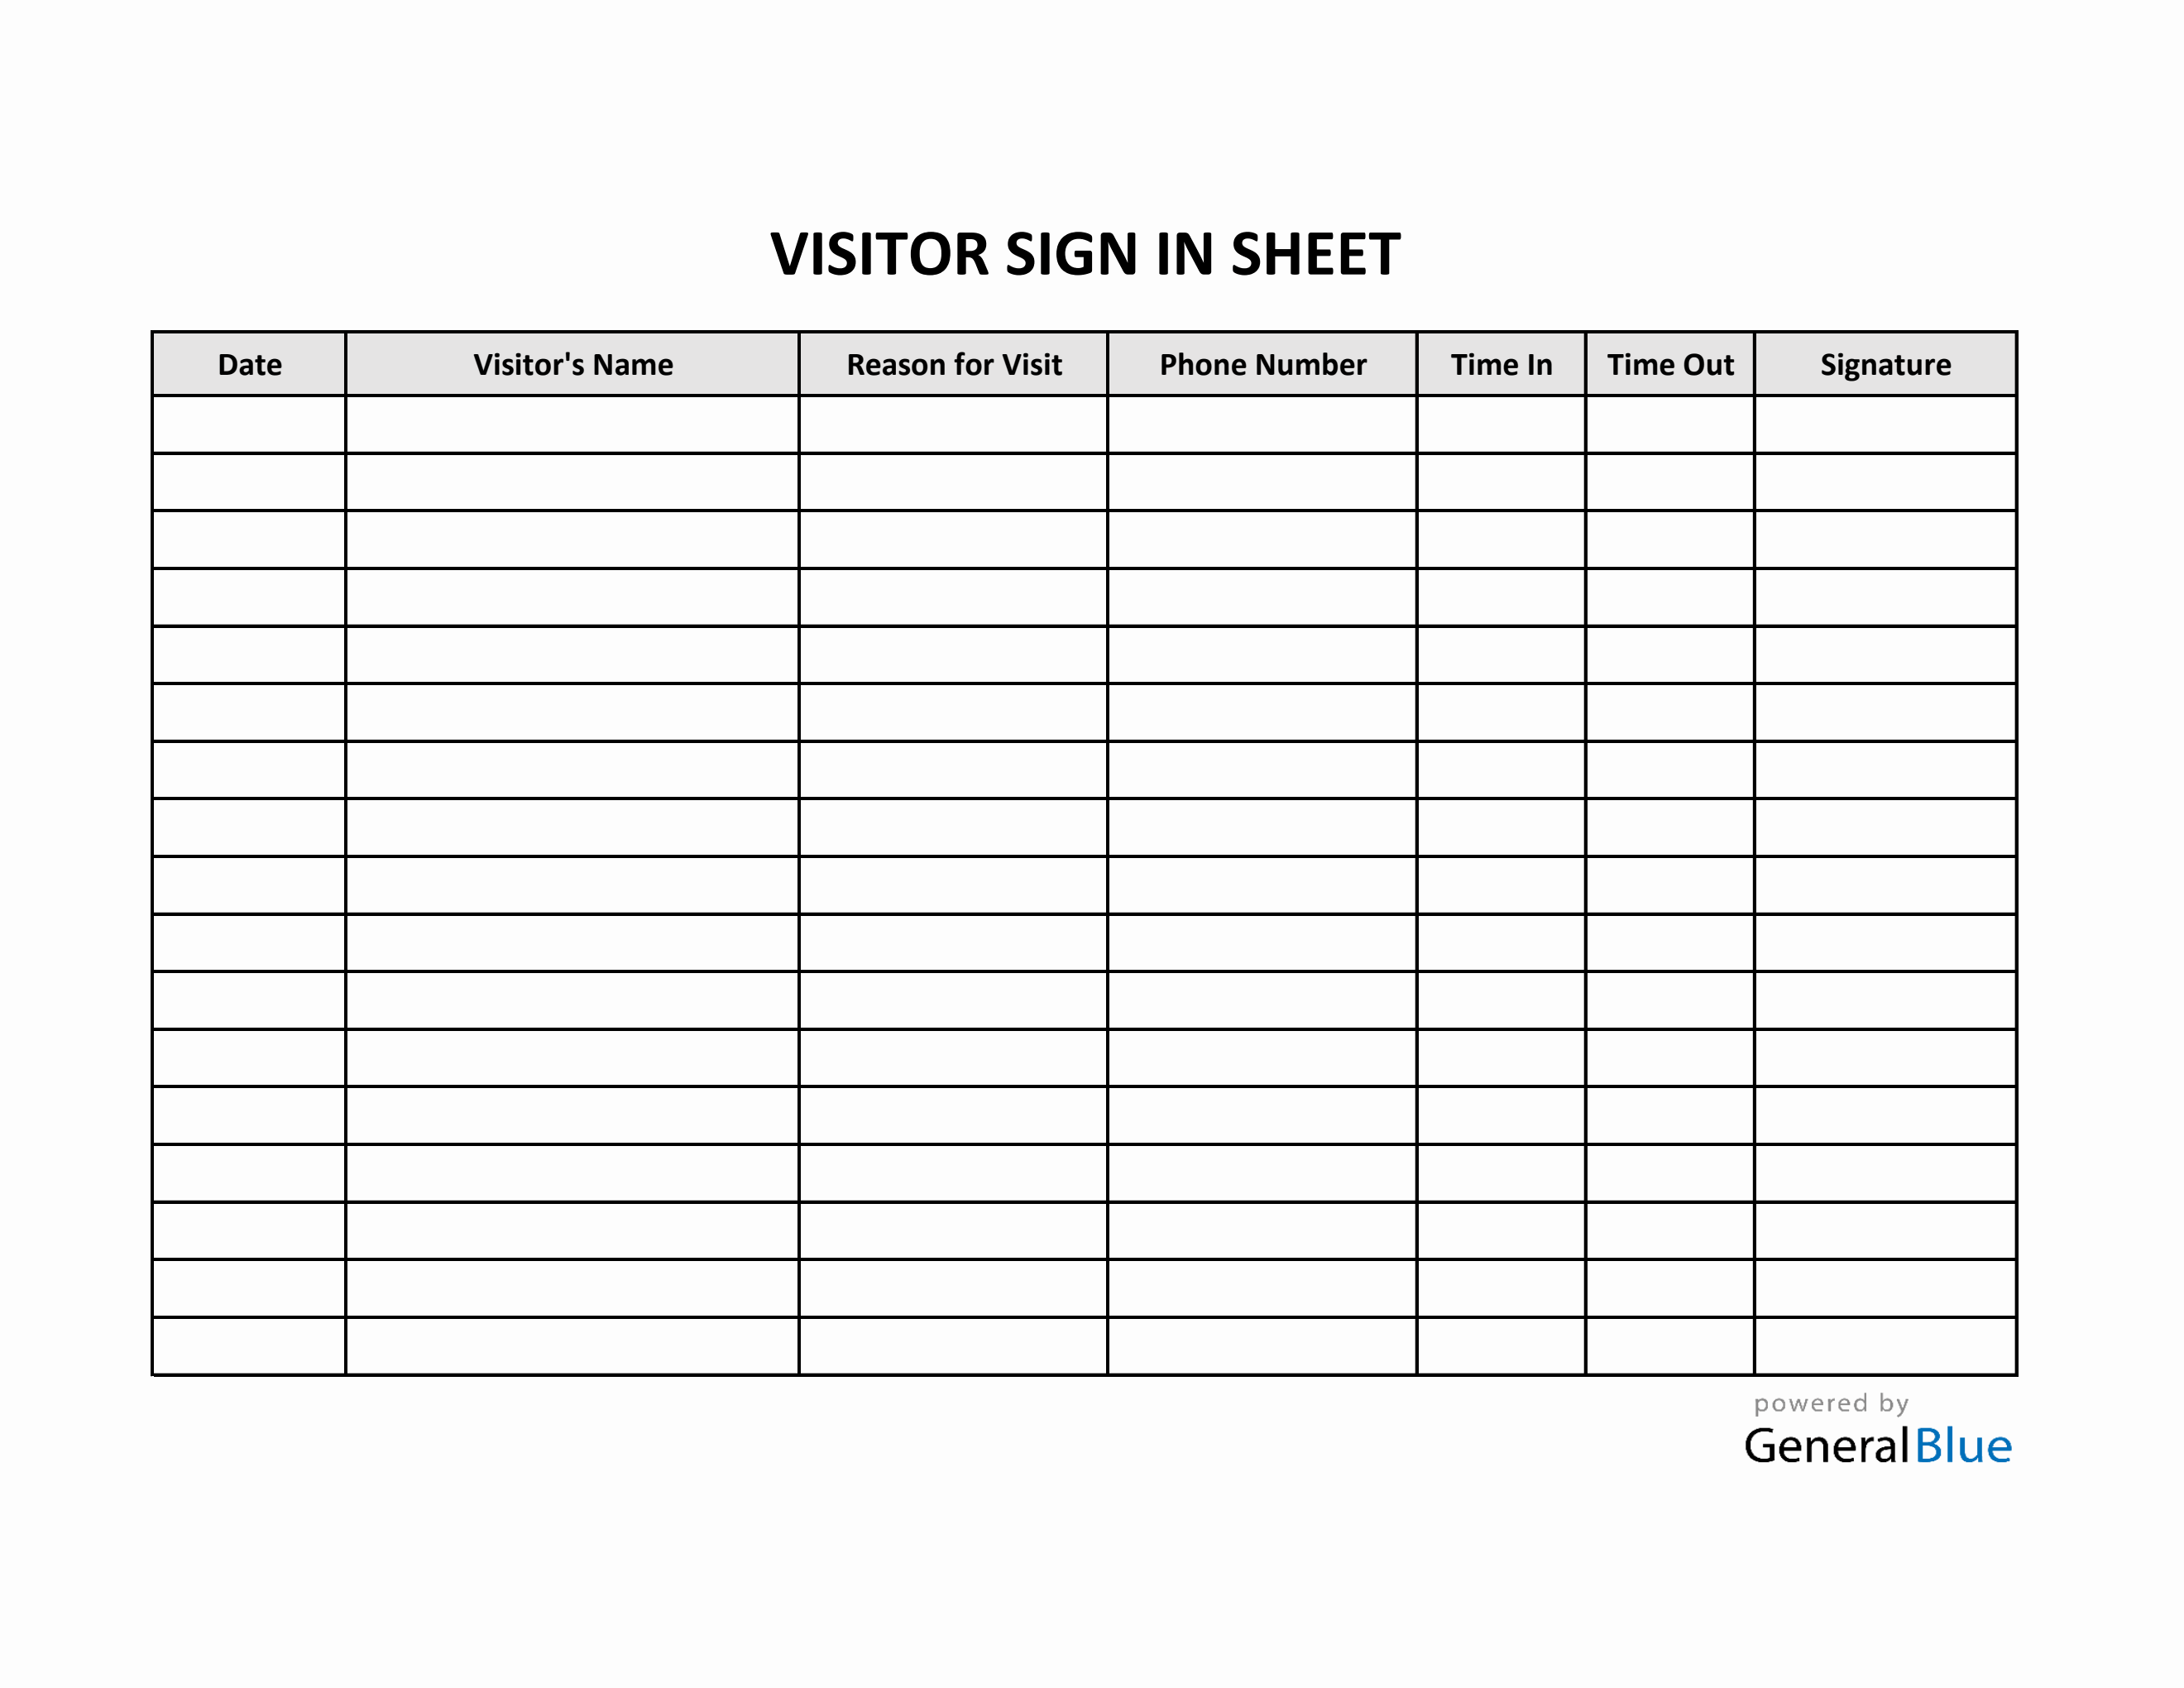
Here's an example of how you might format your sheet:
| Name | Date | Time In | Time Out | Signature | Email/Phone |
|---|---|---|---|---|---|
| [John Doe] | [MM/DD/YYYY] | [HH:MM] | [HH:MM] | [Signature] | [johndoe@example.com] |

🛠 Note: Remember to lock the headers if you plan to protect the sheet, so attendees can't alter them.
Step 4: Add Data Validation and Auto-Fill Features

To make the sign-in process smoother:
- Set up date formats for the "Date" column. Use Excel's date format from the Number Format menu.
- Apply time formats to "Time In" and "Time Out" columns for consistency.
- Add dropdown lists for repeated entries or specific choices using Data Validation.
- Use formulas like NOW() for real-time time entries or date calculations.
🚨 Note: Ensure the formulas or data validation don't interfere with the simplicity of the sign-in process.
Step 5: Finalize and Customize

The final touches can make your sign-in sheet more functional and visually appealing:
- Consider adding a title or logo at the top for branding.
- Include a privacy statement or instructions if necessary.
- If needed, use conditional formatting to highlight late arrivals or other important information.
- Test your sheet for user-friendliness, making sure everything works as intended.
💡 Note: If the sheet will be used digitally, you might want to include instructions for digital signatures or explain where attendees should save the sheet.
With your sign-in sheet now complete, you've crafted a tool that ensures seamless registration for your events or meetings. The simplicity of this process not only saves time but also provides a professional touch to your gatherings. Remember, the sign-in sheet isn't just about collecting data; it's about making the experience efficient for all involved. Its utility lies in its clear layout, ease of use, and the ability to quickly review attendance or contact details when needed.
How do I protect my Excel sign-in sheet from unauthorized edits?
+
You can protect your Excel sheet by using the “Review” tab and selecting “Protect Sheet.” Here, you can set permissions for editing, ensuring that only certain parts (like the entry rows) are editable while keeping the headers locked.
Can I collect signatures electronically on an Excel sign-in sheet?

+
Yes, if the sheet is being used digitally, attendees can use their mouse or touchscreen to draw their signature in the designated cell. Alternatively, consider using forms software integrated with Excel for a more streamlined digital signature process.
What should I do if I need more columns for additional information?

+
Simply insert new columns next to the existing ones and adjust your headers and formatting accordingly. Make sure the sheet remains user-friendly despite the increased information.

