5 Ways to Print Specific Excel Sheet Sections

Printing specific sections of an Excel sheet can be a valuable skill, especially if you're dealing with large datasets or complex spreadsheets where you only need to share or reference a specific part. Whether it's for presenting data in meetings, creating reports, or just keeping track of progress, mastering this feature can make your workflow significantly more efficient. Here are five detailed methods to print just the sections you need from your Excel sheets.
1. Using the Page Break Preview

The Page Break Preview in Excel provides a visual aid to see where pages will break when printed, allowing you to adjust these breaks manually.
- Switch to Page Break Preview under the View tab.
- Use the drag handles to adjust the breaks around your desired print area.
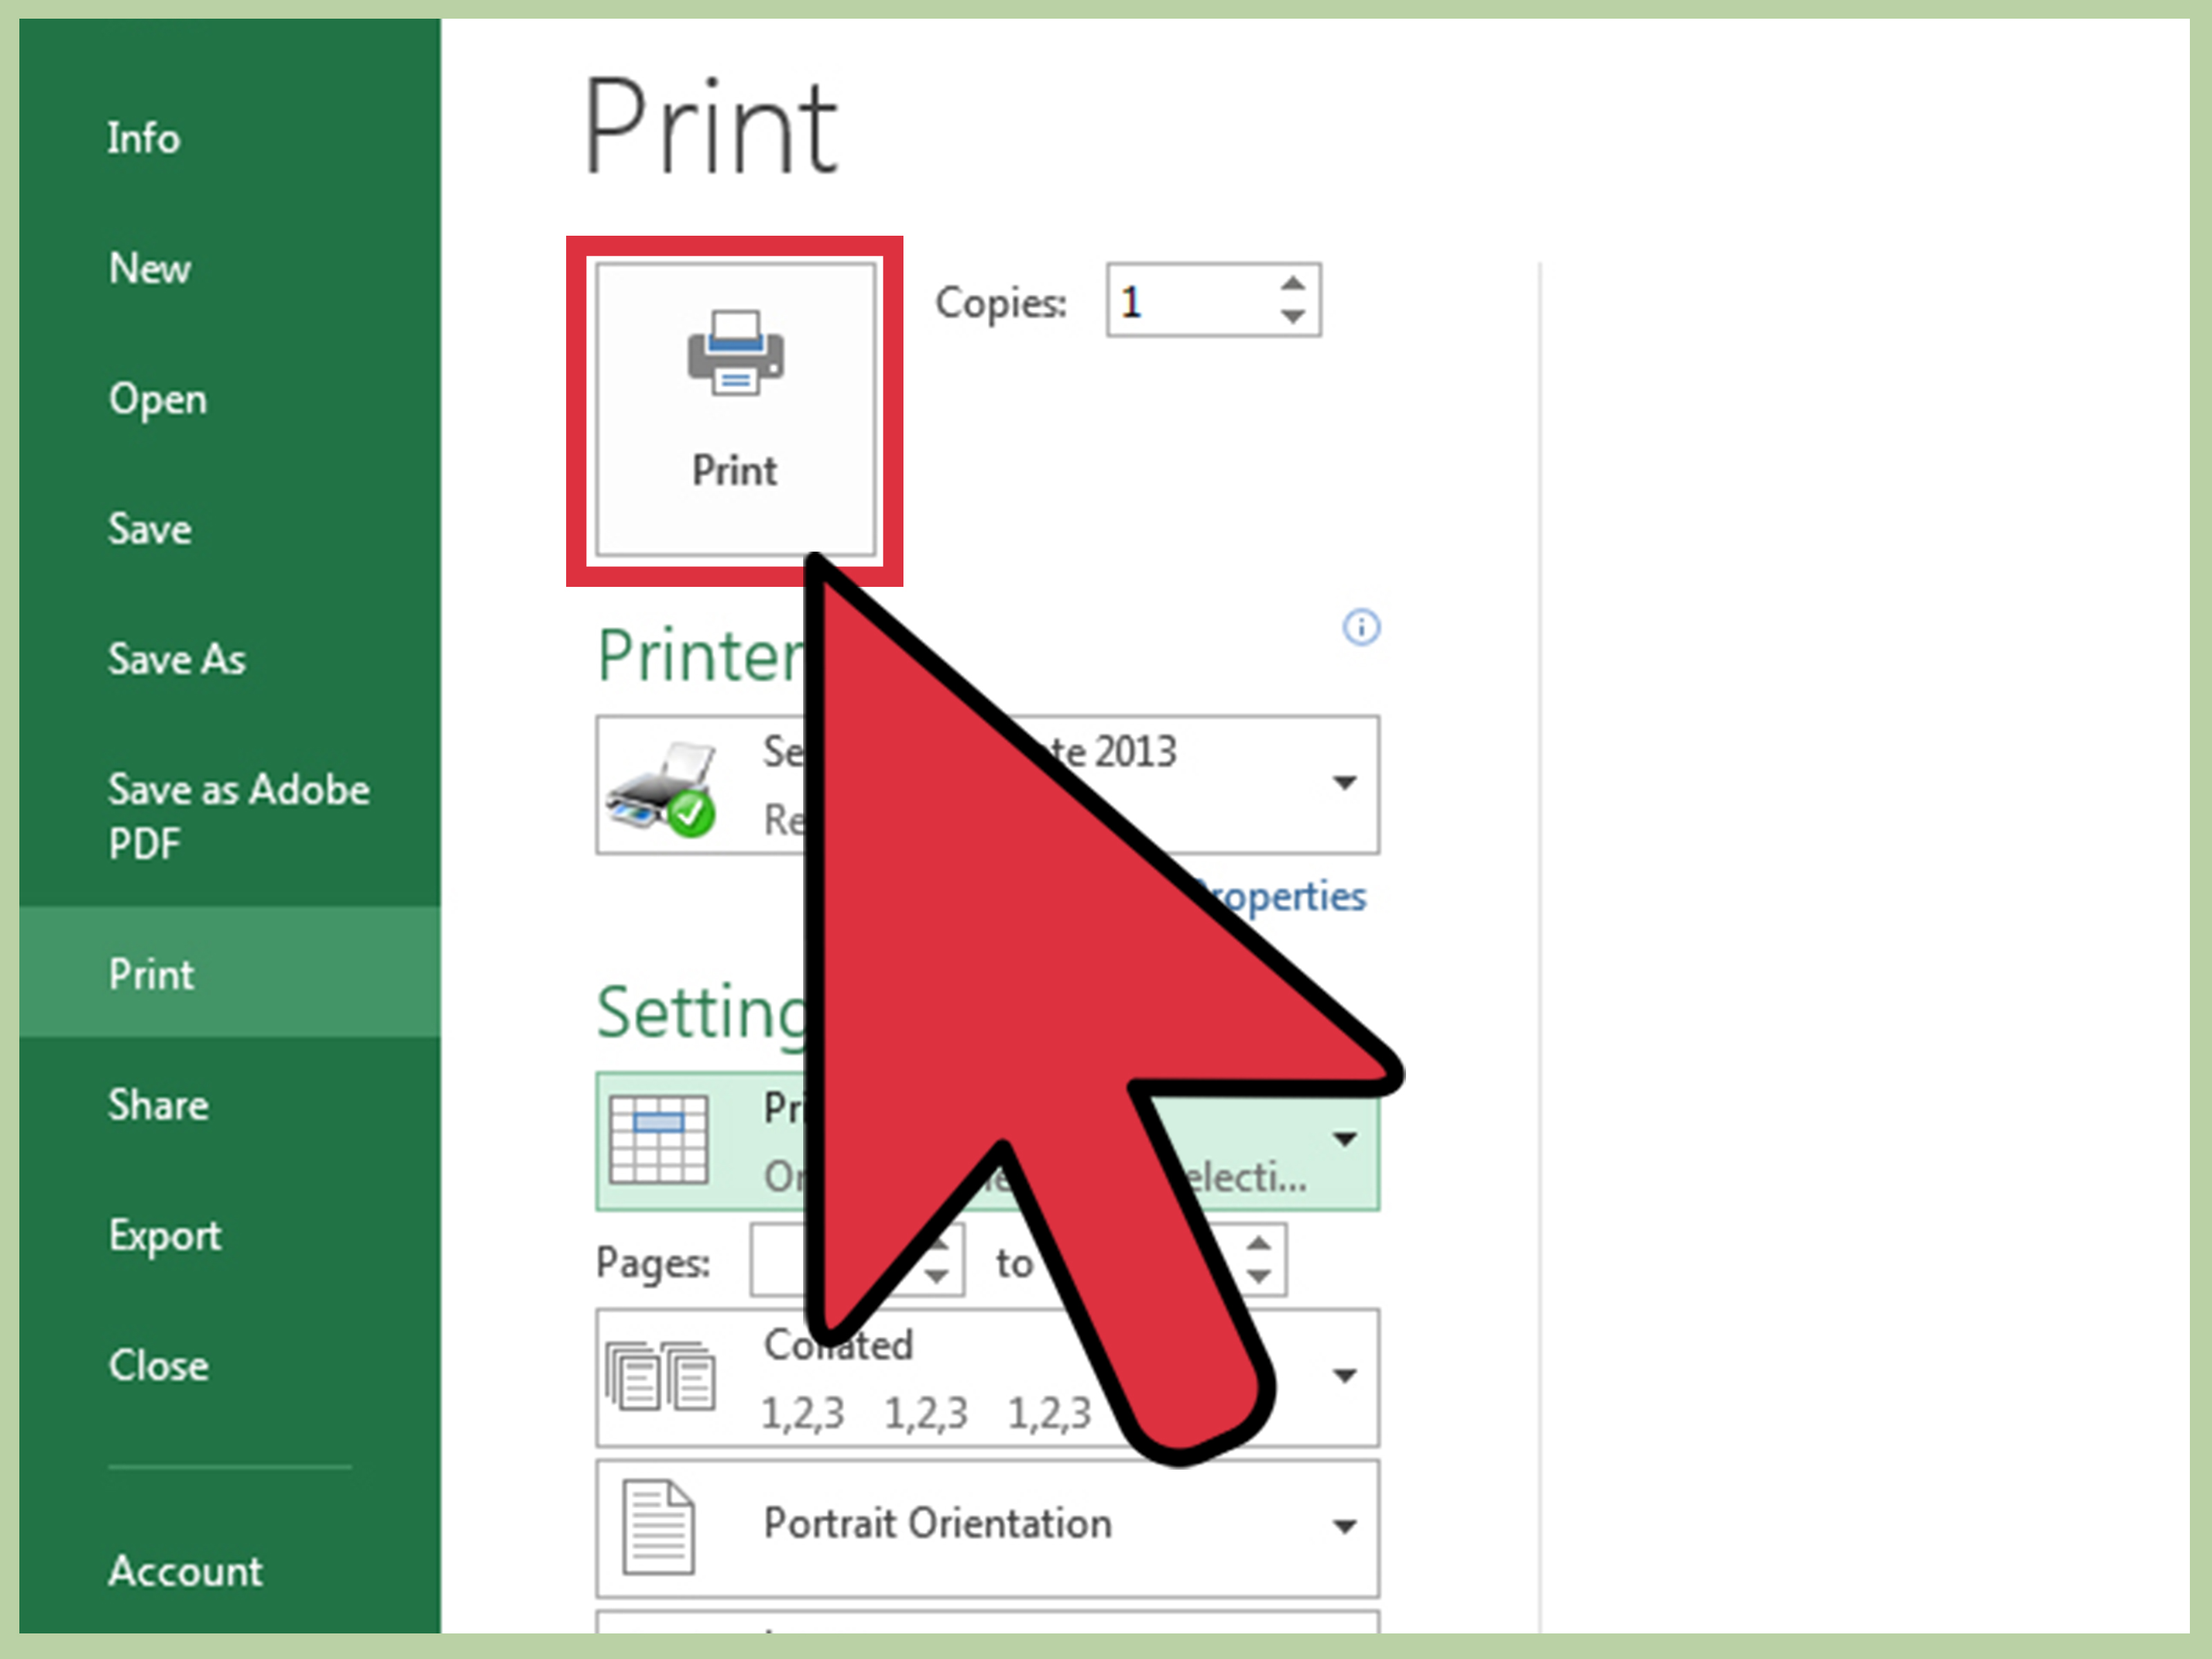
- Once you’ve defined the page breaks, go to File > Print and select the pages you wish to print.
🔎 Note: The Page Break Preview is not saved with the workbook, so you’ll need to reconfigure it if you change the document and want to print again.
2. Setting a Print Area

Setting a print area is one of the quickest ways to define which part of the spreadsheet you want to print.
- Select the cells you want to print.
- Go to Page Layout > Print Area > Set Print Area.
- To print, head to File > Print; your set area will automatically be selected for printing.
3. Using Excel’s Camera Tool

The Camera tool can be used to capture a live picture of your selected Excel data, which can then be printed separately.
- Enable the camera tool via Developer tab > Insert > Camera (you might need to enable the Developer tab first).
- Select the range you want to capture.
- Click on the camera icon, then click and drag on the sheet to place the image.
- Print this image or copy it into another document for printing.
4. Filtering and Printing Selected Data

Filtering allows you to work with and print only data that meets certain criteria, effectively creating a custom print area:
- Apply filters to your data table.
- Filter the data to show only what you want to print.
- Now, use the Set Print Area function or go straight to print.
🔍 Note: Always double-check that your filters are correctly applied; otherwise, you might miss or include data unintentionally.
5. Exporting to PDF and Printing

Exporting selected data to PDF provides a convenient way to print specific sections, especially if they’re complex or if you want a print-friendly version:
- Select the data you want to print.
- Go to File > Save As, choose PDF as the file type.
- In the options, you can choose to print just the selection.
- Once the PDF is created, you can print from there, selecting the pages or areas you need.
In summary, Excel offers several methods to print specific sections of your sheets, each with its own advantages. Whether you need to present data in a meeting, compile reports, or simply organize your work, understanding these techniques can streamline your tasks, make your documents more professional, and save resources by printing only what's necessary.
Can I set multiple print areas within the same worksheet?

+
Yes, you can set multiple print areas within one sheet by holding down the Ctrl key while selecting different areas, then going to Page Layout > Print Area > Set Print Area.
How do I remove a print area I’ve set?

+
Go to Page Layout > Print Area > Clear Print Area to remove any set print areas in Excel.
Will the print area be saved when I share my Excel file?

+
Yes, print areas are saved with the workbook, but remember that users can change or clear them unless the workbook is protected.
Can I use Page Break Preview to adjust print areas on a shared Excel file?

+
Adjustments made in Page Break Preview are temporary and not saved, making it unsuitable for shared files where others need to see the same print areas.
How can I ensure that my data is not cut off when printing?

+
Always use Page Break Preview to manually adjust where the pages will break. Also, check your margins, scaling, and orientation under Page Layout to make sure your content fits properly.


