Print Excel Sheet Without Lines: Easy Steps
Need to print your Excel spreadsheet without those distracting gridlines? This comprehensive guide will walk you through the simple steps to achieve a clean, professional-looking printout, ensuring your data stands out clearly.
Why Remove Gridlines When Printing Excel Sheets?
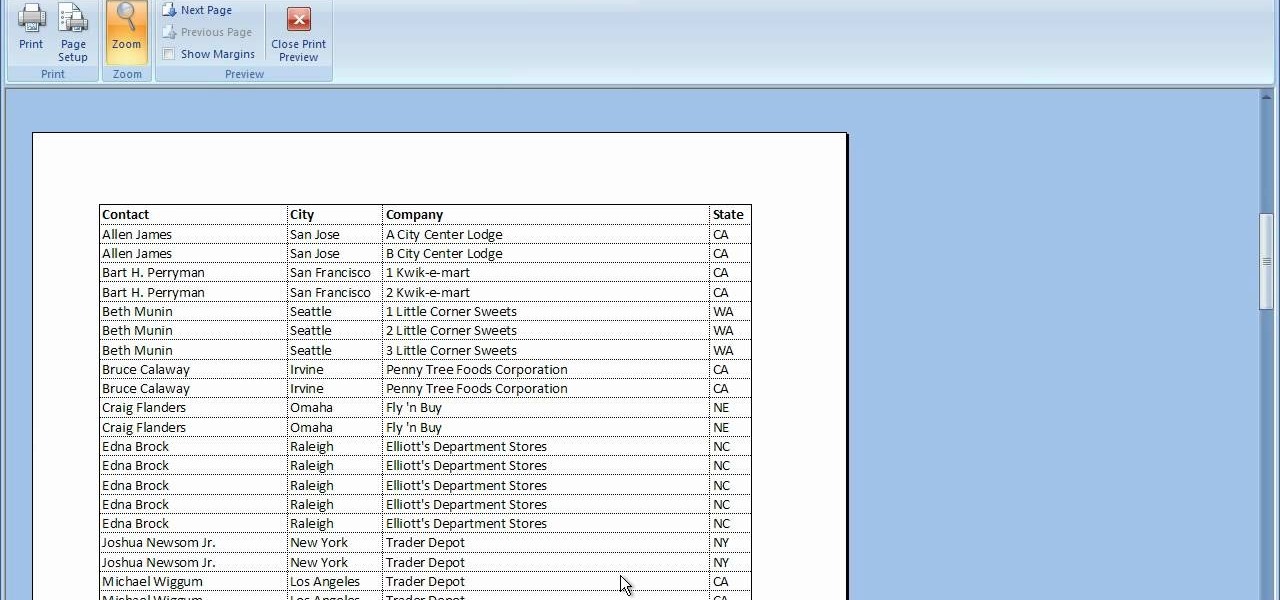
Removing gridlines when printing an Excel sheet can be beneficial for various reasons:
- Clarity: It allows the content to be the focal point without visual distractions.
- Presentation: Professional-looking documents for meetings, presentations, or official reports.
- Readability: Easier for readers to follow your data and interpret it correctly.
Steps to Print Excel Sheets Without Gridlines
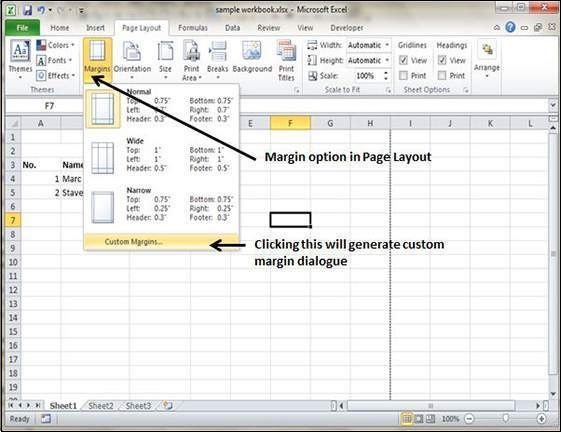
1. Accessing Excel’s Print Options
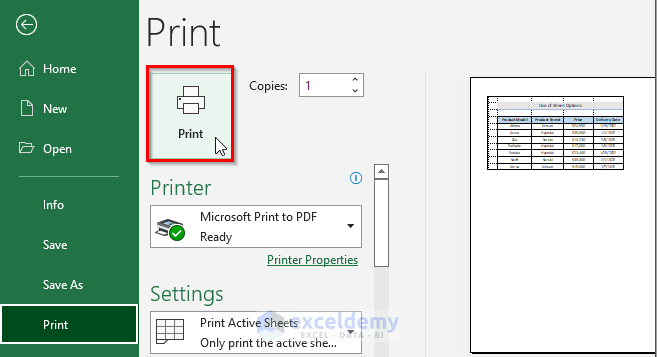
To begin, open your Excel workbook and navigate to the sheet you wish to print:
- Go to the ‘File’ tab at the top left corner.
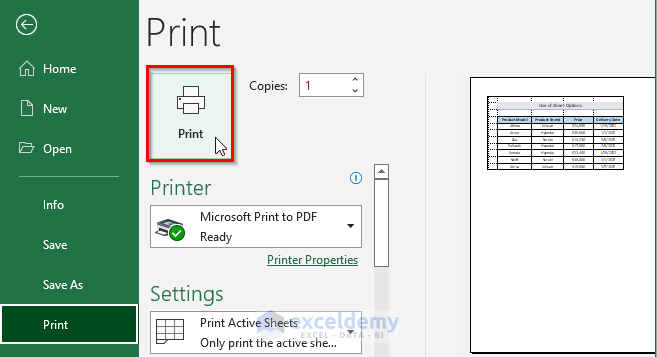
- Select ‘Print’ from the left panel.
💡 Note: Ensure you have the correct sheet or selection active before proceeding to print.
2. Removing Gridlines
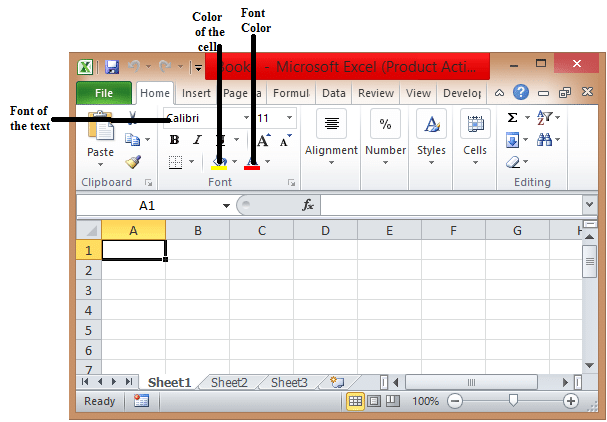
Here’s how you can disable gridlines for printing:
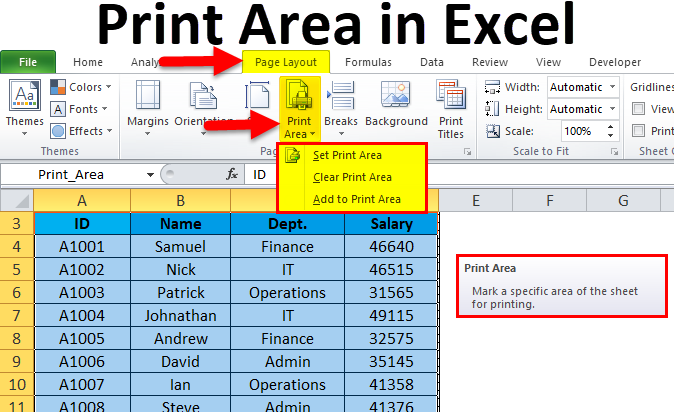
- Click on ‘Page Setup’ under the ‘Page Layout’ tab.
- In the ‘Page Setup’ dialog, navigate to the ‘Sheet’ tab.
- Uncheck the box labeled ‘Gridlines’ under ‘Print’.
- Click ‘OK’ to save changes.
🔍 Note: This setting will affect only the currently selected sheet.
3. Preview Your Printout
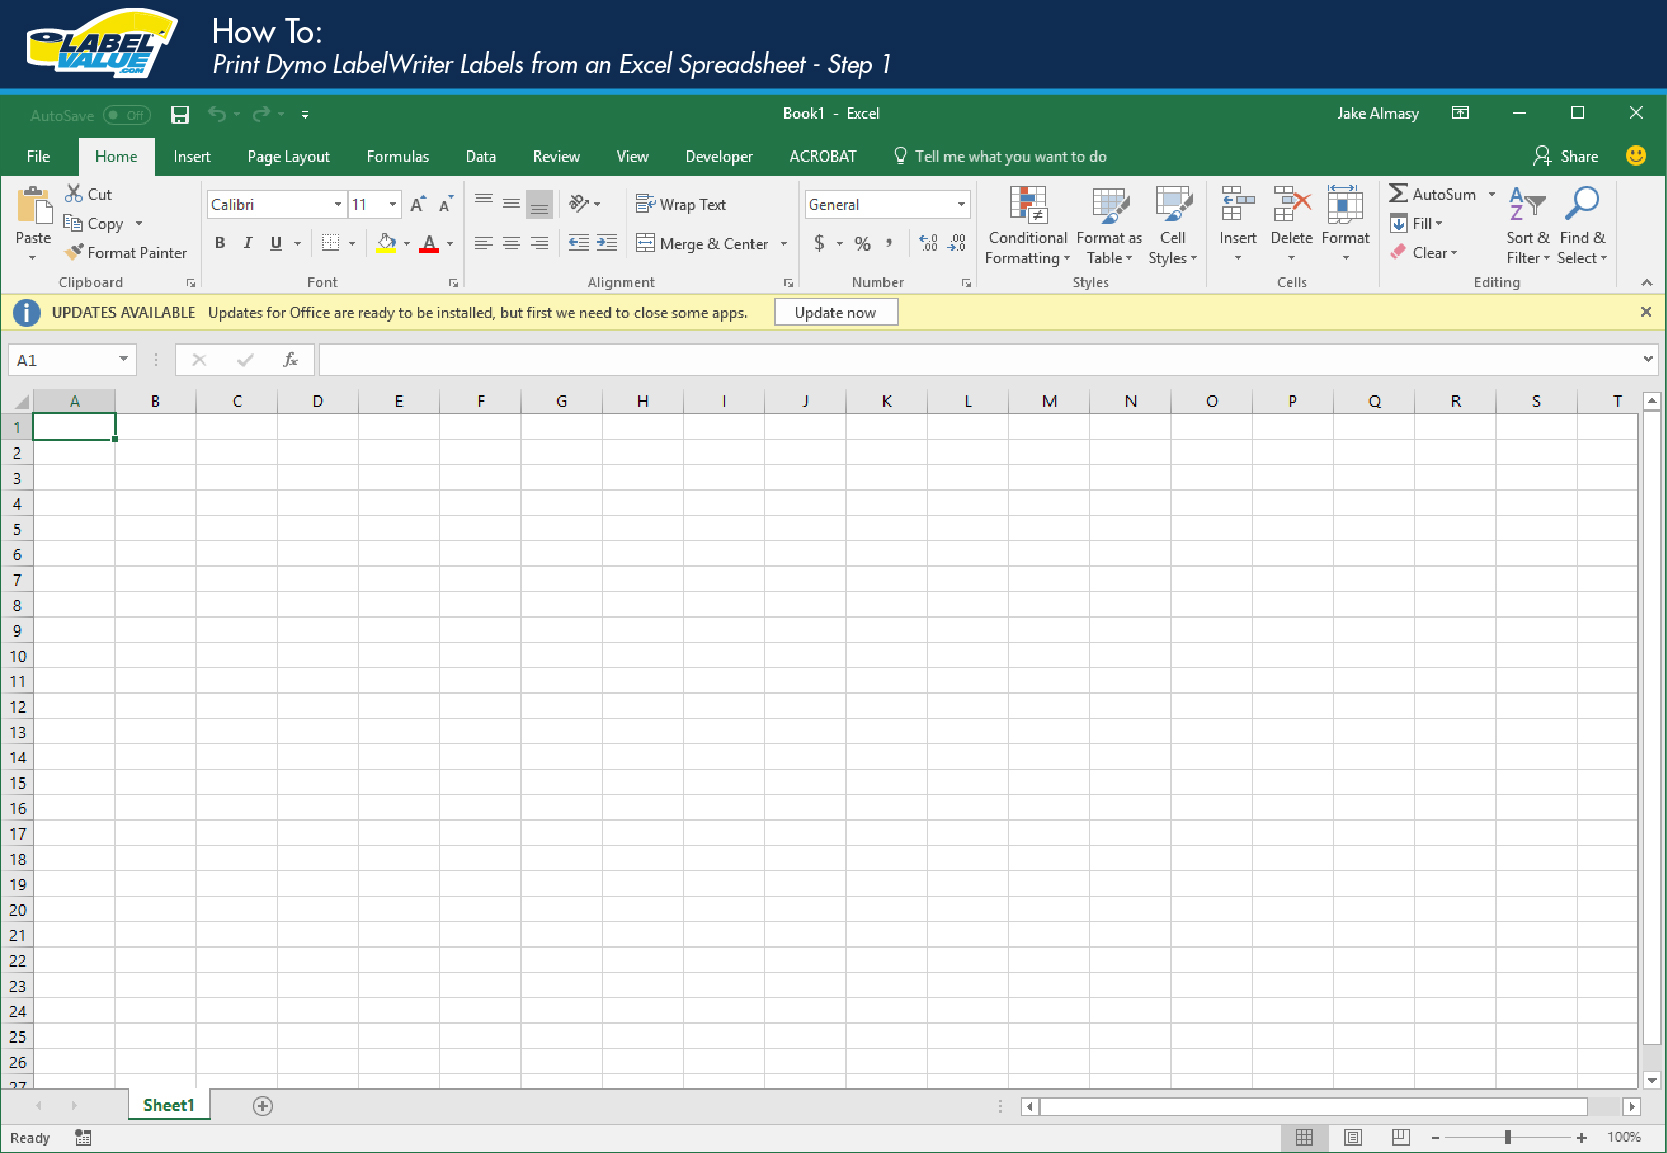
Before printing, always preview your document:
- Go back to ‘Print’ or use ‘Ctrl + P’.
- Review the preview pane to ensure gridlines are not visible.
4. Printing Your Sheet

Once you are satisfied with the preview, proceed with printing:
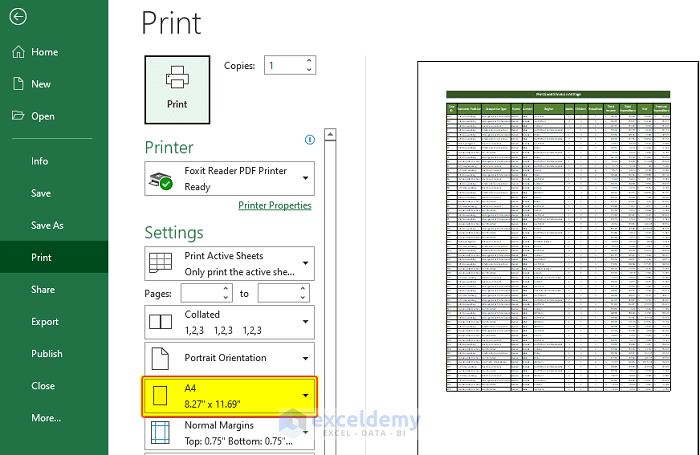
- Select your printer and choose any additional options.
- Click ‘Print’.
Removing Gridlines Permanently
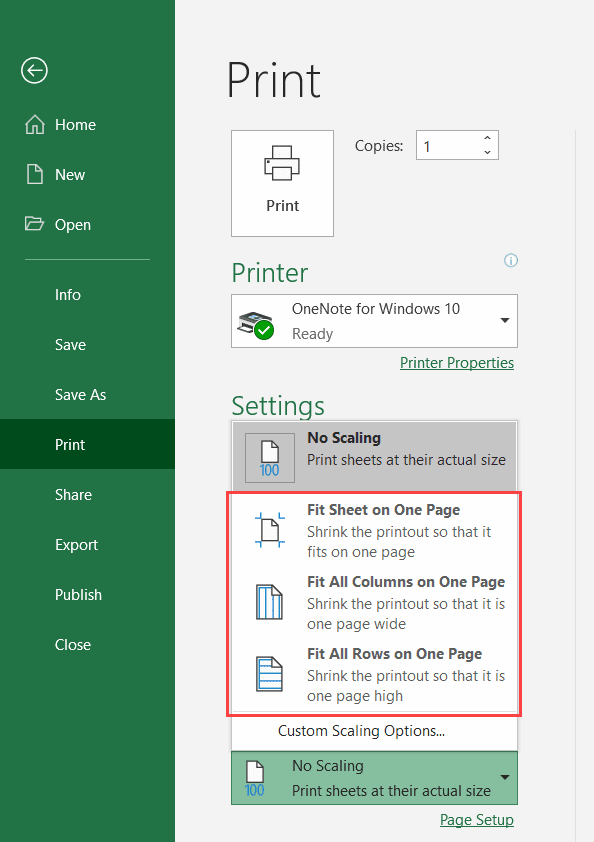
If you frequently need to print without gridlines, consider setting this preference for future use:
- Navigate to ‘File’ > ‘Options’.
- Select ‘Advanced’ from the left sidebar.
- Scroll to ‘Display options for this worksheet’.
- Uncheck ‘Show gridlines’ and ‘Print’ gridlines.
- Click ‘OK’ to confirm.
⚙️ Note: This will alter gridline visibility for all worksheets in your Excel workbook.
Printing Specific Ranges
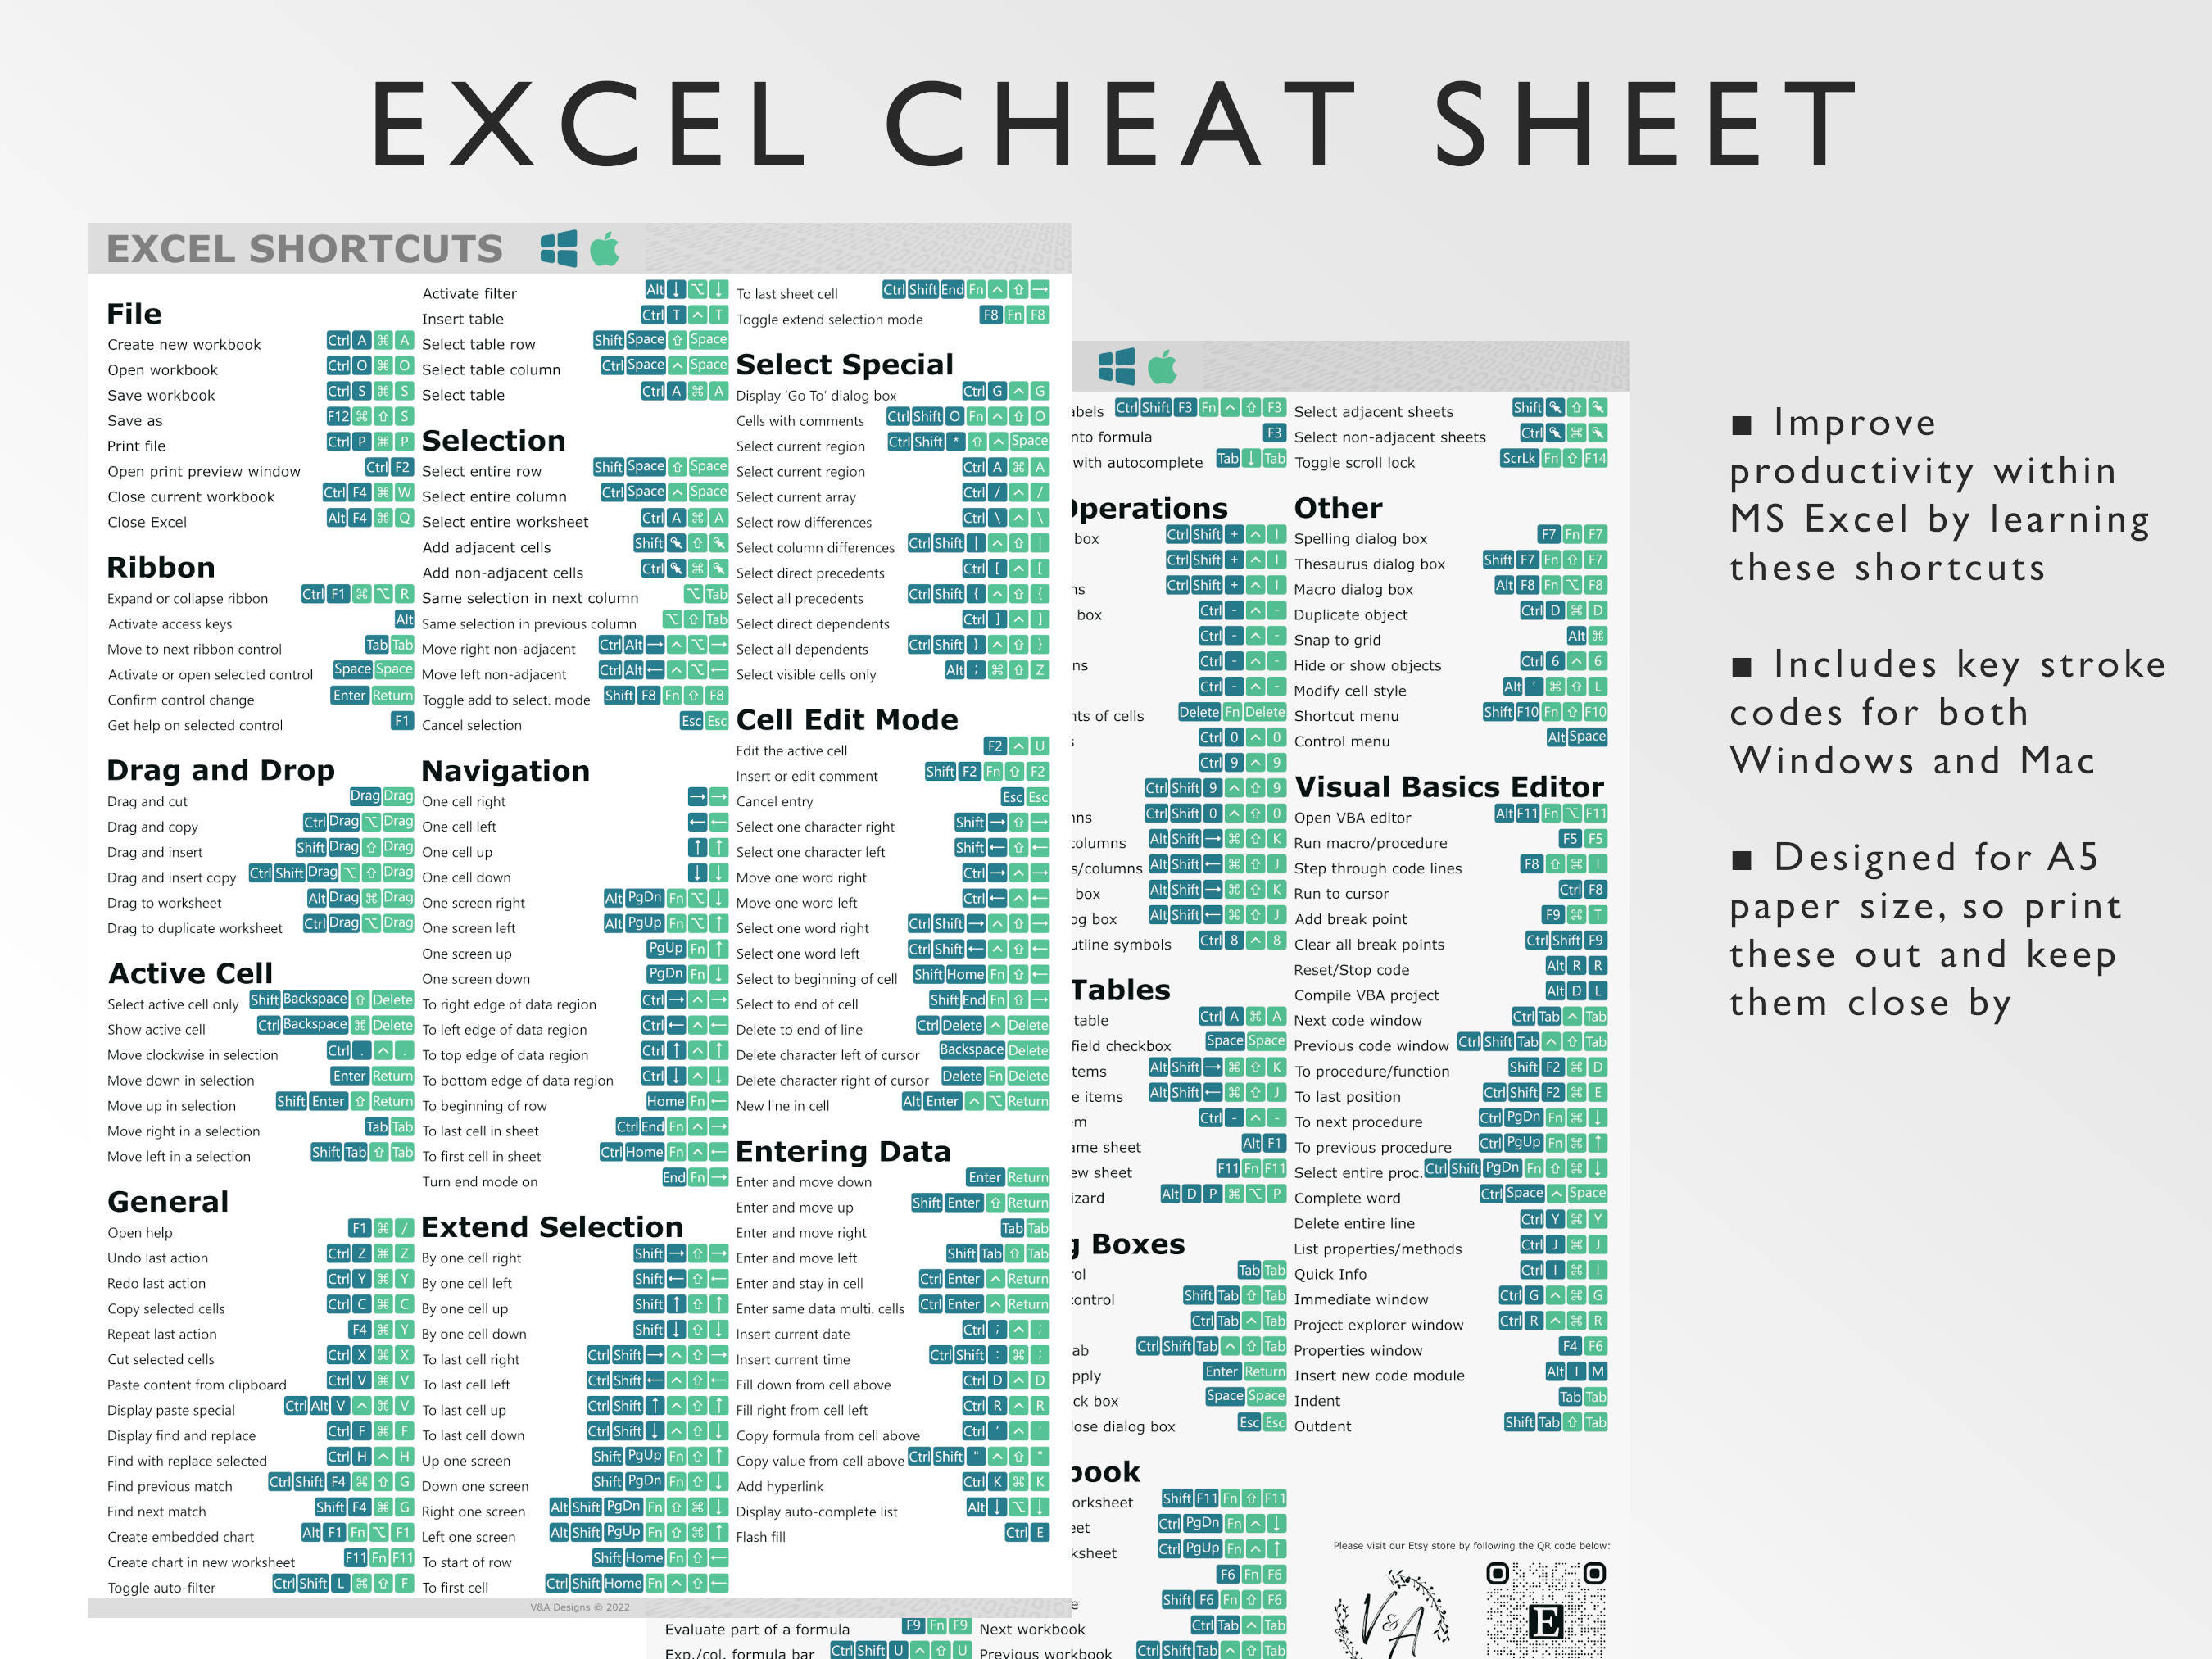
Do you want to print only part of your sheet? Here’s how:
- Select the cells you wish to print.
- Go to ‘File’ > ‘Print’.
- In the ‘Settings’ section, choose ‘Print Selection’.
Checking Your Work

After removing gridlines, review your document:
- Use the Page Layout view (View > Page Layout) to visualize your document layout.
- Ensure headers, footers, and other elements are aligned properly.
In summary, mastering how to print an Excel sheet without gridlines can enhance the presentation of your data, making it more professional and easier to read. By following these straightforward steps, you can effortlessly customize your printouts to meet your needs. Whether you're preparing for a meeting, generating reports, or distributing information, these tips will help you create documents that convey your data effectively.
What if I need gridlines in my printout?
+
If you decide you need gridlines, you can easily revert the settings by re-checking the ‘Gridlines’ option in the ‘Print’ section of the Page Setup dialog.
Can I print gridlines for some sheets but not others?
+
Yes, you can control gridline printing on a per-sheet basis by setting the print gridlines option individually for each worksheet in your workbook.
How do I print in color?
+
To print in color, ensure your printer supports color printing and that you have selected a color printer in the print settings. Excel will then print any colors you’ve added to cells or charts.
