Create a Time Sheet in Excel: Easy Steps

Setting up a time sheet in Excel is a practical and effective method to monitor time spent on various projects, track employee hours, or manage personal schedules. Not only is it a great tool for productivity, but it also simplifies payroll processing, budget management, and ensures that you're not missing any billable hours. Let's delve into the easy steps to create an Excel time sheet that can cater to your needs.
Preparation for Your Excel Time Sheet

Before jumping into Excel, here’s what you’ll need:
- A basic understanding of Excel functionalities.
- An updated version of Microsoft Excel for the best experience.
- Time data to populate your time sheet.
Step 1: Set Up Your Excel Sheet


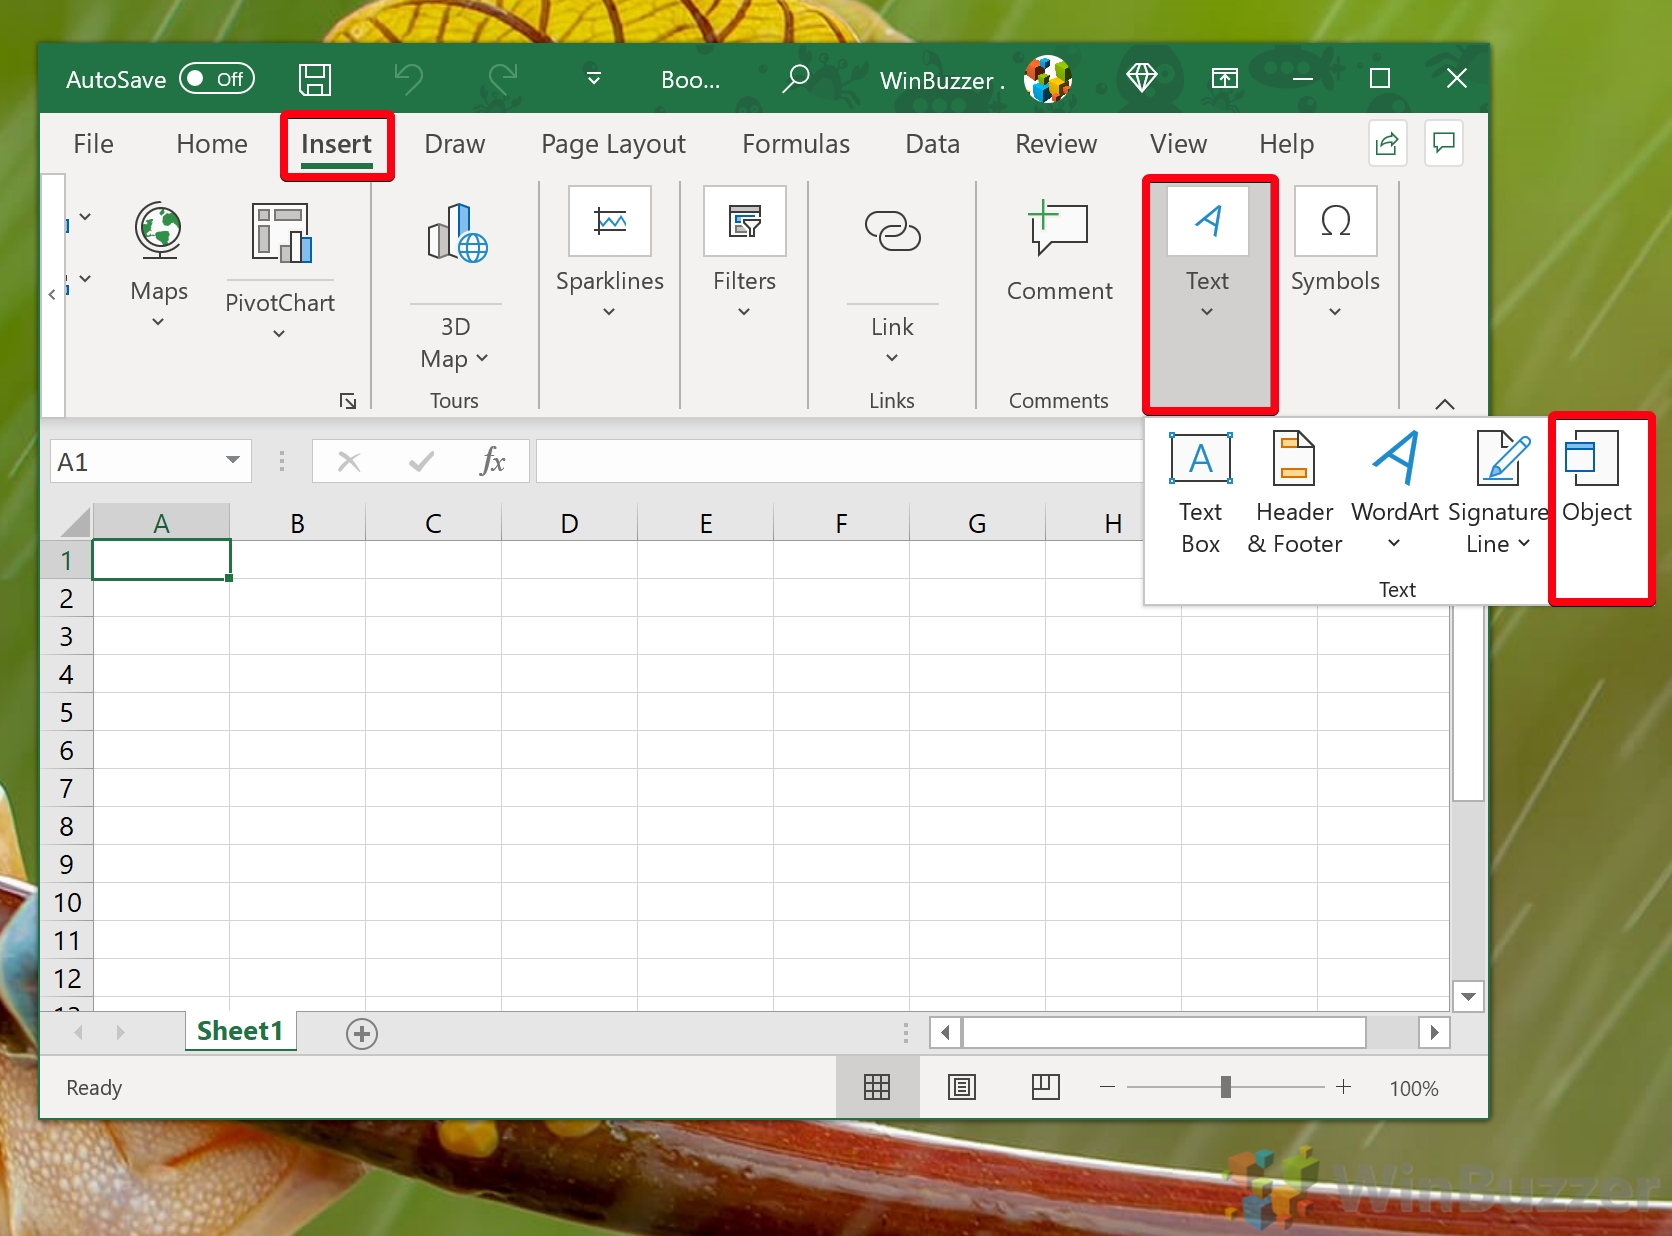
- Open Excel and create a new workbook.
- Name your worksheet something relevant, like “TimeSheet_2023”, for example.
- Expand the column width for better readability, particularly for the columns where you’ll input time or notes.
- Adjust the row height if needed.
Step 2: Designing the Structure

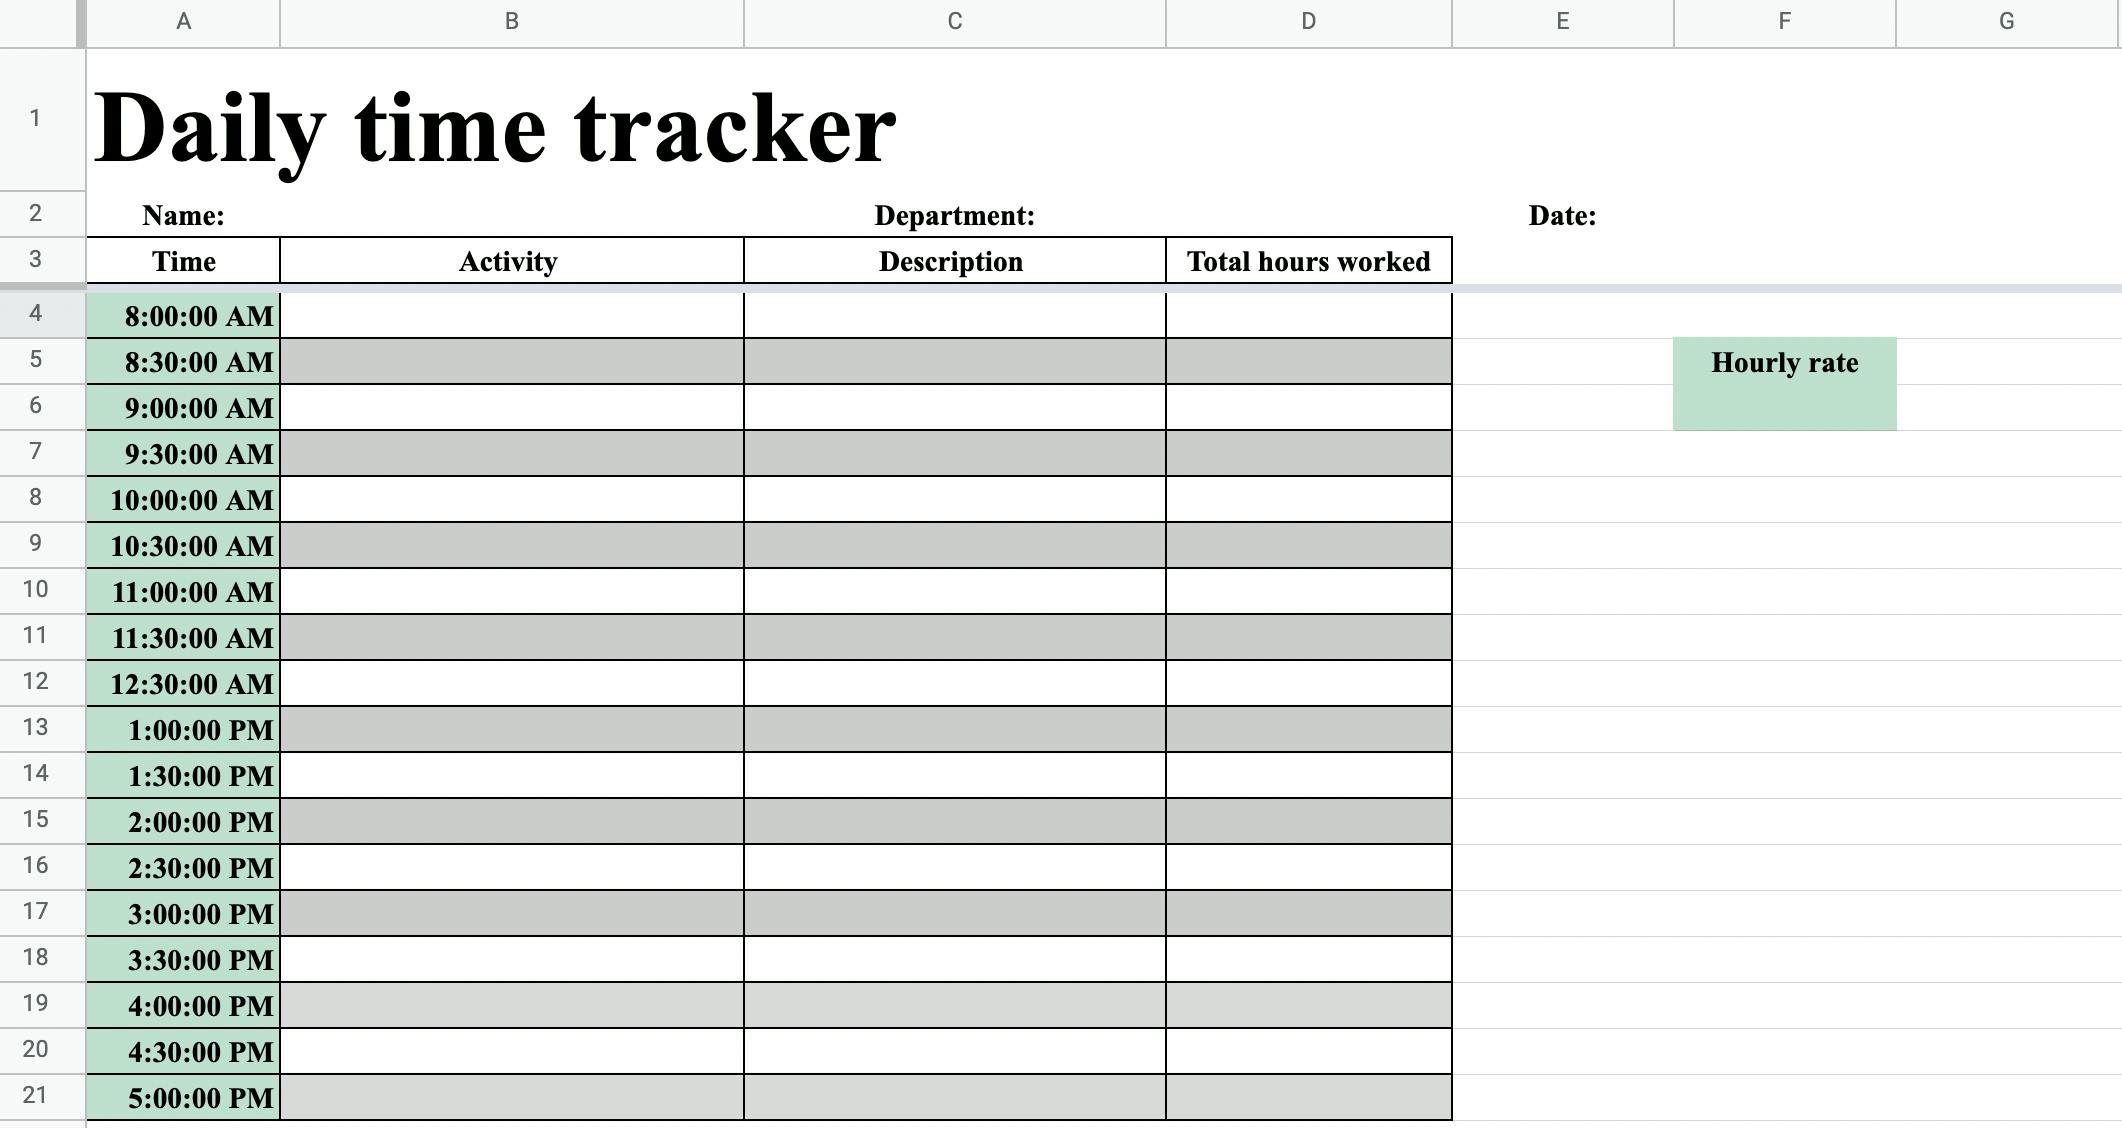
- Date Column: Label a column with “Date”.
- Day Column: Add a column next to it for “Day”.
- Hours Column: Create columns for “Start Time”, “End Time”, “Hours Worked”, and if applicable, “Break Duration”.
- Activity Columns: Include columns for “Task” or “Project Name”.
- Total Columns: At the bottom, add “Total Hours”.
Step 3: Formatting the Time Sheet

- Date Formatting: Use Excel’s custom date formats (e.g., dd/mm/yyyy) for the Date column.
- Time Formatting: Use a time format (e.g., HH:MM) for the time-related columns. You might want to adjust these for your locale or company standards.
- Number Formatting: Set the “Hours Worked” to show decimals for partial hours if needed.
- Total Formulas: Use SUM functions to calculate daily and weekly totals.
📝 Note: Excel automatically formats cells to General, so you'll need to override this for the date and time cells.
Step 4: Creating Formulas

- Hours Calculation: Use a formula like
=[End Time] - [Start Time] - [Break Duration]to calculate hours worked. - Daily Total: Use a SUM formula for the total hours worked each day.
- Weekly or Monthly Totals: Create cells or columns to show totals for longer periods.
📝 Note: For break duration, use a cell format that displays time. If breaks are consistent, consider a preset value.
Step 5: Validation and Conditional Formatting

- Data Validation: Set rules for the time entries to prevent impossible or illogical inputs.
- Conditional Formatting: Highlight overtime hours, weekends, or input errors.
Step 6: Testing and Adjusting

- Enter sample data to test your time sheet’s functionality.
- Adjust formulas, formatting, or layout as necessary.
- Ensure all calculations and data display correctly.
📝 Note: Always save your work frequently during testing, and consider creating a backup copy.
Step 7: Finalization

- Review your time sheet for any errors or missing elements.
- Save your time sheet template for future use.
- Set up any automated features like macros if you’re comfortable.
Creating an Excel time sheet doesn't have to be complex. Following these steps will give you a basic yet functional time sheet that you can customize to fit different needs. Whether it's for personal productivity tracking, project management, or payroll, having a well-designed time sheet can lead to better organization, accurate billing, and clearer insights into where your time is spent. The benefits are clear: reduced administrative overhead, a higher level of accuracy, and improved transparency in your time management.
Can I use this Excel time sheet on my mobile device?

+
Yes, Excel files can be opened and edited using the Excel app on mobile devices, but the functionality might differ slightly from the desktop version. Complex formulas and formatting might require the desktop app for initial setup.
How do I handle overtime in the time sheet?

+
Use conditional formatting to highlight hours beyond your regular work schedule. You can also set up additional columns or formulas to calculate overtime separately if necessary.
What if I forget to log my time?

+
It’s always best to log time immediately. If you forget, estimate the time as accurately as possible, or set reminders or use tools like tracking software to log time in real-time.


