5 Ways to Format Excel Sheets for Perfect Printing

Setting Up Your Excel Sheet

Before we dive into the specifics of formatting your Excel sheet for printing, it's essential to start with a clean and organized workbook. Here are some initial steps to ensure your sheet is ready:
- Check for any unnecessary columns or rows and remove them.
- Ensure all data is correctly inputted.
- Use cell merging where applicable to group related data.

1. Adjust Page Layout for Print
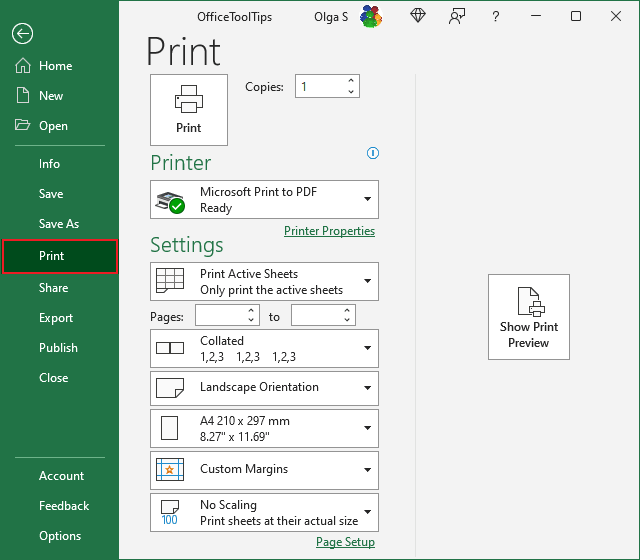
The first step to achieving perfect printing in Excel involves optimizing your page layout:
- Page Orientation: Navigate to the Page Layout tab, select 'Orientation', and choose 'Portrait' or 'Landscape' as appropriate.
- Margins: Adjust the margins to fit your content within the print area, selecting 'Custom Margins' to set precise values.
- Scaling: Excel allows you to scale your printout to fit within a single page. Use 'Fit to:' under the 'Page Layout' tab if needed.
🎨 Note: Remember, landscape orientation often works better for data-heavy sheets, reducing the number of pages needed.
2. Headers and Footers
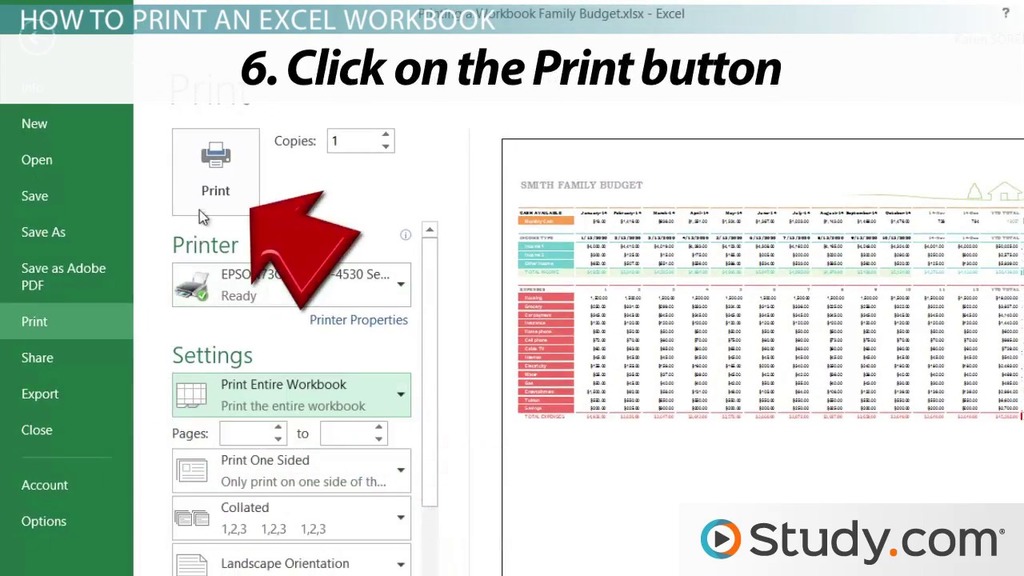
Headers and footers are crucial for providing context to your printed Excel sheet:
- Click on the 'Insert' tab, then 'Header & Footer' to customize your headers and footers.
- Include page numbers, file names, or any additional information you find necessary.

3. Optimal Column Width and Row Height
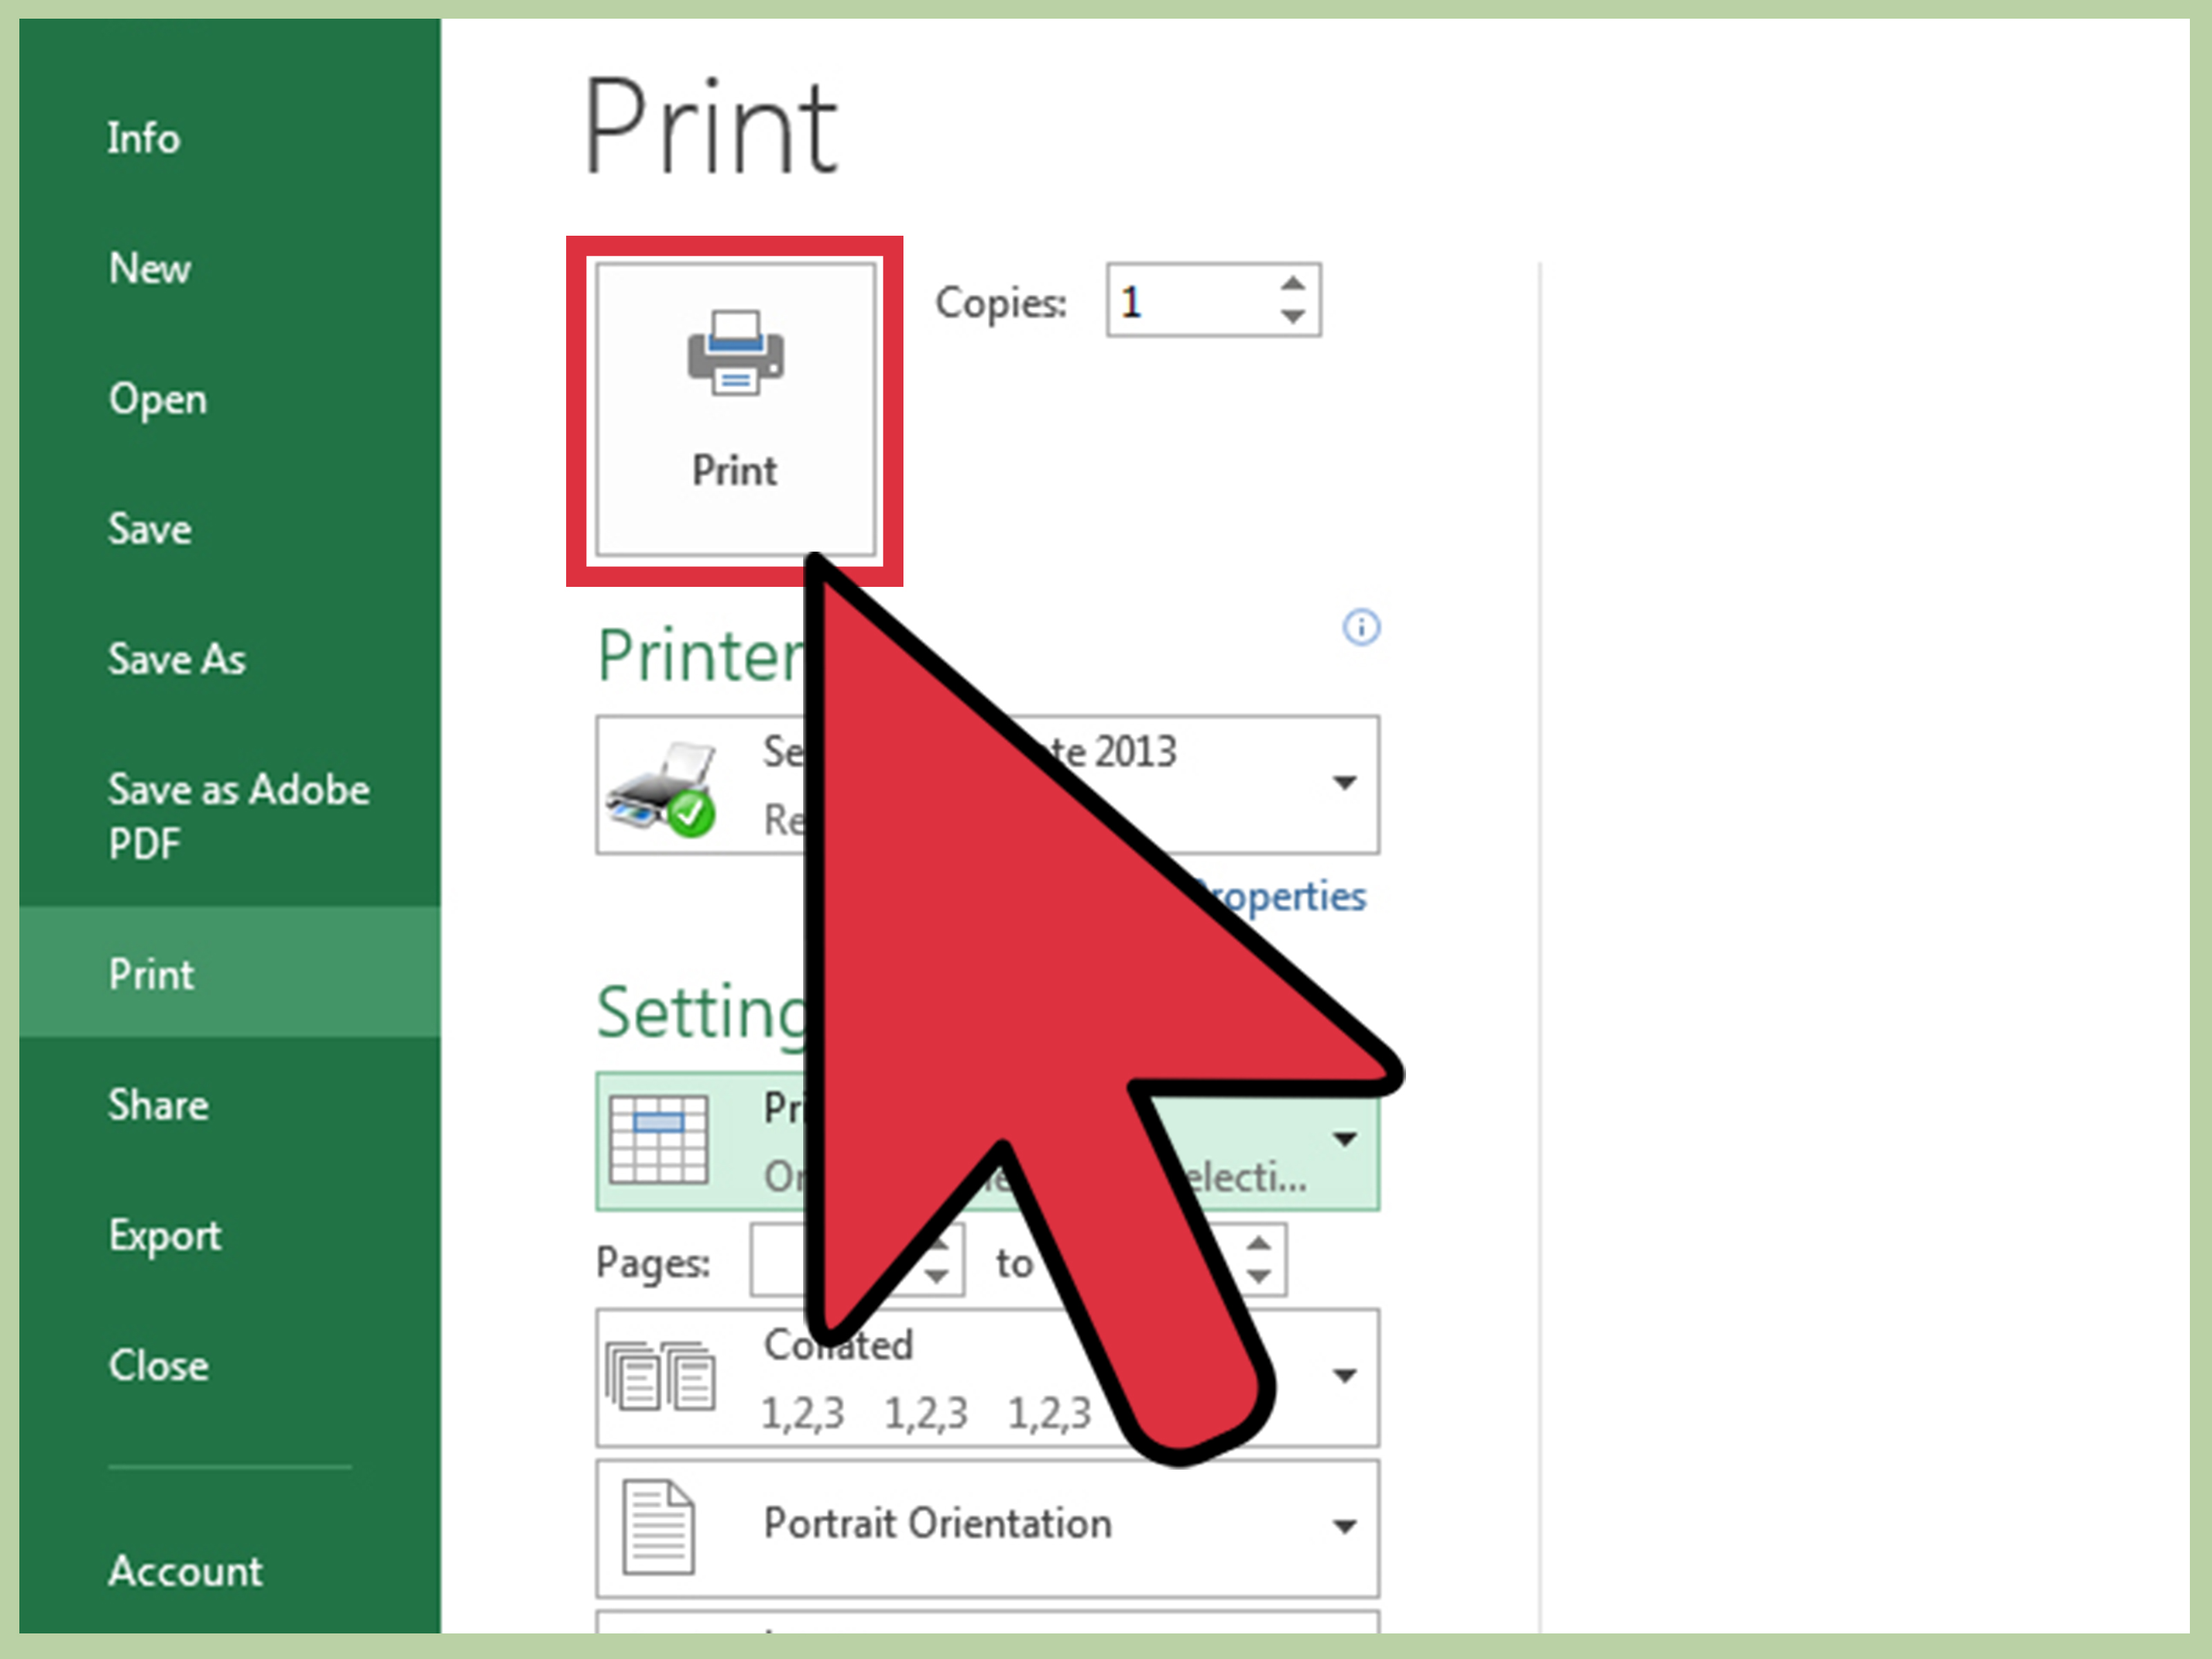
Ensure your data is displayed correctly when printed:
- Adjust column widths to avoid cutting off data. Use the 'AutoFit Column Width' option for a quick fit.
- Similarly, adjust row heights to make your data readable, ensuring cells are not cut off during printing.
🌟 Note: AutoFit can save time but might not always give the perfect fit, so manual adjustments might be necessary.
4. Gridlines and Sheet Options

Making your printouts more readable with gridlines and borders:
- Go to 'Page Layout' and check 'Print Gridlines' if you want the cell borders to appear on your print.
- Optionally, print row and column headers for better data understanding.
| Sheet Option | Description |
|---|---|
| Print Gridlines | Makes data clearer by showing cell borders. |
| Print Headings | Includes row and column labels on each printed page. |

5. Print Preview and Print Area

Before you print, always:
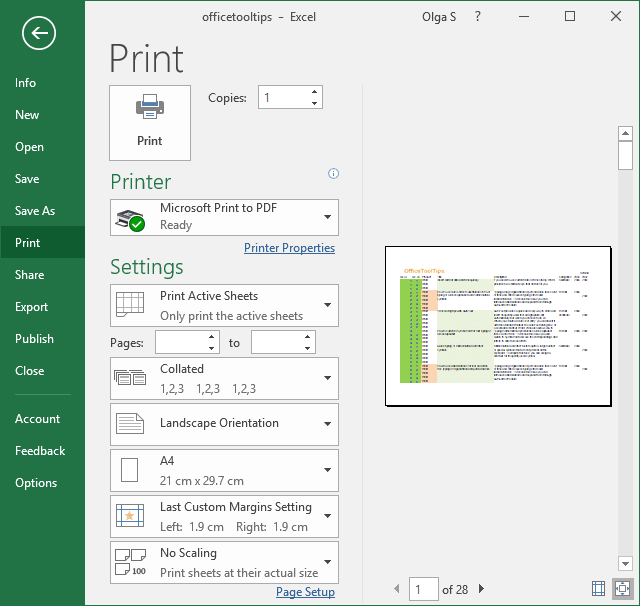
- Check the 'Print Preview' to ensure all data is printed correctly.
- Define a print area if you only want a section of your sheet printed.
📝 Note: The print preview will show you exactly how your Excel sheet will look when printed. Use this to spot and fix issues before wasting paper.
To sum up this guide on perfect printing in Excel, remember that a well-prepared sheet makes the difference between a messy printout and a professional one. From setting the page layout, customizing headers and footers, to ensuring all content is visible through proper column widths and print preview, each step contributes to a flawless print. Always consider the orientation, scaling, and the use of gridlines or borders for clarity. Implementing these techniques will make your Excel sheets not only easier to read but also more impressive when presented in a meeting or report.
Why does my Excel sheet not fit on one page when printed?

+
Your Excel sheet might not fit on one page due to its size, scale settings, or margins. Ensure you adjust the ‘Fit to:’ option in ‘Page Layout’ to fit all content onto a single page.
How can I ensure my headers are repeated on each printed page?

+
Use the ‘Page Setup’ dialog box (accessible from the Page Layout tab), and under the ‘Sheet’ tab, check ‘Rows to repeat at top’. This feature will repeat the selected rows at the top of every page when printing.
Can I print only a part of my Excel worksheet?

+
Yes, you can print only a specific area of your worksheet by setting the print area. Select the range you want to print, go to ‘Page Layout’, and click ‘Set Print Area’.
What should I do if my text is too small to read in the printout?
+
Adjust the scale percentage under the ‘Scaling’ options in the Page Layout tab. Alternatively, increase the font size of your text or column width before printing.


