Autofill Excel from Another Sheet: Quick Guide

If you're dealing with large datasets in Excel, you know the importance of efficiency. Autofill, a powerful feature in Excel, allows you to automatically fill data from one sheet into another. This guide will take you through the process step by step, ensuring you can harness the full potential of Excel's autofill functionality to streamline your work.
Understanding Autofill in Excel
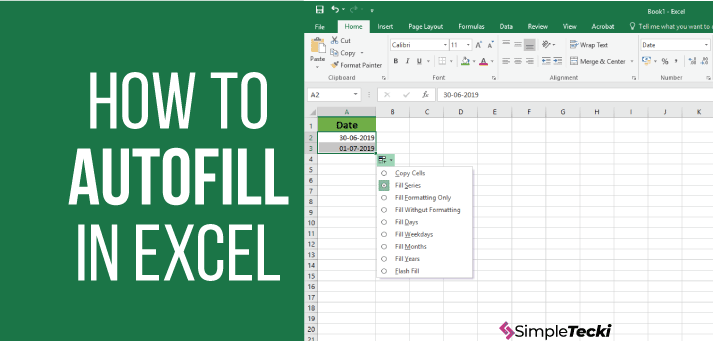
Before we delve into the specifics of autofilling from another sheet, let's define what autofill means in the context of Excel. Autofill is the feature that lets you quickly copy or generate series of data, formulas, or formatting from one cell to others. When it comes to autofill from another sheet, you're essentially replicating this process across different sheets in the same workbook.
How to Autofill from One Sheet to Another
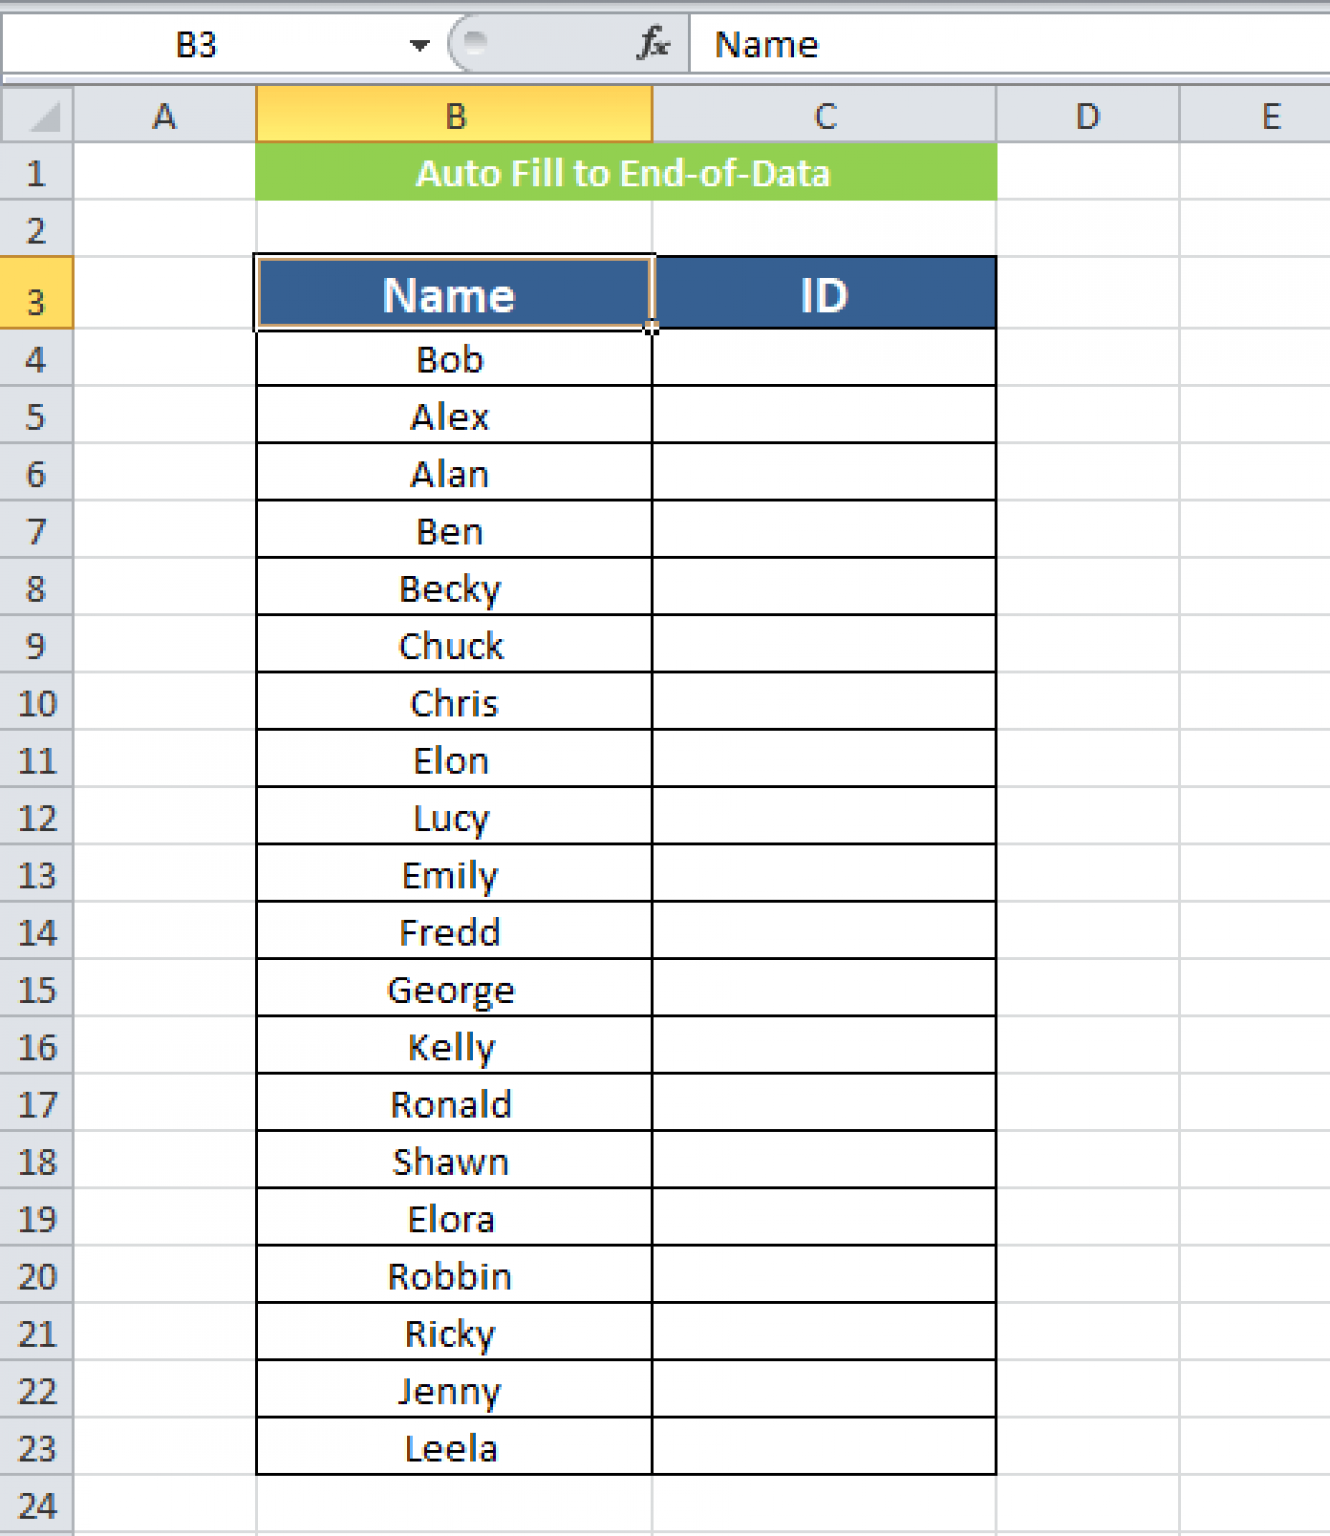
The process of autofilling data from one Excel sheet to another involves a few simple steps:
-
Select the Source Data
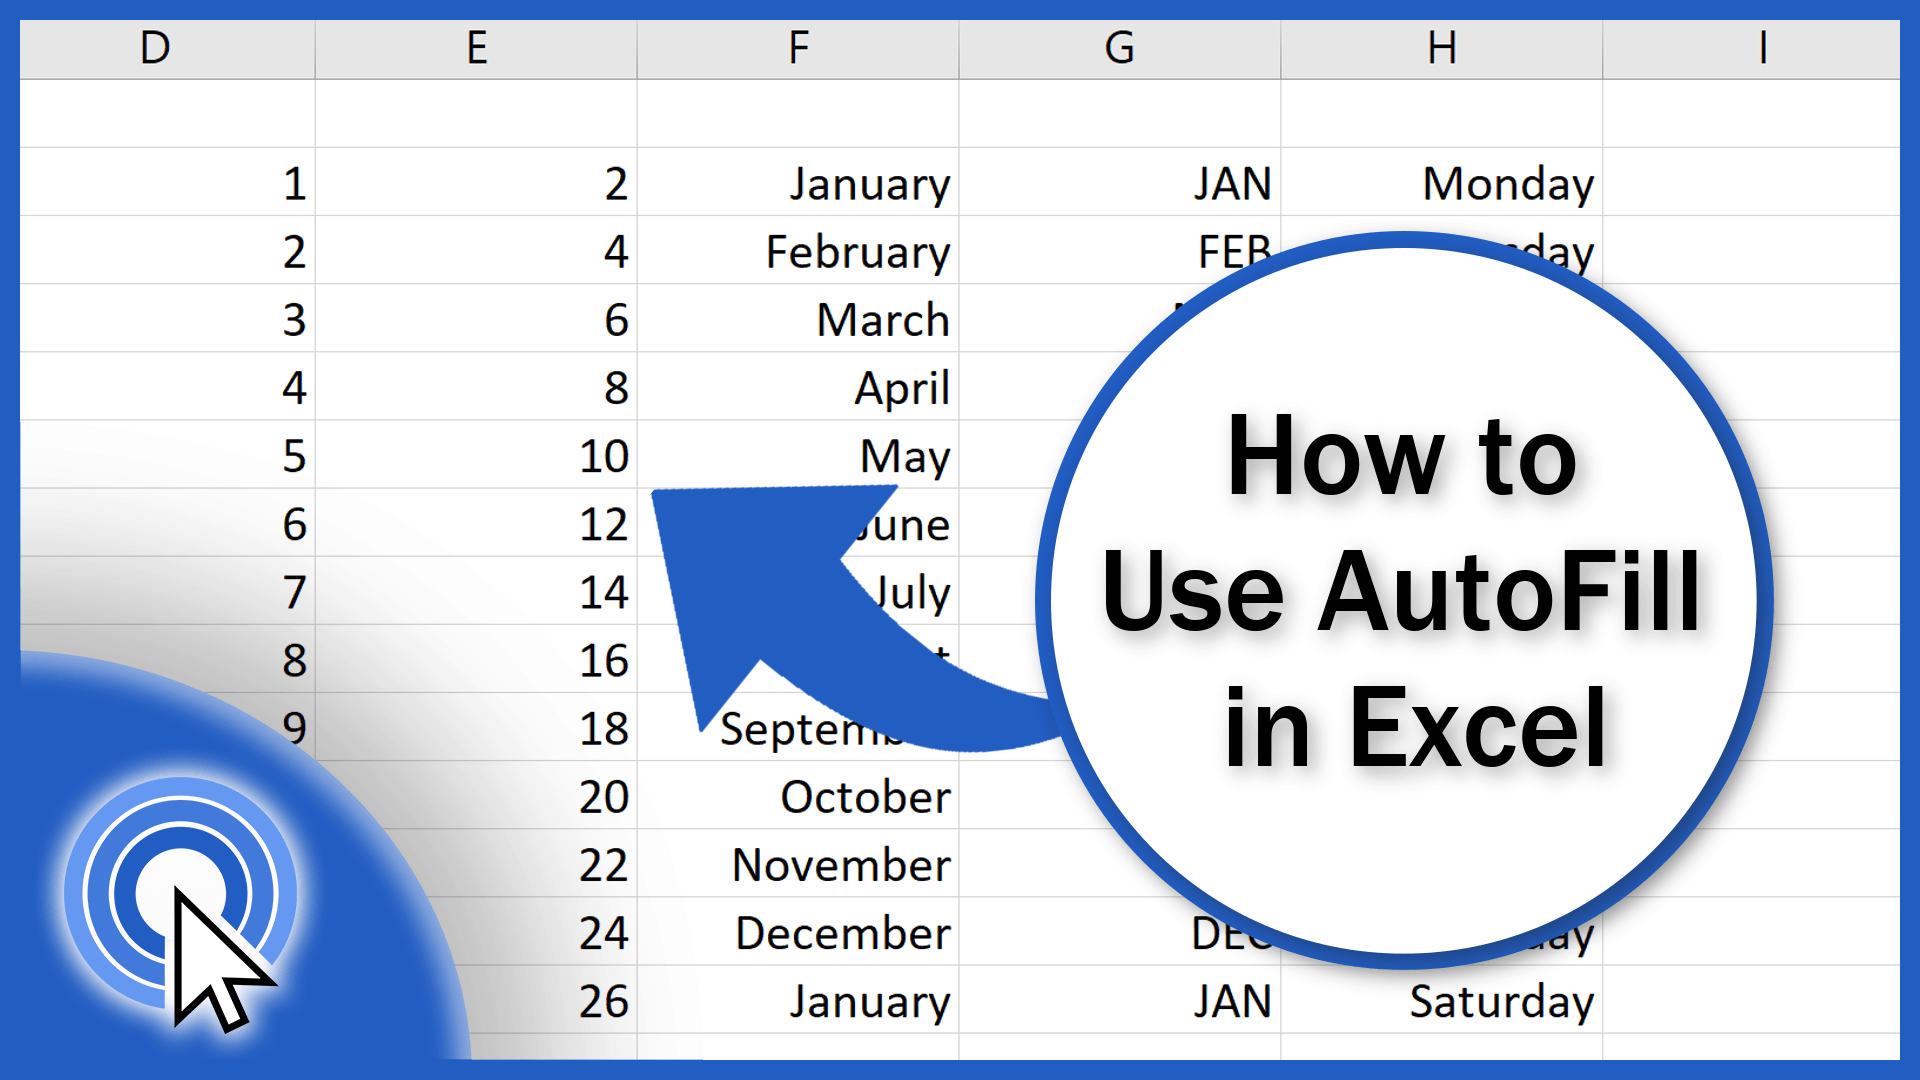
Begin by identifying the data on the source sheet that you wish to autofill into another sheet. This could be a column, row, or range of cells.
-
Copy the Data

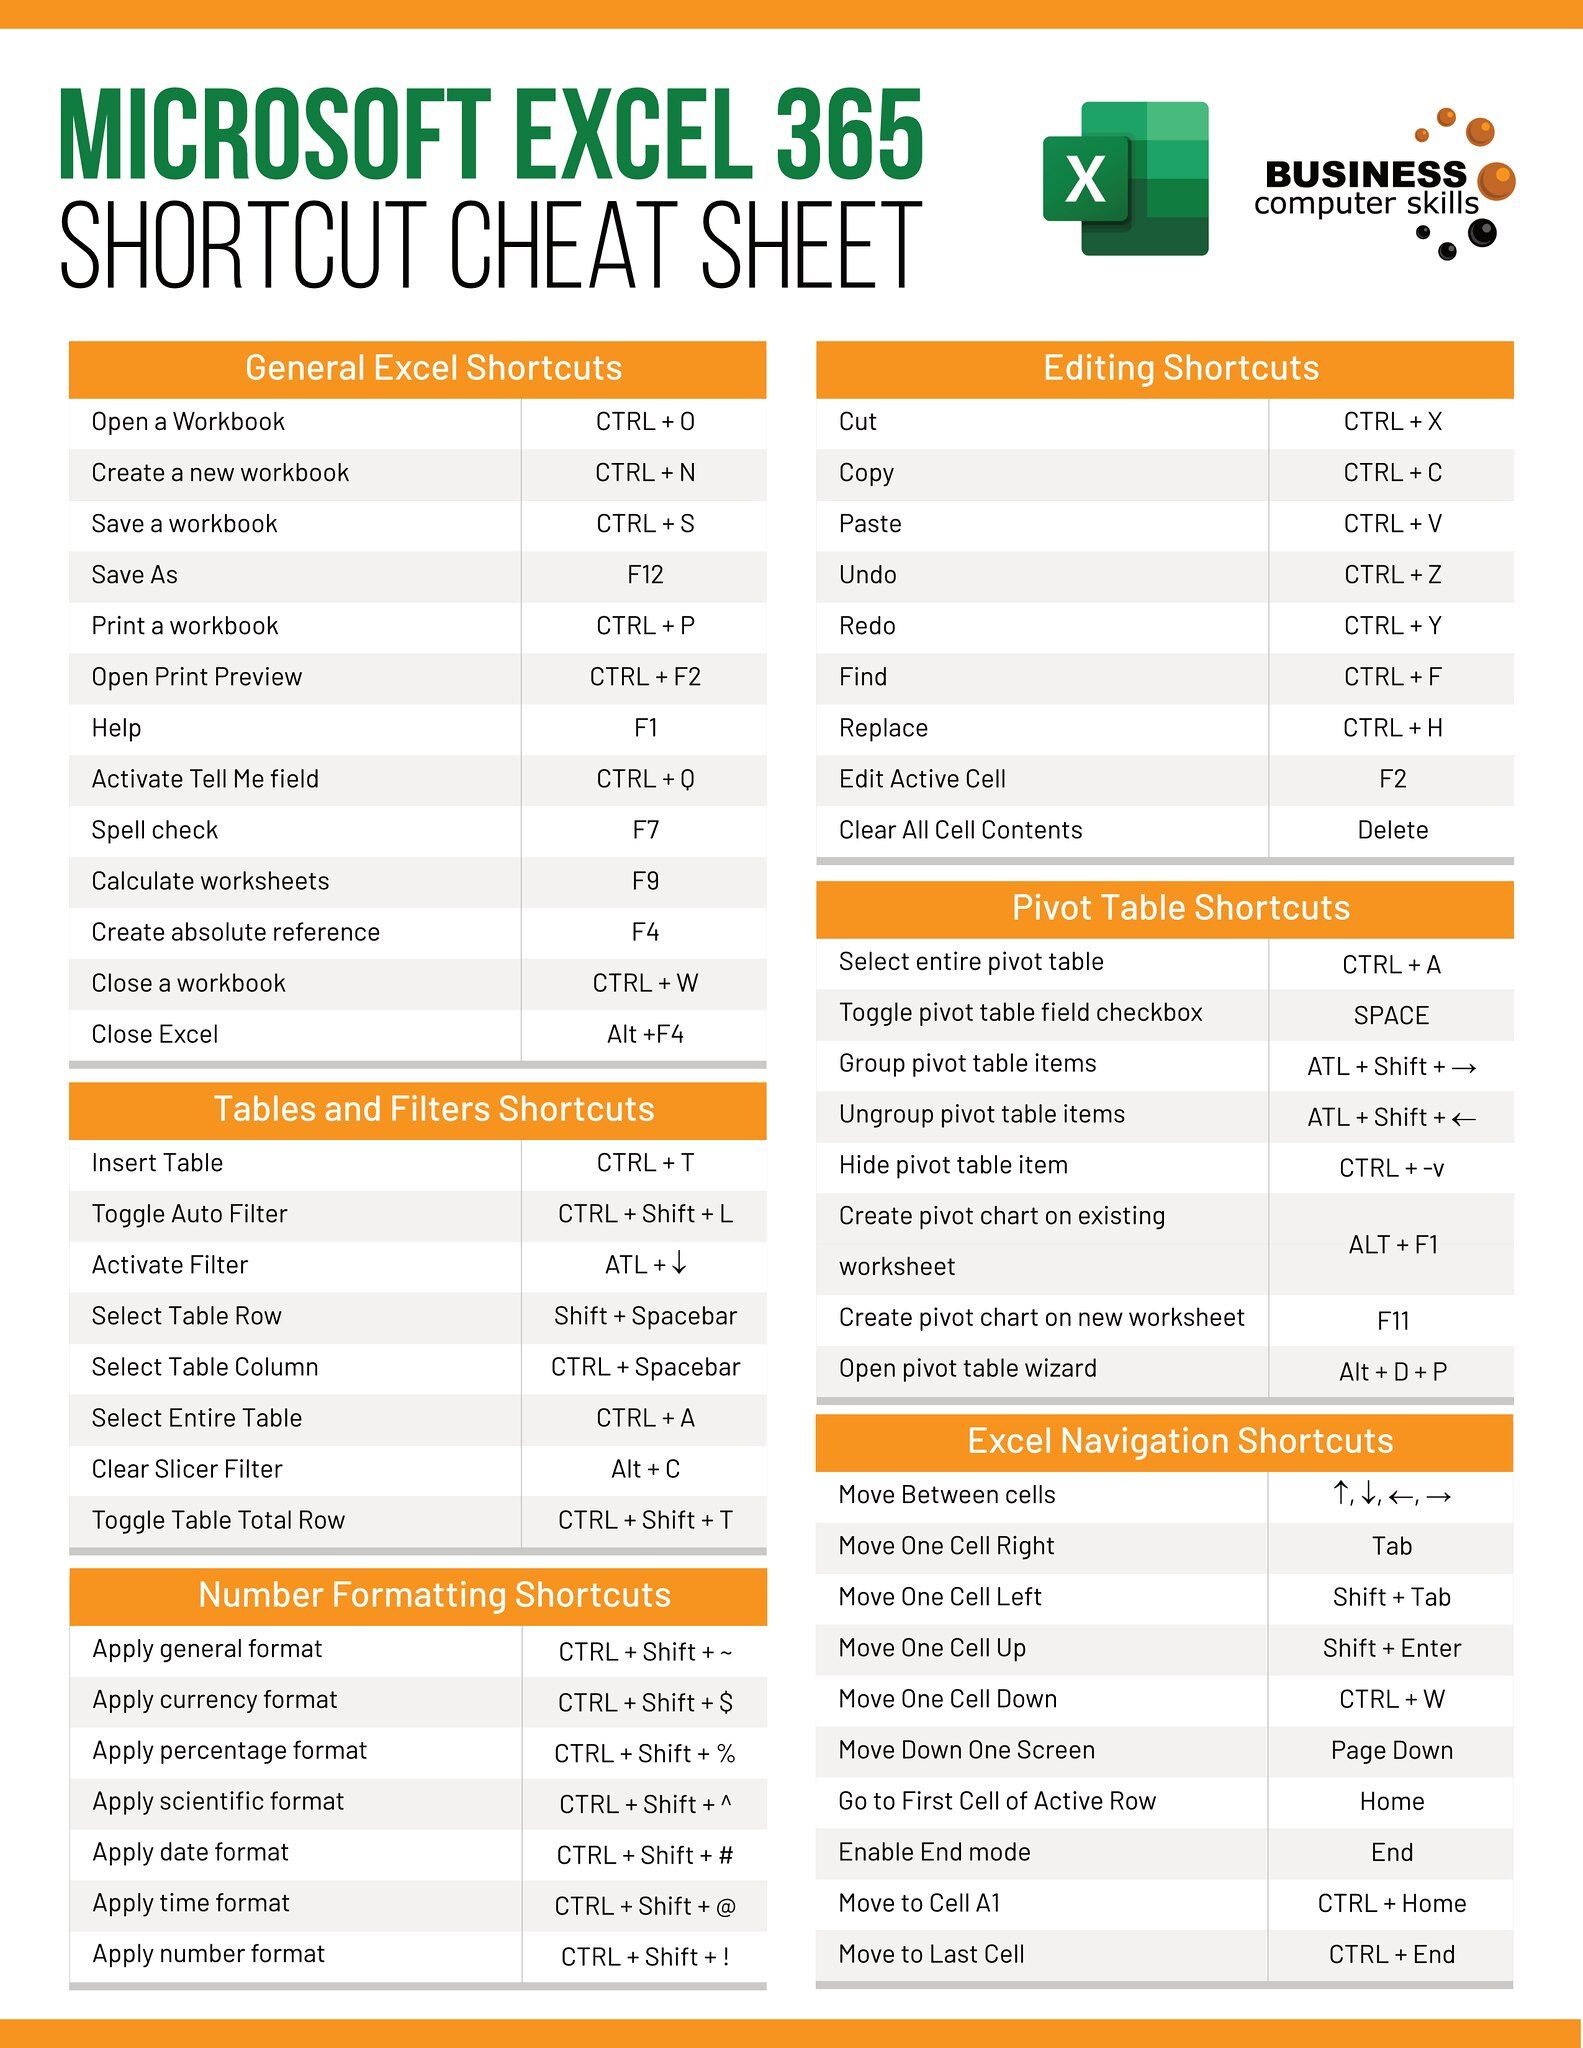
Right-click the selected cells, choose "Copy" or use the keyboard shortcut Ctrl+C.
-
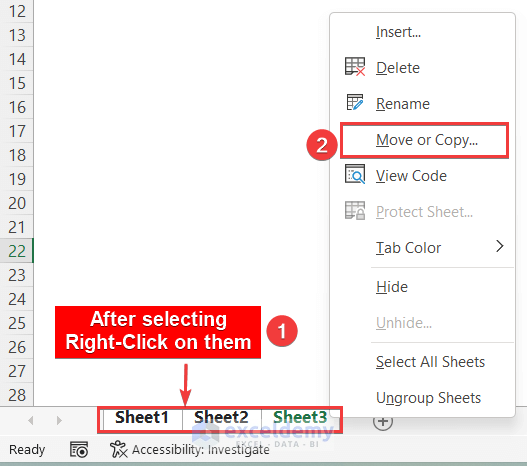
Switch to the Destination Sheet
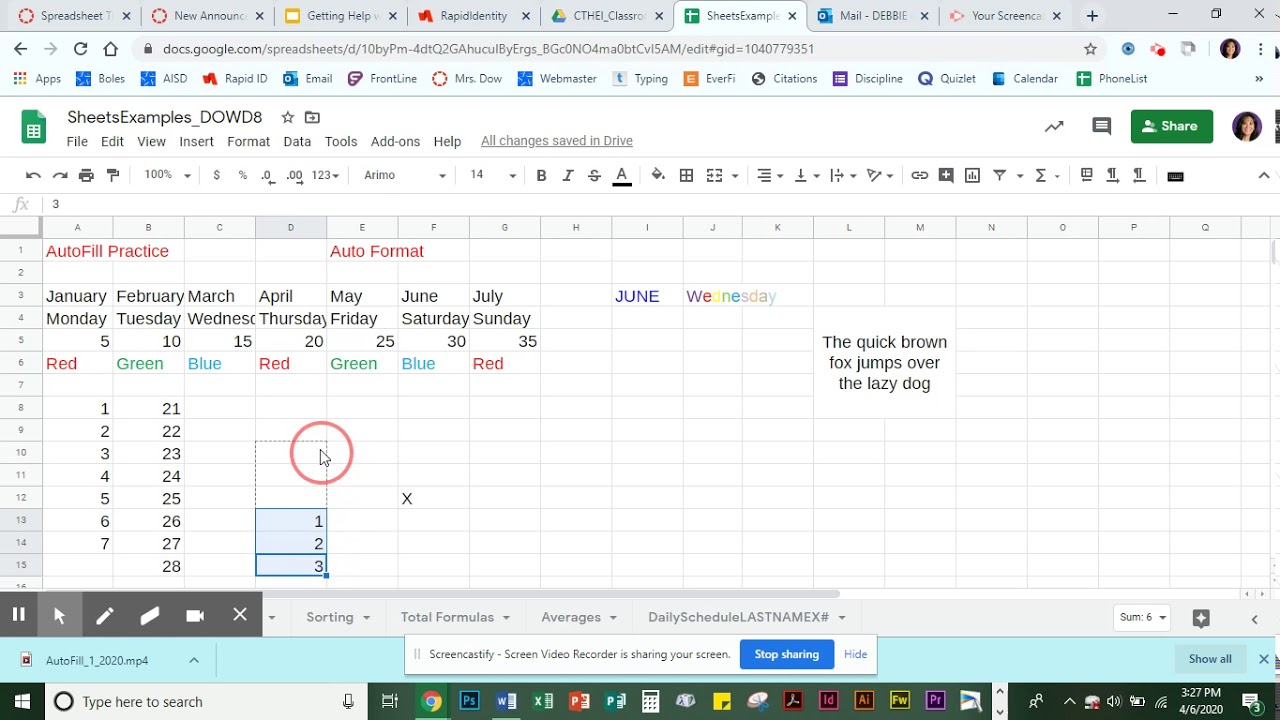
Navigate to the sheet where you want to autofill the data.
-
Paste Options
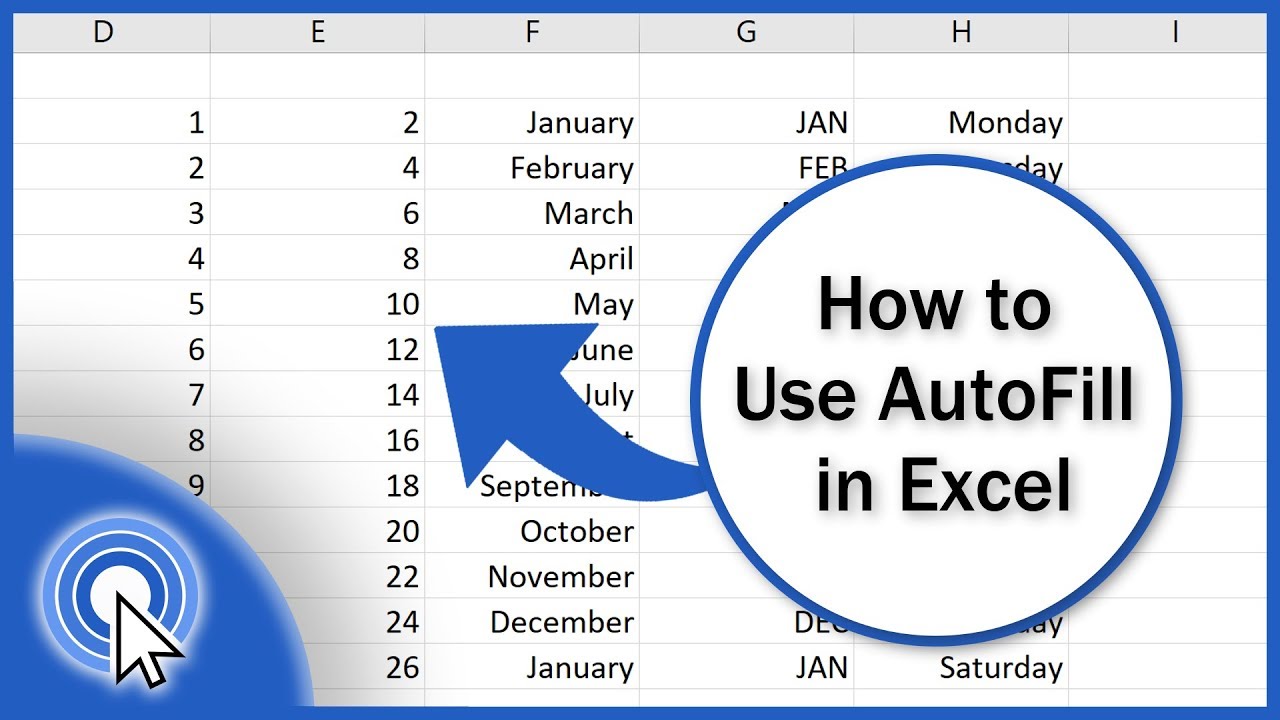
Right-click where you want the data to go, and you'll see various paste options. For autofill, use:
- Values - to only copy the data without formulas or formatting.
- Formulas - if you need to retain any calculations or references.
- Formatting - to replicate the cell's appearance.
- All using Source theme - if you want everything, including formatting.
Examples of Autofill

Here are some common scenarios where you might use autofill from one sheet to another:
- Consolidating Data: Pulling together information from multiple sheets into a summary sheet.
- Data Analysis: Copying financial, sales, or inventory data into an analysis sheet for calculations or visualization.
- Template Creation: Quickly setting up a new template by copying existing data or formulas.
Using Formulas for Dynamic Autofill

You can also use formulas to achieve dynamic autofill:
=Sheet1!A1
When you drag this formula across cells, it will pull data from the corresponding cells in Sheet1. This technique is particularly useful if you need to keep the data up-to-date as the source sheet changes.
📌 Note: Remember to adjust cell references as needed. If your source sheet's layout changes, the formula might need updating to reflect these changes.
Advanced Techniques for Autofilling
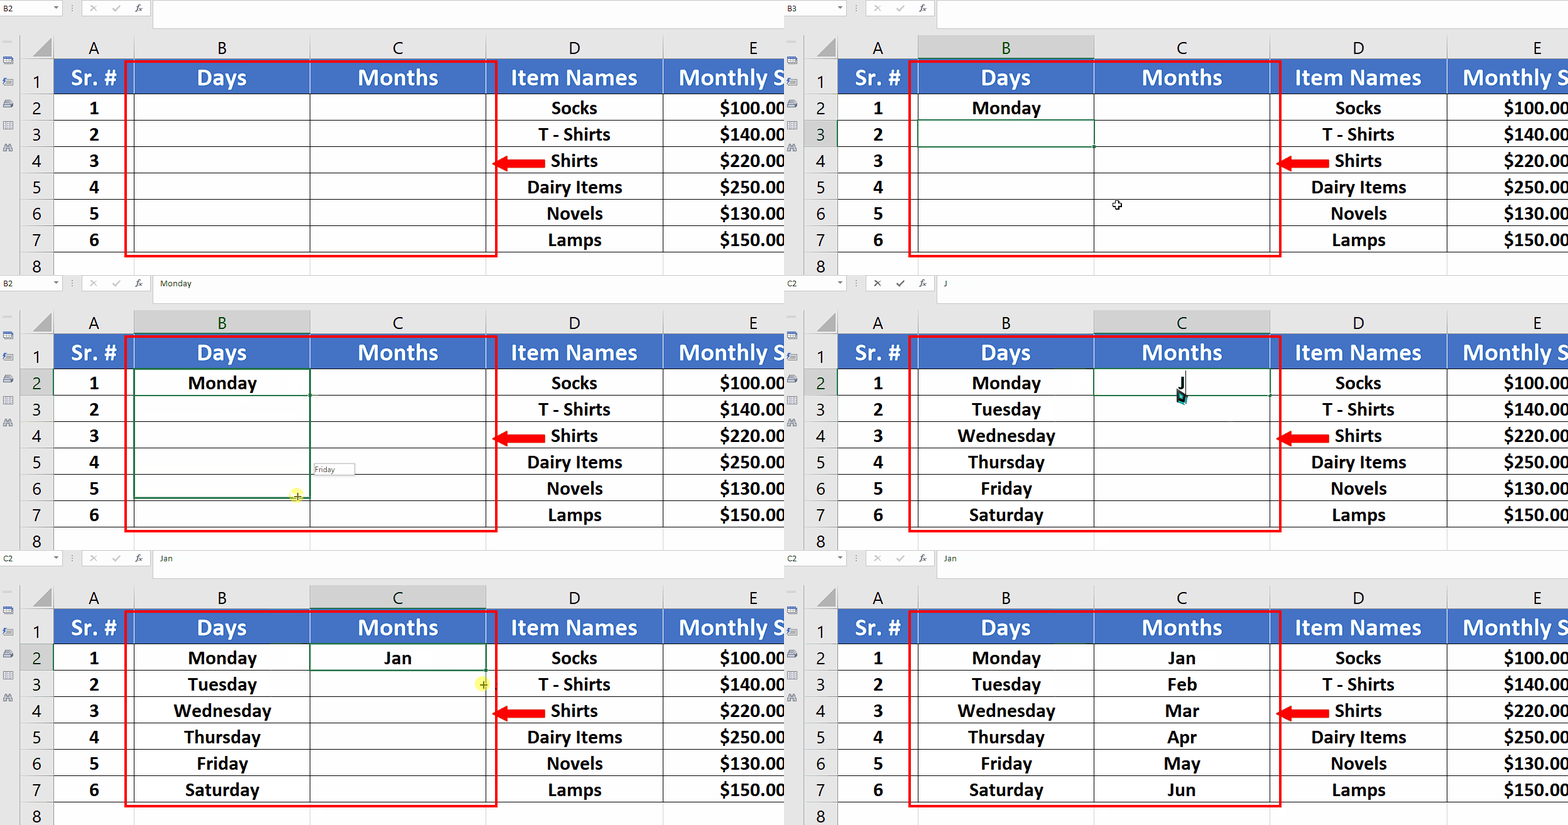
Excel offers advanced methods to make your autofill process more efficient:
Vlookup and Index-Match
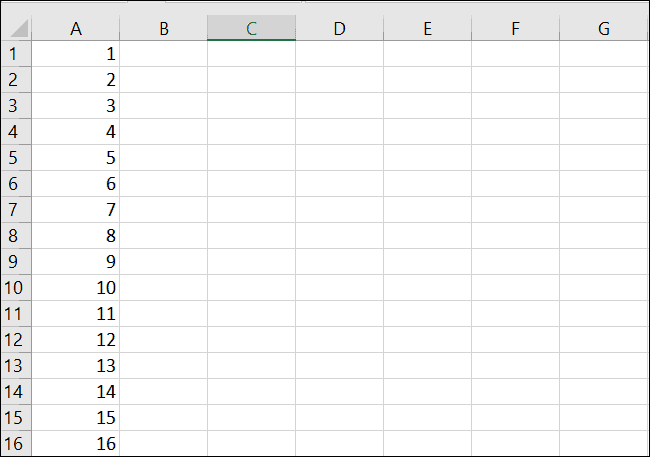
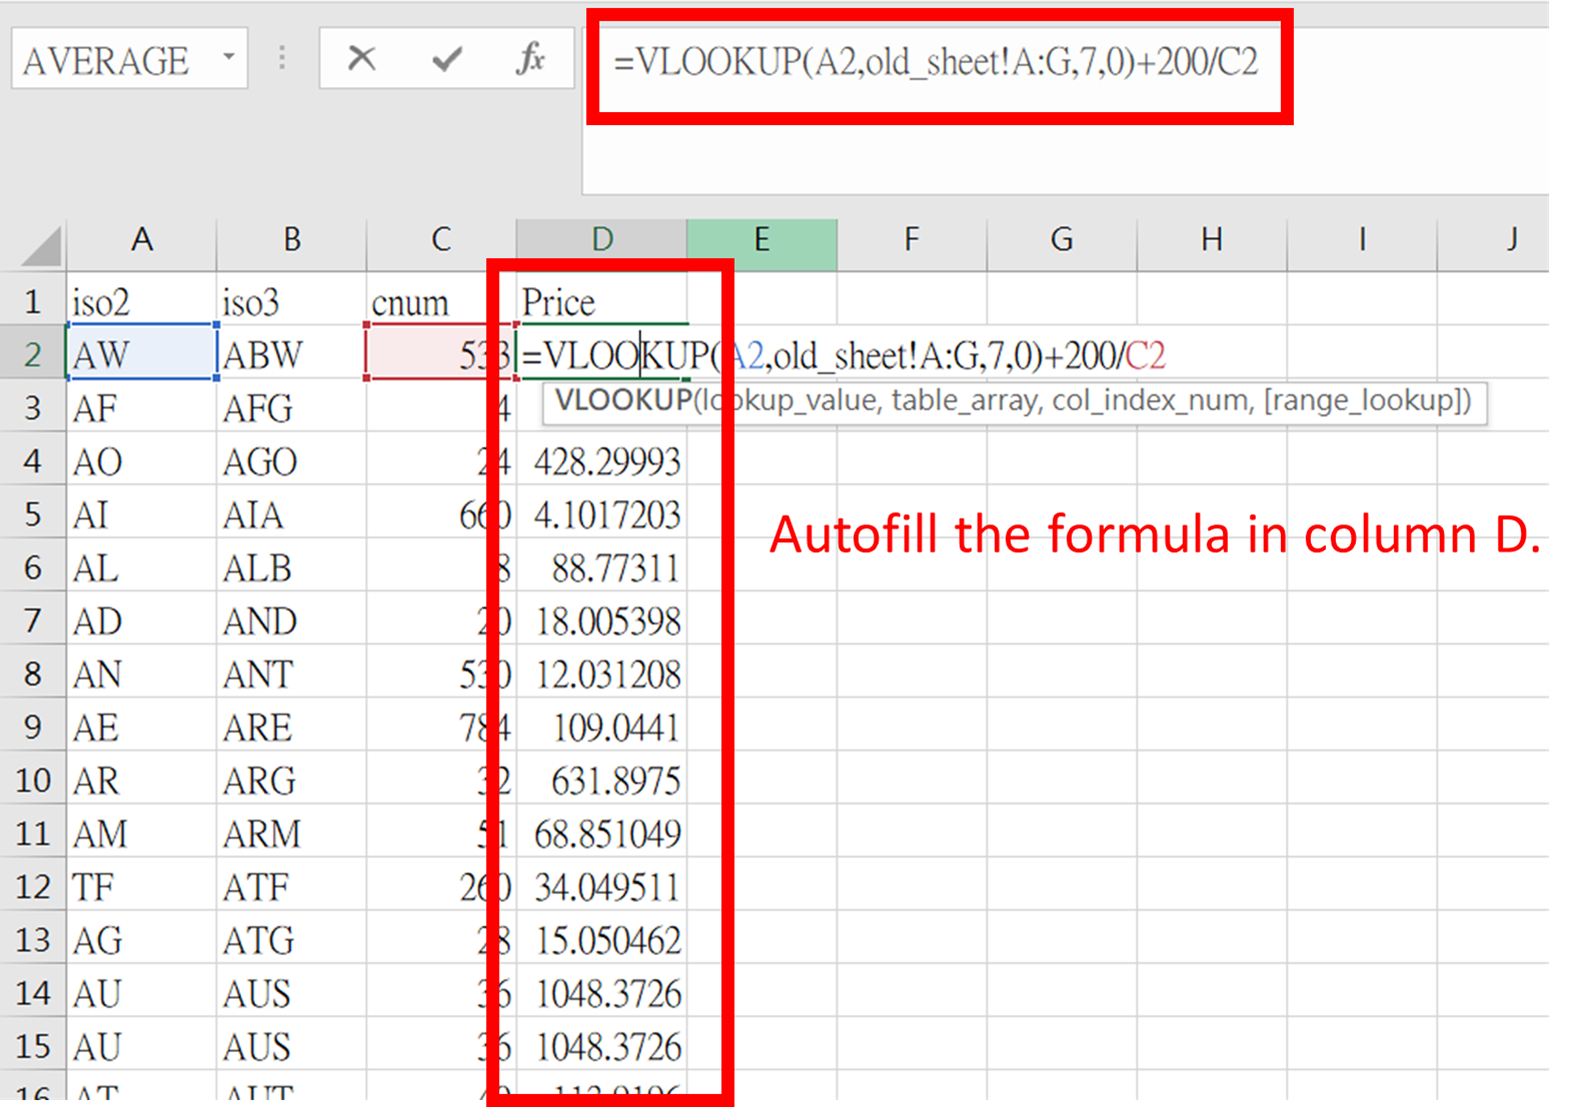
Use VLOOKUP or INDEX-MATCH functions to pull data based on specific criteria. Here's how you can use Vlookup:
=VLOOKUP(A2,Sheet2!A:B,2,FALSE)
This formula looks up the value in A2 on the current sheet and retrieves data from the second column (B) of Sheet2.
📌 Note: Vlookup assumes the lookup value is on the left of the returned column, while Index-Match is more flexible and can look up values from any column.
Using Macros for Complex Autofill

For repetitive and complex autofilling tasks, consider using VBA macros:
  Sub AutofillFromSheet()
      Dim wsSource As Worksheet, wsDest As Worksheet
      Set wsSource = ThisWorkbook.Sheets("SourceSheetName")
      Set wsDest = ThisWorkbook.Sheets("DestinationSheetName")

      ' Define the range to copy
      Dim sourceRange As Range
      Set sourceRange = wsSource.Range("A1:A10")

      ' Define the range to paste
      Dim destRange As Range
      Set destRange = wsDest.Range("A1:A10")

      ' Copy and paste values
      sourceRange.Copy destRange
  End Sub
This macro automates the process by directly copying data from one sheet to another, reducing manual errors and saving time.
Power Query for Data Consolidation

Power Query is a powerful tool in Excel for data consolidation:
- Go to the Data tab and select Get Data > From Other Sources > From Microsoft Query.
- Choose your source (in this case, Excel workbook).
- Select the sheet you want to import data from.
- Apply transformations as needed in Power Query, then load the data into your desired sheet.
📌 Note: Power Query can also handle data from multiple sources, making it ideal for complex data workflows.
Managing Large Datasets with Autofill
When dealing with large datasets, here are some strategies:
- Data Validation: Ensure data integrity by setting up rules to validate what can be autofilled.
- Named Ranges: Use named ranges for easier reference in formulas and autofill operations.
- Paste Special: This can help with specific data types or formatting needs.
These techniques help in efficiently managing and processing large volumes of data.
Key Points to Remember
The autofill feature in Excel is versatile, and knowing how to leverage it from one sheet to another can significantly enhance productivity. Remember:
- The data you're copying should be consistent in format and structure.
- Ensure formulas or references in the destination sheet are updated if the source sheet changes.
- Use dynamic formulas or Power Query for live data that updates automatically.
- For complex or repetitive tasks, consider automation with VBA macros.
To summarize, autofill from one Excel sheet to another is not just about copying data. It’s about using Excel’s powerful features to automate, consolidate, and analyze data efficiently. Whether you’re managing financial reports, inventory systems, or any other data-intensive project, mastering these techniques can transform how you work with spreadsheets.
Can I autofill non-contiguous cells?

+
No, autofill typically works with contiguous cells. For non-contiguous cells, you would need to copy and paste each range manually or use a macro to automate the process.
Does Excel autofill work between workbooks?
+Yes, you can autofill data from another workbook using the same principles, but you’ll need to reference the external workbook in your formulas or copy-paste the data directly from one workbook to another.
What if the source sheet changes?
+If using dynamic formulas like those mentioned (e.g., VLOOKUP), the data will update automatically. However, if you’ve copied and pasted values or used static references, you’ll need to manually update or automate the process with macros to reflect changes.
How can I avoid errors when autofilling data?
+To avoid errors, double-check your source and destination ranges, use data validation, and ensure that the data types match. Automation through macros can also help reduce manual errors.
Is there a limit to how much data I can autofill?
+While there isn’t a strict limit on the amount of data you can autofill, Excel does have row and column limits (1,048,576 rows by 16,384 columns as of Excel 365). Performance issues may occur with very large datasets, and you might need to consider splitting data across multiple sheets or workbooks.
