5 Easy Steps to Start Your Excel Sheet

If you've ever felt intimidated by Microsoft Excel, you're not alone. This versatile tool can streamline your data organization and analysis tasks, but knowing where to start can be challenging. In this guide, we'll walk you through the 5 easy steps to start your Excel sheet to help you transform your data management process. Whether you're a beginner or need a refresher, these steps will ensure you feel confident in Excel in no time.
Step 1: Open Microsoft Excel and Create a New Workbook

To begin your Excel journey, you first need to open the software:
- Click on the Microsoft Excel icon from your Start menu or desktop shortcut.
- If Excel is already open, go to File > New to start a fresh workbook.
- The default new workbook contains multiple worksheets where you can organize your data.
💡 Note: You can choose from several templates if you need a starting point tailored to your task, like budgeting or scheduling.
Step 2: Enter Your Data

Now that your workbook is ready:
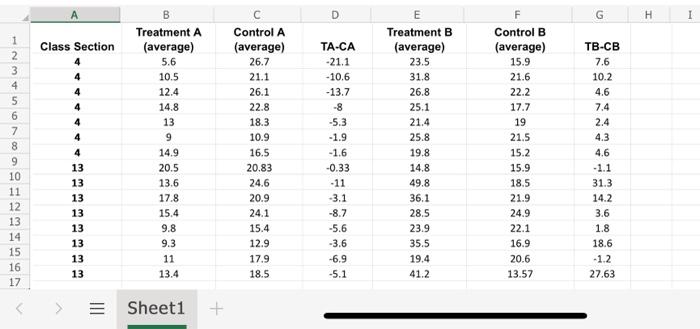
- Click on a cell to activate it for input.
- Type your data directly into the cells or use the Formula Bar for editing.
- Press Enter or Tab to move to the next cell.
- You can enter various data types, like numbers, text, or even formulas.
| Data Type | Example | Use |
|---|---|---|
| Text | Project Name | Headers, labels |
| Numbers | 1234, $1000.50 | Quantities, monetary values |
| Formulas | =SUM(A1:A10) | Calculations |

📌 Note: Always keep an eye on the format of your cells as Excel might auto-detect and apply formatting.
Step 3: Format Your Data

Formatting is crucial for data readability:
- Select cells or ranges to format.
- Use the Home tab for basic formatting options like font, color, borders, and alignment.
- Apply conditional formatting to highlight data visually.
- Set cell number formats for currency, percentages, dates, etc.
These formatting options ensure your Excel sheet isn't just functional but also aesthetically pleasing, making it easier to interpret data at a glance.
📝 Note: Remember, too much formatting can clutter your sheet; use it judiciously.
Step 4: Use Formulas and Functions

Excel's real power lies in its ability to compute and analyze:
- Begin with basic calculations like addition or multiplication.
- Explore more complex functions such as SUM, AVERAGE, IF, and VLOOKUP.
- Utilize the Formula AutoComplete feature for easier formula construction.
Remember, learning formulas can significantly boost your productivity. Here are some commonly used formulas:
=SUM(A1:A10)  // Adds the values from cells A1 to A10
=AVERAGE(B1:B10)  // Calculates the average of the values in B1 to B10
=IF(C1>50, "Yes", "No")  // Checks if C1 is greater than 50, if so, returns "Yes", otherwise "No"
=VLOOKUP(D1, A1:B10, 2, FALSE)  // Searches for D1 in column A and returns the corresponding value from column B
🌟 Note: Practice with real-world data to understand how formulas can solve your problems.
Step 5: Analyze Your Data with Tools

Once your data is in place:
- Use the Data Analysis tools from the Data tab for statistical analysis.
- Create charts and graphs to visualize trends and relationships.
- Set up PivotTables for quick and dynamic data summarization.
These tools can transform your raw data into meaningful insights:
- Charts help in spotting trends and outliers visually.
- PivotTables allow for dynamic data analysis by filtering, sorting, and grouping your data.
📊 Note: Charts and PivotTables are your allies in presenting data to others effectively.
By following these five steps, you've now turned Excel from a daunting piece of software into a powerful tool for data management and analysis. Remember, mastering Excel doesn't happen overnight, but with each sheet you create, you'll become more adept at using its wide array of features. Data entry, formatting, calculating, and visualizing are core skills that will benefit you in any data-related task you encounter. Enjoy your journey with Excel!
What are some beginner-friendly Excel shortcuts?

+
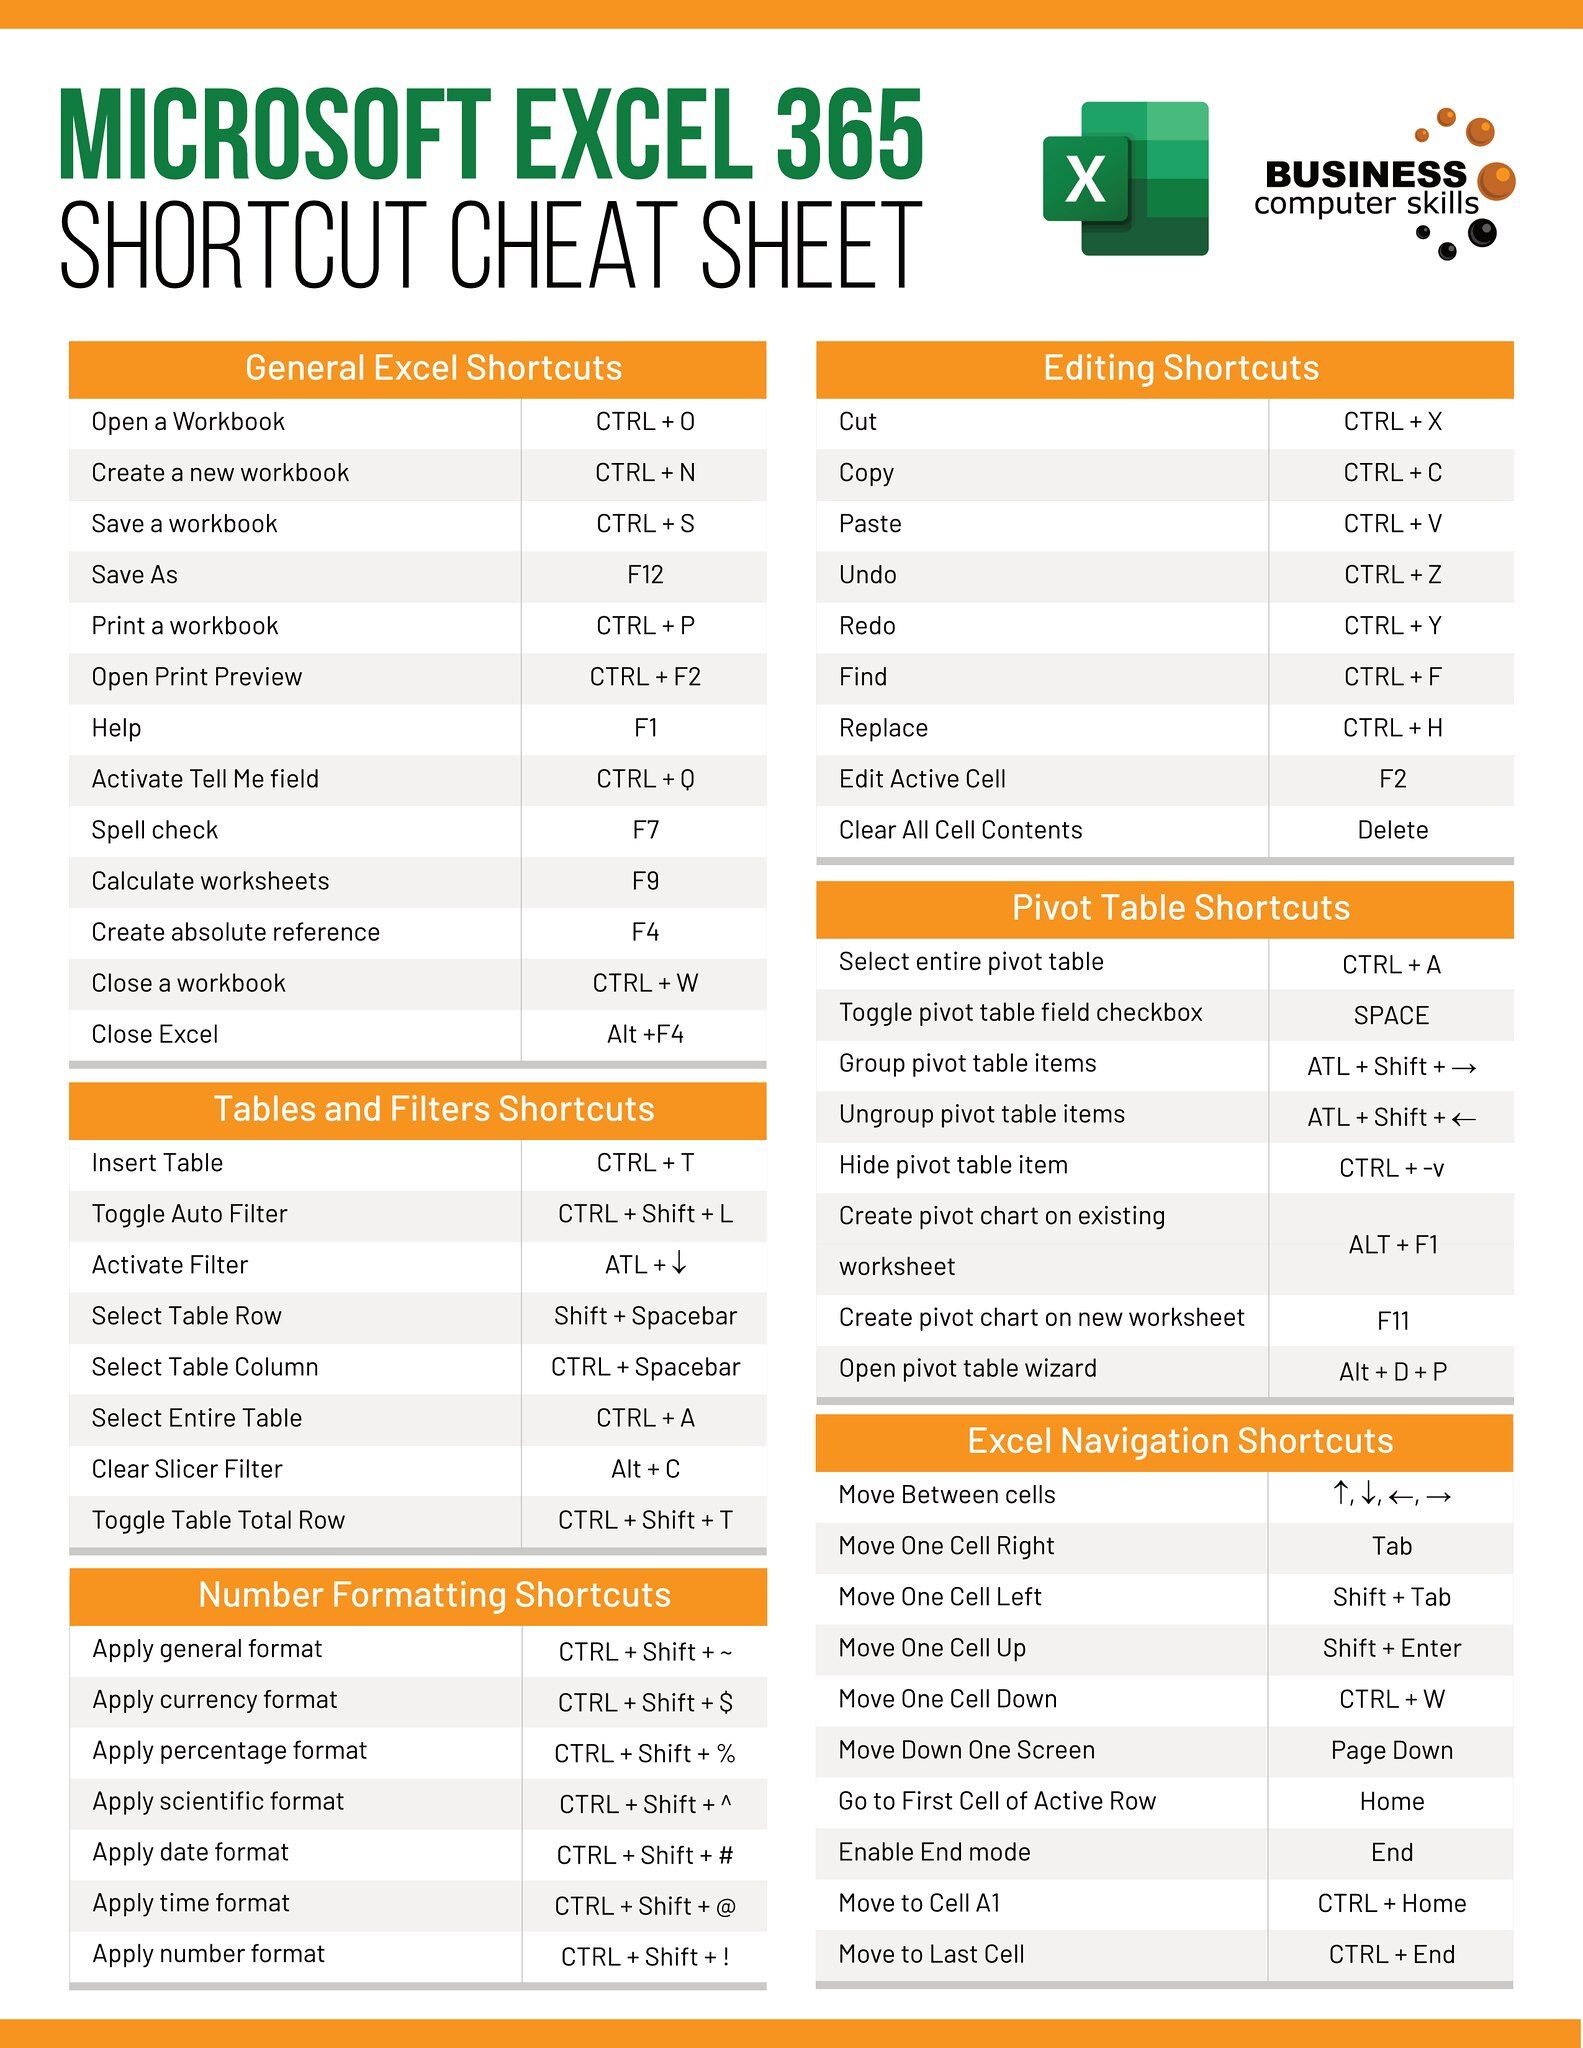
Here are a few basic shortcuts for new Excel users:
- Ctrl + C: Copy
- Ctrl + V: Paste
- Alt + Enter: Start a new line within a cell
- Ctrl + Z: Undo
- Ctrl + Y: Redo
Can Excel handle large datasets?

+
Yes, Excel can manage large datasets. Its limits depend on the version you’re using, but you can handle millions of rows and thousands of columns. For very large datasets, consider using Power Query for data import and management.
How do I learn more advanced Excel skills?

+
To advance your Excel skills:
- Explore online tutorials and courses like those on LinkedIn Learning, Coursera, or YouTube.
- Practice with sample datasets and real-world projects.
- Join Excel communities or forums for advice, tips, and networking.
- Experiment with Excel’s Power Tools like PowerPivot, Power Query, and Power BI.