5 Quick Ways to Apply Headers to Excel Sheets

If you're working with Microsoft Excel, you're likely familiar with the importance of organizing data for analysis and readability. One of the fundamental ways to structure your spreadsheet effectively is by adding headers. Headers serve as labels for the columns or rows of your data, making it easier to understand what each section represents. Here are five quick methods to apply headers in Excel:
1. Typing Directly into Cells

The most straightforward way to add headers to your Excel sheet is by:
- Clicking on the cell where you want to insert your header.
- Typing in your header name.
- Pressing Enter to move to the next cell or tab to another cell.
This method is perfect for small datasets or when you want to manually control the headers.
2. Using the Table Feature

Excel’s table feature not only adds headers automatically but also provides additional formatting and data management tools:
- Select your data range.
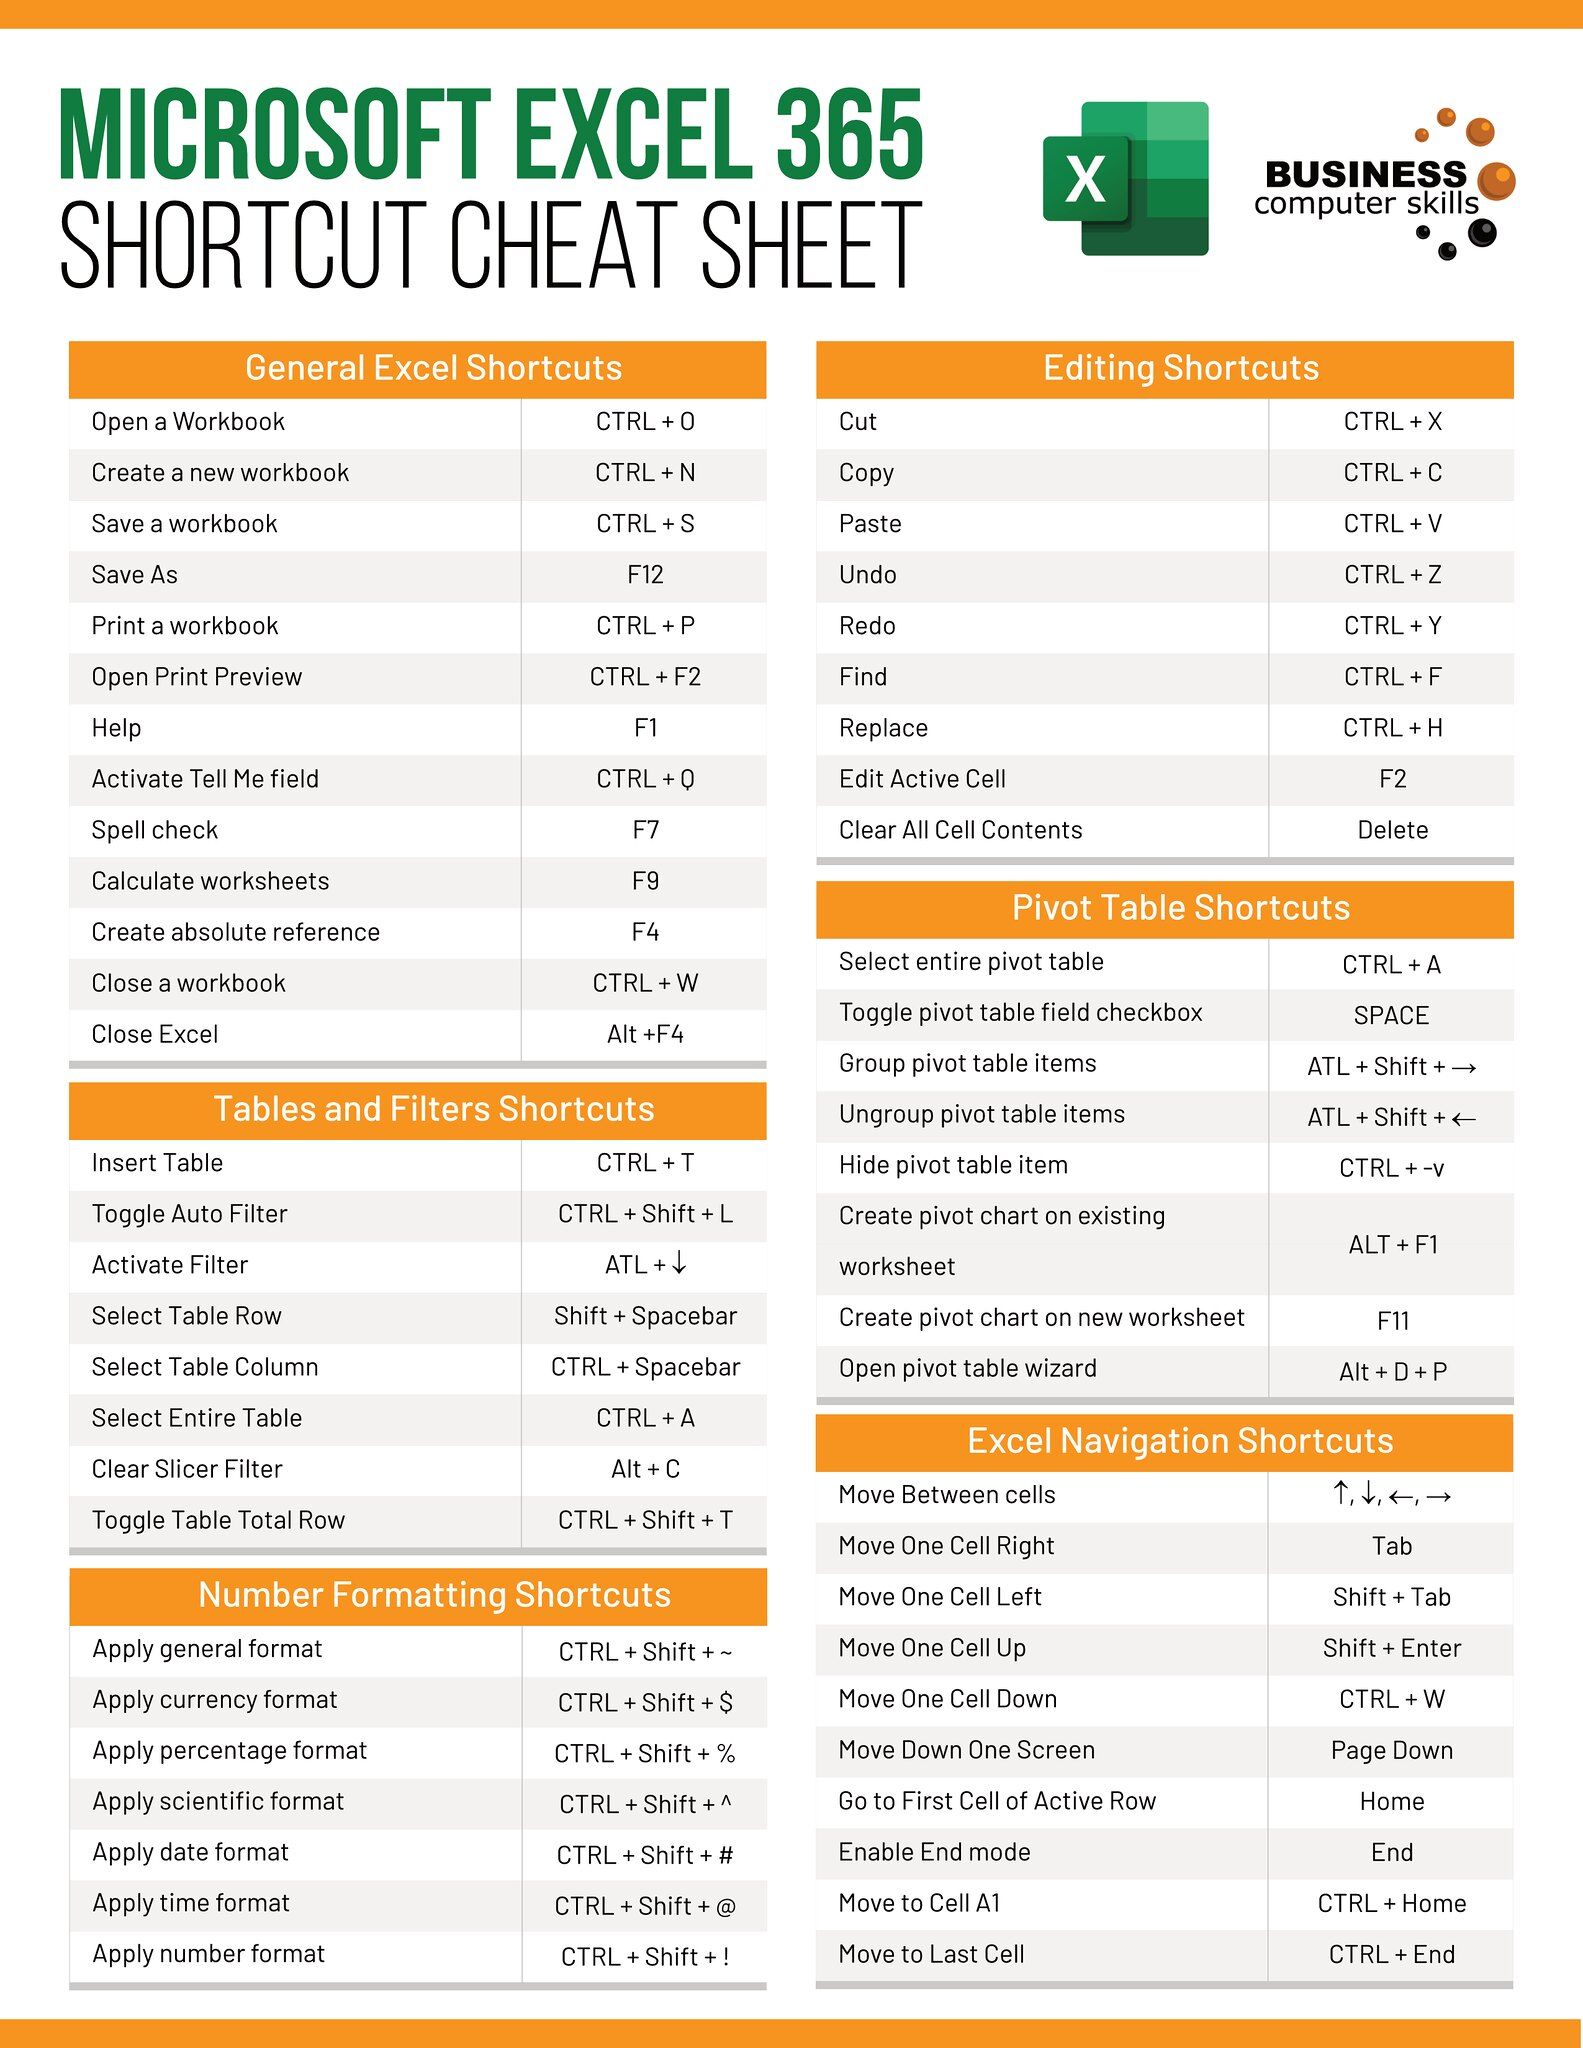
- Go to the ‘Insert’ tab and choose ‘Table’, or press Ctrl+T.
- Check the ‘My table has headers’ box if your data already includes headers, or Excel will create generic ones.
- Excel will add the headers and style your data for easier readability.
3. AutoFill Feature

For repetitive header names or sequences, AutoFill can save time:
- Enter your first header.
- Drag the fill handle (the small square in the bottom-right corner of the cell) down or to the right.
- Excel will attempt to fill in the subsequent headers logically.
This is particularly useful for headers like “Week 1”, “Week 2”, etc.
4. Importing Headers from Another Sheet or File

If you have a template or headers you’ve used before:
- Open the sheet or workbook with the headers you want.
- Copy the header cells.
- Go to your target sheet, right-click where you want the headers, and paste.
- You can choose to paste only the values, formatting, or both.
This method helps maintain consistency across multiple sheets or documents.
5. Using VBA (Visual Basic for Applications)

For advanced users, VBA can automate the header application:
- Press Alt+F11 to open the VBA editor.
- Insert a new module.
- Enter a macro like:
Sub AddHeaders() Dim ws As Worksheet Set ws = ActiveSheetWith ws .Cells(1, 1).Value = "Header 1" .Cells(1, 2).Value = "Header 2" .Cells(1, 3).Value = "Header 3" End With
End Sub
This macro adds three headers to the first row of the active sheet.
💡 Note: Always save your Excel file as a Macro-Enabled Workbook (.xlsm) if you’re using macros.
Summing Up

Headers in Excel sheets not only organize your data visually but also significantly enhance data management and analysis capabilities. Here are the key methods to add headers:
- Direct input for simplicity.
- The Table feature for automatic formatting.
- AutoFill for repetitive data.
- Importing headers for consistency.
- VBA for automation in large or complex workbooks.
Each method has its advantages depending on the size of your dataset, the need for automation, and how often you need to apply headers. By mastering these techniques, you can streamline your work process and make your Excel files more intuitive and useful for analysis.
How can I freeze headers in Excel?

+
To freeze headers, select the row below where you want the split, go to the ‘View’ tab, and click ‘Freeze Panes’.
Can I apply filters to headers?

+
Yes, by converting your data into a table or by using the ‘Filter’ option under the ‘Data’ tab in Excel.
What are the benefits of using tables for headers?

+
Tables automatically format headers, provide easy sorting and filtering, and help with data expansion as your data grows.
How can I format headers to make them stand out?

+
You can change the font, size, color, add borders, or use cell shading to differentiate headers from data.
Is it possible to apply headers to multiple sheets at once?

+
Using VBA or group editing features, yes, you can apply headers to multiple sheets simultaneously for consistency.


