How to Lock a Sheet in Excel: Simple Steps

When working with Microsoft Excel, one common concern is the integrity of the data you input. Whether you're sharing financial models, tracking project timelines, or managing inventory, there are times when you might want to protect your sheets from unintended changes. That's where knowing how to lock a sheet in Excel becomes invaluable. This feature allows you to prevent alterations to specific cells or the entire sheet, ensuring that your work remains unaltered. In this comprehensive guide, we'll walk through the steps to lock a sheet in Excel, providing insights into why you might need this feature and how it benefits your work.
Why Locking a Sheet in Excel is Beneficial

Before diving into the how-to, let’s consider why you might want to lock an Excel sheet:
- Data Protection: Prevent accidental or unauthorized changes to your data.
- Collaboration: Share your workbook while controlling what parts of it can be edited.
- Consistency: Ensure formulas and critical information remain intact across different users.
- Security: Add an extra layer of security to sensitive information.
How to Lock an Excel Sheet

Here’s how you can lock a sheet in Excel:
-
Open Your Excel Workbook

Launch Excel and open the workbook that contains the sheet you wish to lock.
-
Select the Cells or Sheet to Lock

You can either:
- Select specific cells or ranges you want to lock. (For more granular control)
- Or, simply proceed to lock the entire sheet, where by default, all cells are locked.

-
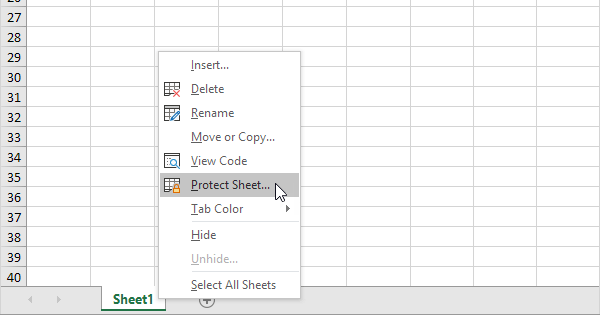
Protect the Sheet

Go to the Review tab on the Ribbon, and click on Protect Sheet. You will see a dialog box appear.

Here, you can:
- Set a password (optional) to unprotect the sheet later.
- Allow certain operations by checking relevant boxes like:
- Select locked cells
- Select unlocked cells
- Format cells, rows, or columns
- Insert or delete columns and rows
- Click OK to apply the protection.
⚠️ Note: Keep track of your password if you set one, as there is no way to retrieve a lost password.
Unlocking a Sheet in Excel

If you need to make changes or give permission to edit later:
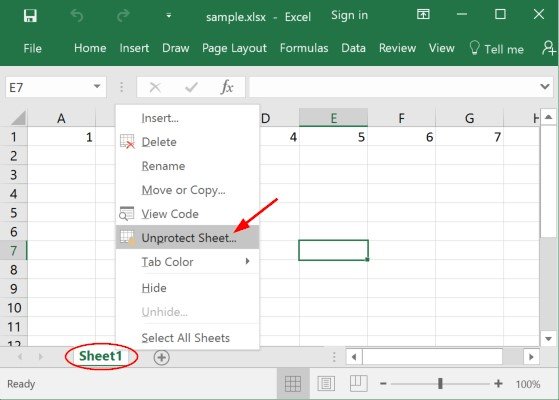
- Go to the Review tab again.
- Click on Unprotect Sheet.
- If you set a password, you’ll be prompted to enter it.
- After entering the password, you can now make changes or protect the sheet again with different settings.
⚠️ Note: Keep in mind that Excel's protection is not a security measure against determined tampering; it's more about accidental edits or maintaining data integrity.
Advanced Sheet Protection

For more nuanced protection:
- Lock Cells Individually: Unlock cells that should be editable before protecting the sheet.
- Protect Workbook: You can also protect the entire workbook from structural changes like adding or deleting sheets.
- Use Permissions: For shared workbooks, set user permissions for who can edit or view certain parts.
Understanding how to lock a sheet in Excel is crucial for anyone who deals with sensitive data or manages complex spreadsheets. This feature can save you from the headaches of unexpected changes and maintain the quality and integrity of your work. Whether you're working alone or collaborating, knowing how to protect your Excel sheets ensures that your data remains safe and your projects stay on track.
Can I protect specific parts of an Excel sheet?

+
Yes, Excel allows you to lock specific cells while leaving others editable. Simply unlock the cells you want to be editable before protecting the sheet.
What happens if I forget the password I used to protect an Excel sheet?

+
If you forget the password, there is no built-in method to recover it. You'll need to remember it or seek third-party tools, though this often violates terms of service.
Does Excel sheet protection prevent copying?

+
While you can control what actions users can perform on the sheet, basic copying (like Ctrl+C) is usually still allowed unless you specifically set macros or other safeguards to prevent this.
Through this guide, we’ve covered the primary reasons to lock an Excel sheet, the steps involved in doing so, and some advanced options for more detailed control. As you continue to work with Excel, leveraging this tool effectively will ensure your data remains in the state you intend, fostering trust and reliability in your work.


