5 Easy Ways to Split an Excel Sheet into Two Pages

Handling large datasets in Microsoft Excel can often become overwhelming, especially when you need to present data in a more digestible format. One common need among Excel users is to split large sheets into more manageable chunks. This not only makes your data easier to read but also simplifies your workflow and can be beneficial for analysis and printing. Here are five straightforward methods to split an Excel sheet into two pages:
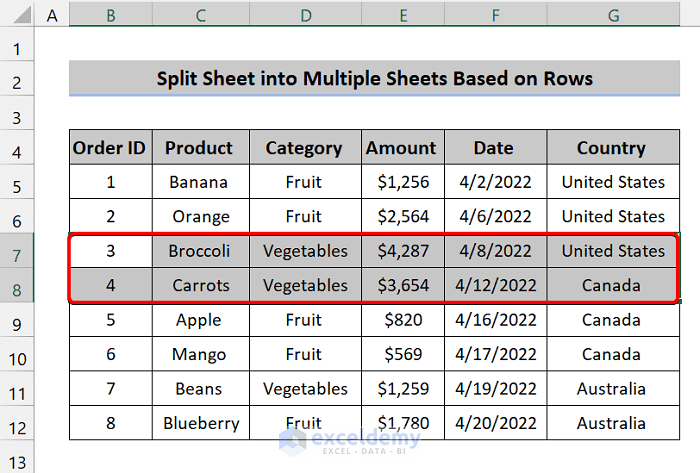
1. Manual Page Break Insertion

This method involves manually deciding where you want your page to split.
- Open your Excel workbook and navigate to the sheet you want to split.
- Select the row below where you want the first page to end. You might choose row 30 if you want the first 29 rows on the first page.
- On the Page Layout tab, find the Breaks group. Click on Insert Page Break.
- This action will insert a page break line above the selected row, effectively splitting your worksheet into two parts when printed or previewed.
2. Using the Page Break Preview

The Page Break Preview feature visually guides you on how your data will be divided across pages.
- Go to the View tab and select Page Break Preview.
- Excel will show you existing page breaks as blue dotted lines. You can manually adjust these by dragging the lines up or down.
- To insert a new break, click on the row or column where you want the split and drag it into position. Confirm by selecting OK in the dialog box that appears.
⚠️ Note: Remember to switch back to Normal View once you've set your page breaks.
3. Using the Print Titles Feature

If you want to ensure certain rows or columns appear on all printed pages, this method is useful:
- On the Page Layout tab, under Page Setup, click Print Titles.
- In the Rows to repeat at top or Columns to repeat at left, select the rows or columns you wish to print on each page. This setting splits the sheet, ensuring consistency across pages.
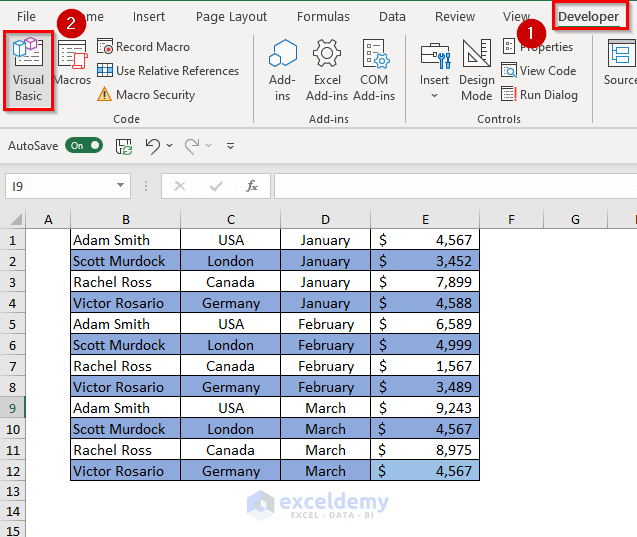
4. Using a Macro or VBA Script

For those comfortable with coding, a macro can automate the splitting of sheets:
Sub SplitSheet() ‘ Assumes a workbook with sheets named “Sheet1” Dim sht As Worksheet Set sht = ThisWorkbook.Worksheets(“Sheet1”)' Find where to split based on a specific condition or simply split in half Dim splitRow As Long splitRow = 30 ' For instance, to split after row 30 ' Copy data below splitRow to a new sheet sht.Rows(splitRow + 1 & ":" & sht.Rows.Count).Copy Sheets.Add After:=Sheets(Sheets.Count) ActiveSheet.Paste
End Sub
💡 Note: Ensure your macro security settings allow for macro execution before running the script.
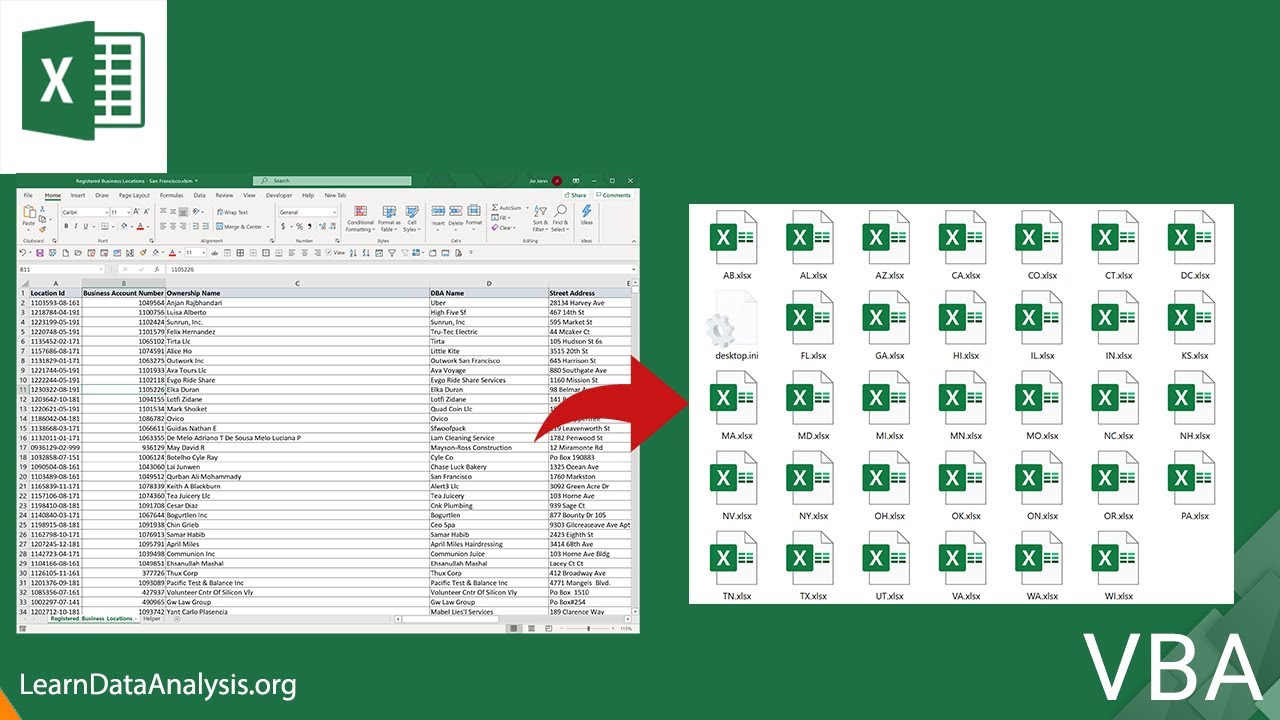
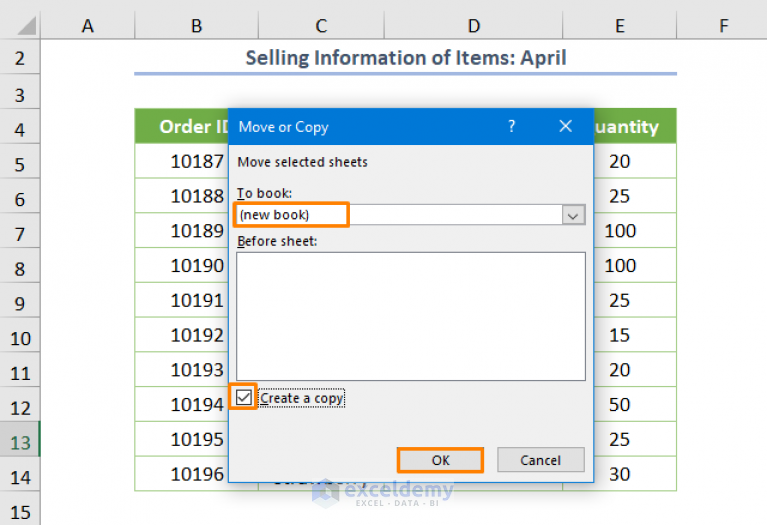
5. Splitting Data into Separate Excel Files

If your requirement is to split the sheet into entirely new files:
- Select the data you want to split. For example, select A1:B30 for the first part.
- Copy this data (Ctrl+C or right-click > Copy).
- Create a new Excel workbook and paste the data into Sheet1 of this new workbook.
- Repeat this process for the remaining data, creating a new workbook each time.
When managing large datasets in Excel, splitting sheets can significantly improve your data handling process, making it easier for both analysis and presentation purposes. Each of these methods provides a unique approach, catering to different needs and levels of complexity. By choosing the right method for your specific case, you can ensure that your data is presented clearly, facilitating better understanding and decision-making.
Can I undo a page break in Excel?

+
Yes, you can remove a page break by selecting the row below where you added the break, going to the Page Layout tab, and clicking Remove Page Break in the Breaks group.
How do I know where the pages will break?

+
Use the Page Break Preview under the View tab to see where Excel will automatically break the page and adjust manually if needed.
What if I need to split by columns instead of rows?

+
You can insert vertical page breaks similar to horizontal ones, by selecting a column and using the same methods outlined above.
Do not modify this HTML structure for the FAQ section.


