Sort Excel Sheets Quickly by Column: Step-by-Step Guide

When working with Microsoft Excel, organizing your data is key for efficient analysis and better decision-making. One powerful feature for quick organization is sorting your Excel sheets by column. Here's how to do it:
Step 1: Open Your Excel Spreadsheet

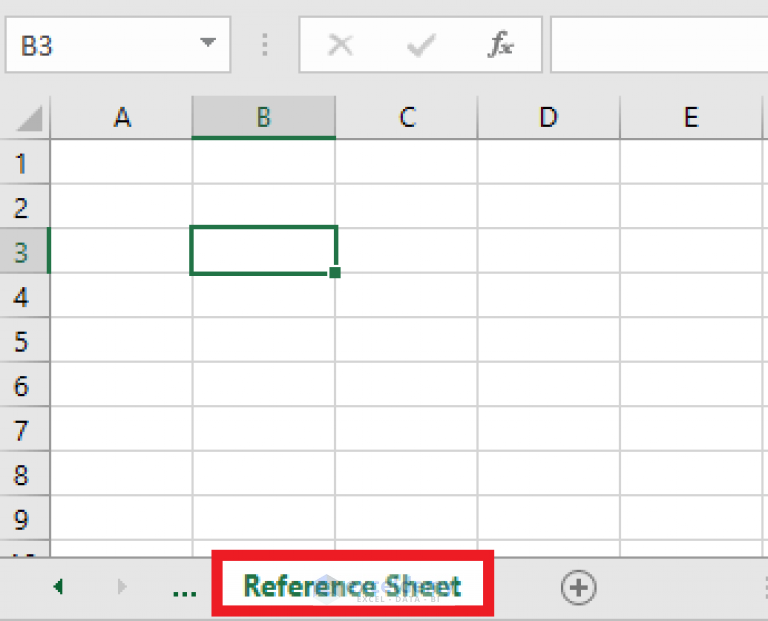
Open the Microsoft Excel file where you need to sort data. Ensure your sheet is active or select it from the bottom tabs if you're working with multiple sheets.
Step 2: Select the Data Range

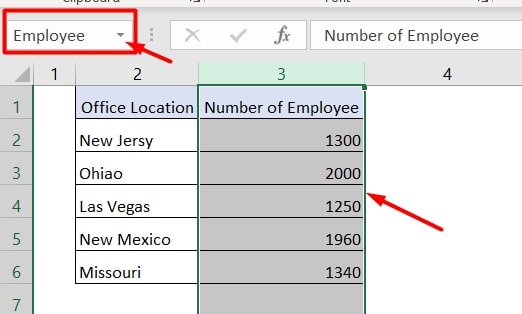
If you want to sort the entire sheet, click on the triangular arrow at the top-left corner of the sheet where column headers meet row numbers. For sorting a specific range, click and drag your mouse over the cells you want to sort. Alternatively, you can hold the Ctrl key and click on the columns or rows you want included.
⚠️ Note: Sorting selected cells instead of the whole sheet is a good practice to ensure that only the intended data is altered.
Step 3: Use the Sort Feature

- Navigate to the Home tab in the Ribbon at the top of Excel.
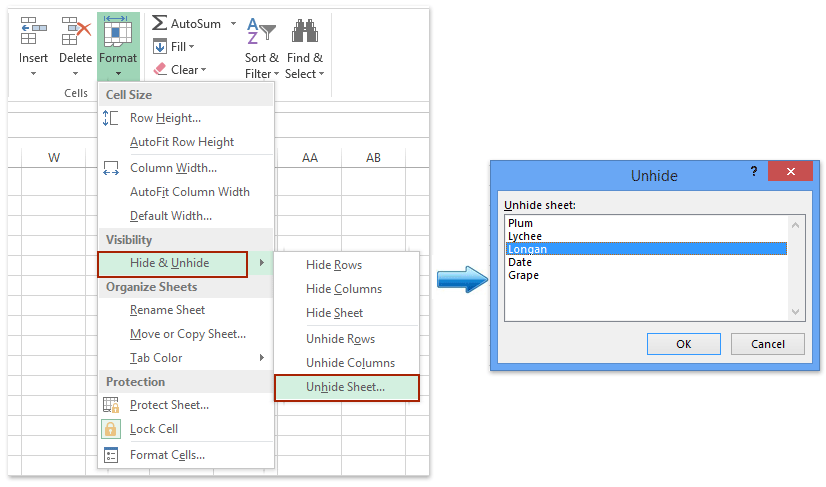
- Click on Sort & Filter button and then select either Sort A to Z or Sort Z to A, depending on your needs.
📌 Note: If your data has headers, make sure you click the 'My data has headers' checkbox in the Sort dialog box for Excel to ignore the header row when sorting.
Step 4: Specify Sort Criteria

When you click on 'Sort', a dialog box will open where you can specify:
- Column to sort by.
- Sort On options (like cell values, cell color, font color, or icon).
- Order (A to Z, Z to A, Smallest to Largest, or Largest to Smallest).
| Sort On | When to Use |
|---|---|
| Cell Values | Most common sorting by text, numbers, or dates. |
| Cell Color | Sort by color-coded data for easier visual analysis. |
| Font Color | Useful when your data includes color-coded text. |
| Conditional Formatting Icon | Sort by the presence or type of conditional formatting icons. |

Step 5: Sort by Multiple Columns

Excel allows you to sort by multiple levels:
- Select the first column and sorting order.
- Click Add Level to add another sorting condition. For example, sort by 'Date' first and then by 'Sales' in descending order.
🔧 Note: Sorting by multiple columns helps when you have data that shares values in one column but needs further sorting by another column.
Step 6: Save and Check Your Work

After sorting, always review your data:
- Check if the sorting order is as expected.
- Ensure no data was left out or misplaced.
- If you are happy with the changes, save your work.
By following these steps, you'll be able to sort your Excel sheets efficiently by column, giving you a clearer view of your data for analysis, reporting, or tracking.
In summary, Excel’s sorting feature is an essential tool for managing large datasets. It allows for custom sorting, data analysis, and even conditional sorting which can significantly streamline your work processes. From opening your spreadsheet to ensuring the accuracy of your sorted data, every step has been carefully designed for both ease of use and effectiveness.
Can I sort data in Excel by multiple columns?

+
Yes, Excel allows sorting by multiple columns. You can add levels of sorting criteria for a more complex organization of your data.
What should I do if Excel warns me about losing data when sorting?

+
When Excel warns about data loss during sorting, you may have selected only part of the data range. Ensure you select the entire column or row range, or consider the option to expand the selection during the sort operation.
How do I sort dates in Excel?

+
Sort dates by selecting the column with dates and choosing ‘Sort Oldest to Newest’ or ‘Sort Newest to Oldest’ under the ‘Sort & Filter’ menu.


