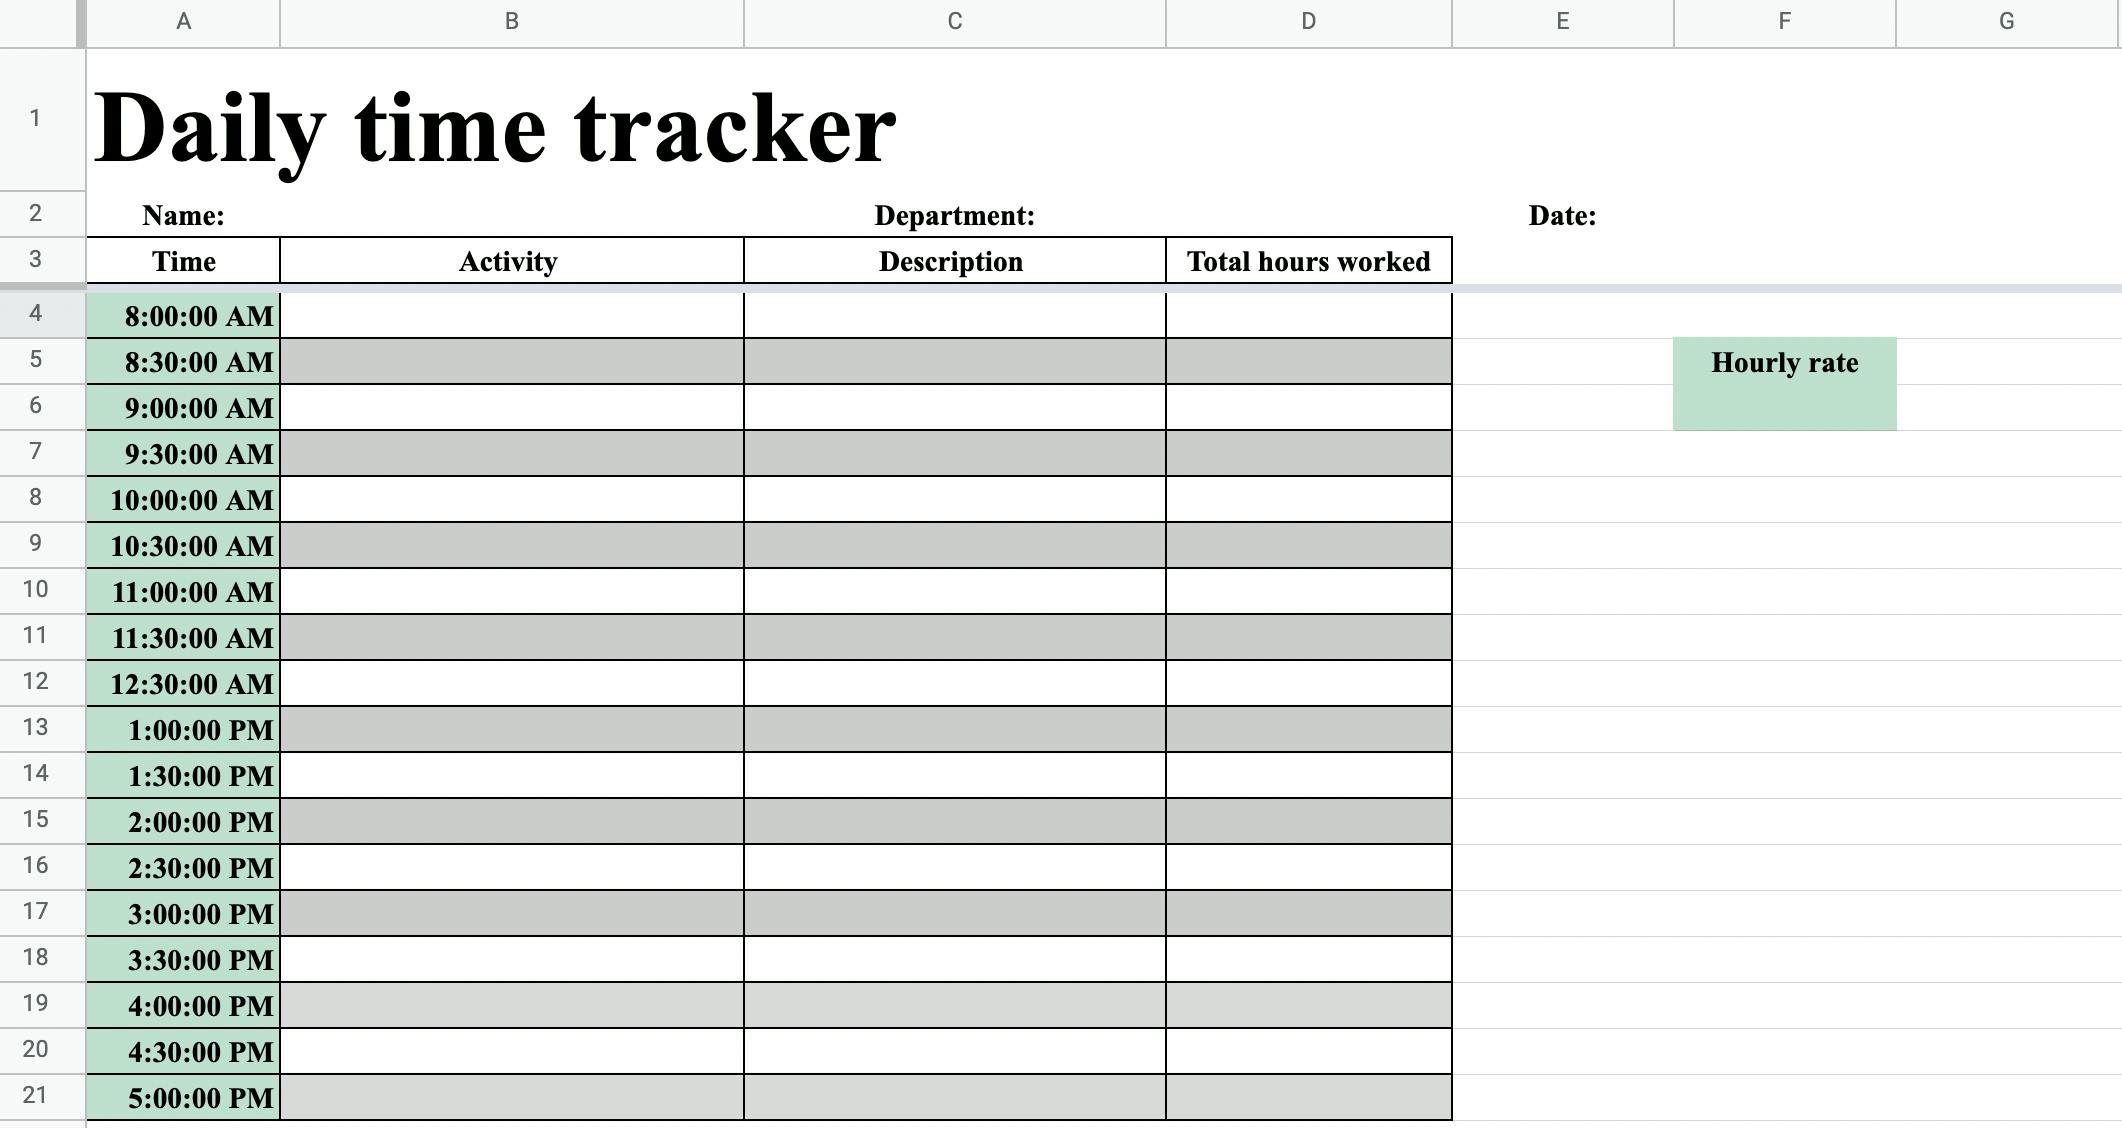
5 Simple Steps to Create an Excel Time Sheet

Creating an Excel time sheet can revolutionize how you manage your work hours, track time spent on various tasks, and manage payroll for your team. This process not only helps in maintaining accurate records but also provides insights into productivity and time allocation. Here, we'll explore five straightforward steps to help you craft an efficient and user-friendly time sheet in Microsoft Excel.
1. Set Up Your Spreadsheet Layout


The first step in creating your time sheet is to organize your Excel workbook’s layout. Here’s what you need to do:
- Open a new Excel workbook.
- Create columns for Date, Start Time, End Time, Total Hours, and perhaps additional columns like Project/Task, Break Time, and Comments if necessary.
| Column A | Column B | Column C | Column D | Column E |
|---|---|---|---|---|
| Date | Start Time | End Time | Total Hours | Project/Task |

Align your headers to match your business needs, ensuring clarity and functionality.
📌 Note: Excel uses the Date and Time format in numerical values behind the scenes. Make sure you format these cells correctly to display dates and times accurately.
2. Automate Time Calculations


To make your time sheet dynamic and reduce human error, you can use Excel formulas:
- Insert the formula
=C2-B2in the Total Hours column to calculate the time difference between the start and end times. - For a more precise calculation accounting for breaks, subtract break time with
=C2-B2-D2, where D2 represents the break time.
💡 Note: If your start and end times cross midnight, you'll need a slightly more complex formula to account for this transition.
3. Use Data Validation for Time Inputs


Data validation helps to maintain data integrity by restricting inputs to valid times:
- Select the cells where time will be entered.
- Go to Data > Data Validation.
- Choose Time under Allow and set your preferred time range.
- Include custom error messages for incorrect inputs.
4. Apply Conditional Formatting for Easy Tracking


To visually enhance your time sheet:
- Highlight rows or cells for late arrivals or overtimes.
- Use color scales to show workload distribution or time spent on different tasks.
This not only aids in quick analysis but also makes the time sheet visually appealing.
5. Protect Your Time Sheet with Passwords


To ensure data integrity and prevent unauthorized edits:
- Select the worksheet.
- Go to Review > Protect Sheet.
- Set a password to lock the sheet and limit modifications to only specific cells.
🔒 Note: Regular backups and version control can help in case of accidental changes or data loss.
In crafting your Excel time sheet, you've now embarked on a journey towards better time management, productivity tracking, and overall time utilization. By following these steps, you not only streamline the process of logging hours but also lay the groundwork for analytical insights into your work habits or team performance. The adaptability and ease of Excel make it an ideal tool for managing time, with potential for further customization to meet specific industry or personal requirements. This guide provides a foundational approach that can be scaled or modified as per your evolving business needs, ensuring that your time sheet remains both functional and insightful.
Can I use this time sheet for payroll calculations?

+
Yes, you can link this time sheet to a payroll calculation sheet by copying the total hours worked into a payroll spreadsheet and applying the relevant hourly rate to calculate gross pay.
How can I ensure that employees input their times accurately?

+
Implementing data validation and conditional formatting, as described in Steps 3 and 4, ensures that only valid times are entered and highlights any irregularities for easy detection.
What if my workday spans across midnight?

+
You would need a formula that checks if the end time is earlier than the start time, indicating a next-day event. A simple formula could be =IF(C2>B2, C2-B2, 1+C2-B2) to account for this.


