5 Ways to Remove Blank Spaces in Excel Sheets Fast

When working with data in Excel, one common issue that many users face is dealing with unwanted blank spaces. These spaces can interfere with data analysis, formatting, and the overall appearance of your spreadsheets. Whether you are dealing with spaces at the beginning, end, or even in the middle of your text entries, knowing how to efficiently remove them can significantly streamline your work in Excel.
Why Removing Spaces Matters?

Before diving into the methods, let’s understand why spaces in Excel can be problematic:
- Data Consistency: Spaces can skew data sets, affecting sorting, filtering, and data validation.
- Visual Clarity: Extra spaces can make your spreadsheets look unprofessional.
- Functionality: Formulas and functions might not work as intended with spaces present.
Method 1: Using TRIM Function

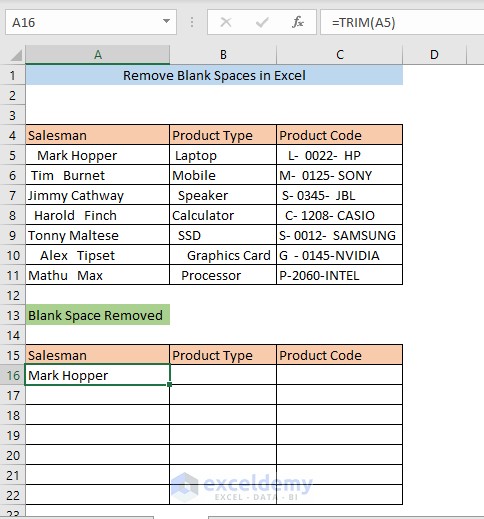
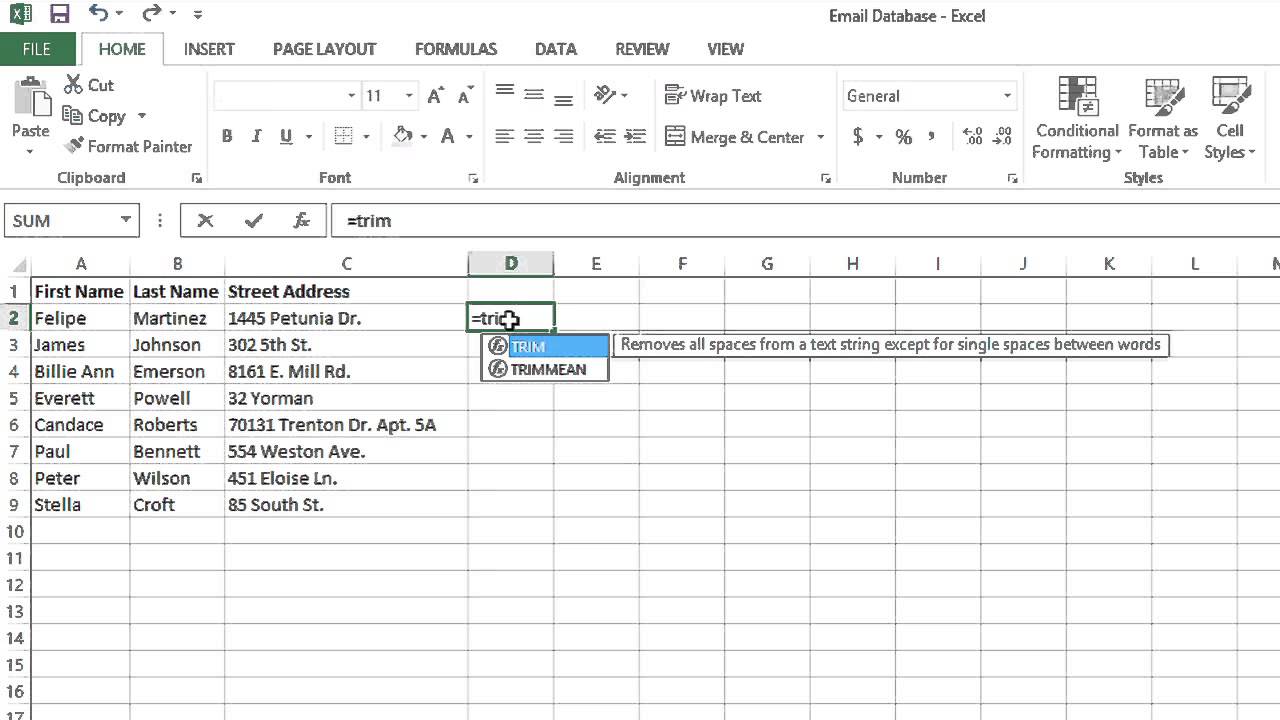
The simplest way to get rid of spaces is by using the TRIM function:
- In an adjacent cell, type
=TRIM(A1), where A1 is the cell with the text you want to clean. - Copy this formula down through all cells where you need to apply it.
- If you want to replace the original data, paste values back into the original cells after cleaning.

Method 2: Replace with Find and Replace

This method is useful for removing all spaces, including those in the middle:
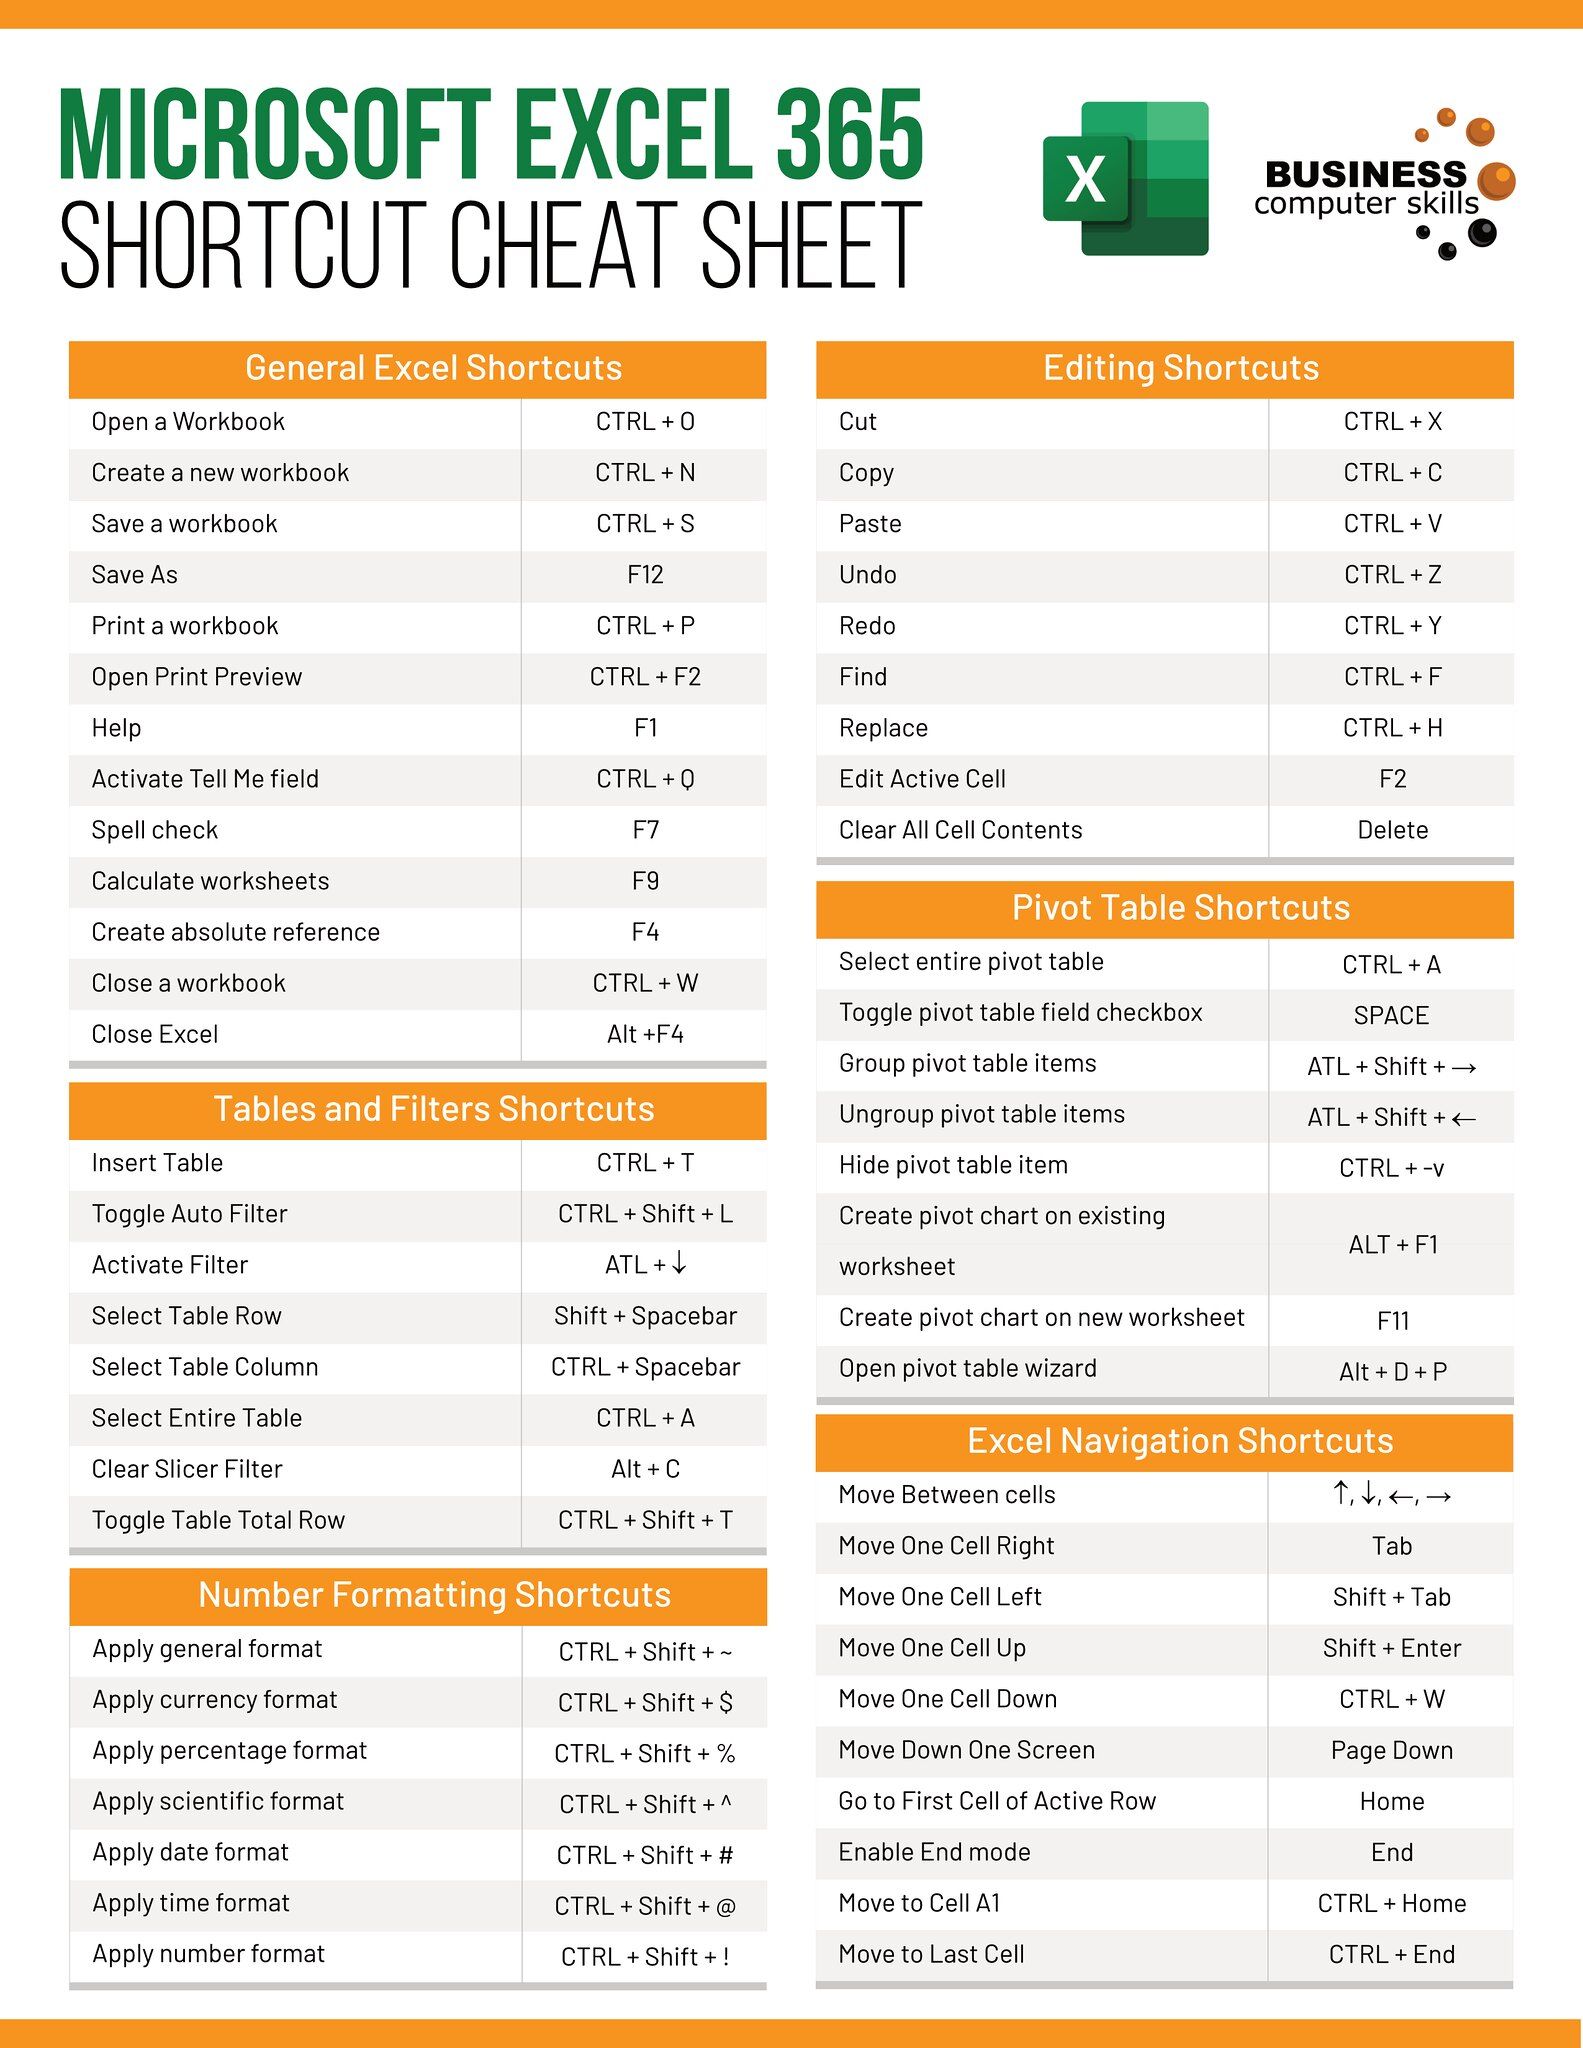
- Press Ctrl + H to open the Find and Replace dialog.
- In the ‘Find what’ box, enter a space character, and leave the ‘Replace with’ box empty.
- Click ‘Replace All’ to remove all spaces.
Method 3: Utilizing Flash Fill

Flash Fill is a newer feature in Excel, available since 2013, which intelligently fills in data based on your input:
- Type the cleaned version of your data in an empty column next to your original data.
- Press Ctrl + E or go to Data > Flash Fill. Excel will automatically fill down the column with the cleaned data.
⚡ Note: Flash Fill might not work perfectly with complex patterns, but it’s excellent for quick, consistent changes.
Method 4: Using Formulas

For more advanced manipulation, combine functions like TRIM with SUBSTITUTE to remove non-breaking spaces:
=TRIM(SUBSTITUTE(A1,CHAR(160), “ “))Method 5: Visual Basic for Applications (VBA)

For bulk operations or when dealing with many sheets, VBA can automate the task:
Sub RemoveSpaces()
    Dim cell As Range
    For Each cell In Selection
        cell.Value = WorksheetFunction.Trim(cell.Value)
    Next cell
End Sub
To use this:
- Press Alt + F11 to open the VBA Editor.
- Insert a new module and paste this code into it.
- Select your range of cells and run the macro from the Developer tab.
Wrapping Up

In summary, Excel provides multiple methods to tackle the pesky problem of unwanted spaces:
- The
TRIMfunction for simple space removal. - Find and Replace for all space removal.
- Flash Fill for quick pattern-based cleaning.
- Formulas for custom space handling.
- VBA for automation across large datasets.
By understanding and utilizing these techniques, you can ensure that your data is clean, your analysis is accurate, and your Excel sheets remain efficient and professional-looking.
Can TRIM remove spaces between words?

+
No, the TRIM function only removes leading and trailing spaces, not spaces between words.
Will these methods affect my data format?

+
Generally, these methods do not change the format of your data, only the spaces. However, be cautious when replacing all spaces as it could alter how your data is displayed or interpreted if spaces are intended.
What if my spaces aren’t normal spaces?

+
Excel sometimes uses non-breaking spaces (CHAR(160)) instead of regular spaces. Use SUBSTITUTE combined with TRIM to handle these cases.


