Print Entire Excel Sheet on One Page Easily

Introduction to Printing Your Entire Excel Sheet on One Page
Have you ever tried to print a large spreadsheet and found yourself wasting paper because it prints over multiple pages? Whether it's for a business meeting or personal organization, printing an Excel worksheet can be a bit of a hassle if not done correctly. However, with a few simple adjustments, you can easily print your entire Excel sheet on one page to save time and paper, all while ensuring that your data is presented clearly. Here's how to make those adjustments:
Setting Up Your Excel Sheet for Printing

The first step in printing your Excel sheet effectively is to prepare your worksheet:
- Select the Range: Make sure to select the entire range of data you want to print.
- Check for Blank Cells: Remove any unnecessary blank cells or rows that might stretch the print area.
- Set Margins: Go to Page Layout > Margins and choose 'Narrow' or adjust custom margins to minimize the paper used.
Adjust Page Setup Options

Excel provides several options to adjust how your sheet will print:
| Option | Description |
|---|---|
| Fit to Width | Adjusts the width to fit on one page. |
| Fit to Height | Adjusts the height to fit on one page. |
| Orientation | Switch between portrait and landscape to optimize space usage. |

Go to Page Layout > Page Setup dialog box and:
- Select Fit to instead of Adjust to.
- Set the Width and Height to "1 page" each to ensure your data fits on one page.
Adjusting Font Size and Page Margins

If your sheet still overflows onto multiple pages, consider:
- Reducing Font Size: Use a smaller, yet legible, font size for your data.
- Decreasing Page Margins: Adjust the margins to give more space for your data.
To make these changes, follow these steps:
- Select your data range.
- Right-click and choose Font to change the font size.
- Go to Page Layout > Margins and choose Custom Margins to adjust.
Using Print Preview to Check Layout
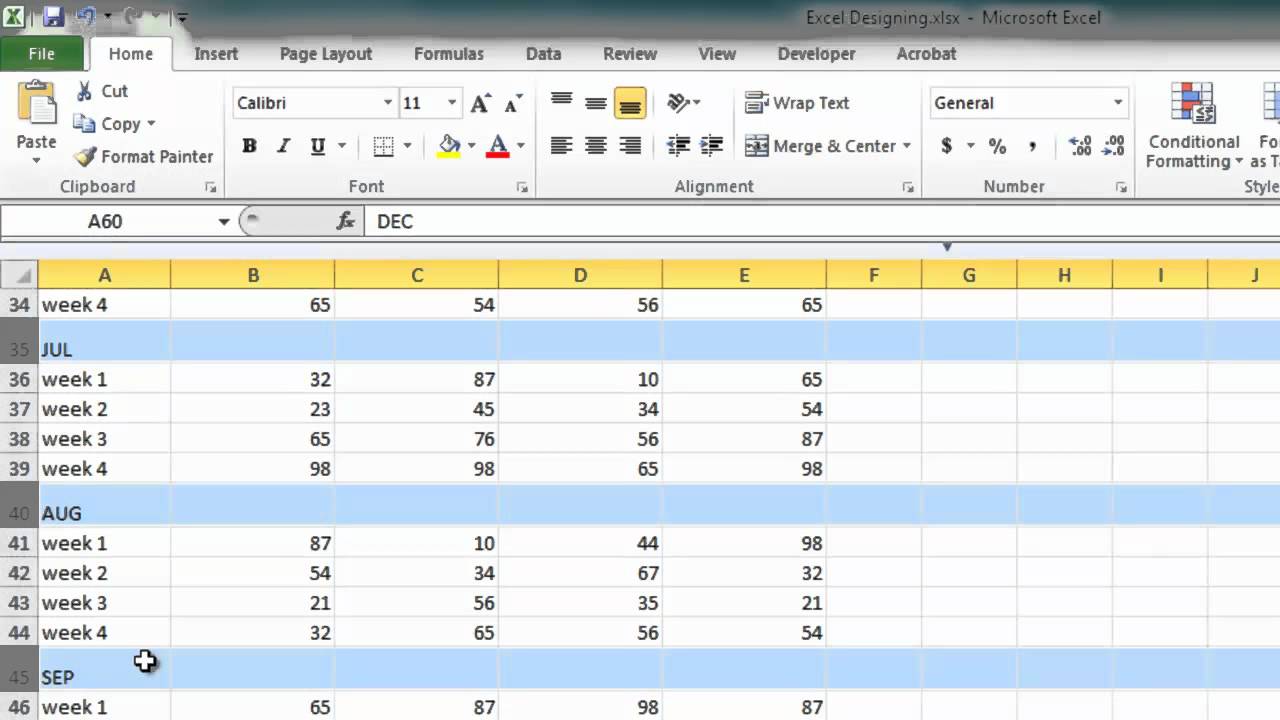
Before hitting print, always use the Print Preview option to:
- Verify that all data fits on one page.
- Check that headers, footers, and other formatting elements are correctly displayed.
- Make further adjustments if needed.
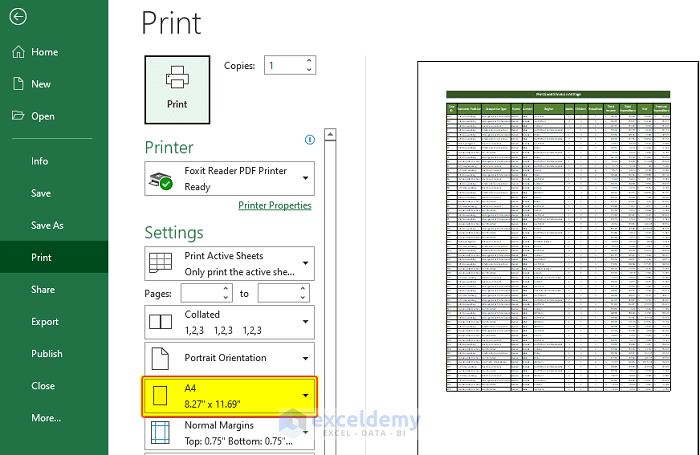
To access Print Preview, go to File > Print or use the keyboard shortcut Ctrl + P.
Key Tips for Efficient Printing
Here are some key tips for when you're ready to print:
- Check Resolution: Ensure the print quality is set for better readability.
- Use Black and White: If color isn't necessary, print in black and white to save ink.
- Print Headings: Use the 'Print Titles' feature to ensure headers appear on each printed page.
📌 Note: Make sure to save your document before attempting to print, as some printers might need to access the file directly from your computer.
In conclusion, printing your entire Excel sheet on one page can be done with relative ease by making a few smart adjustments in Excel's Page Setup. Whether you're preparing for a presentation or simply organizing data, these steps ensure your printout is clear, concise, and efficient. Adjusting page layout, font sizes, and margins allows you to fit all your data onto one page, saving time and resources.
Can I print an Excel sheet in landscape mode?

+
Yes, you can print in landscape mode by going to the Page Layout tab, selecting Orientation, and choosing Landscape.
What if my data still doesn’t fit on one page?

+
Consider reducing font size, narrowing margins, or using Excel’s ‘Fit to’ feature to make your data fit on one page. If that doesn’t work, print critical data and reference the full sheet electronically.
How do I preview what I’m going to print?

+
Use the Print Preview option by going to File > Print or by pressing Ctrl + P. This allows you to see how your data will appear when printed.

