Print Your Excel Sheet on One Page Easily

Printing an Excel spreadsheet in a way that fits all the data onto a single page can be a tricky task, especially if you're dealing with extensive data sets or wide tables. This guide will walk you through the process, providing you with step-by-step instructions to ensure your prints are both readable and aesthetically pleasing. Whether you're preparing for a presentation, or simply need a neat printed report, mastering this skill can save you time and present your data professionally.
Understanding Page Layout in Excel

Before diving into the steps, it’s important to understand how Excel handles page layout. Excel adjusts the printable area based on the printer’s settings and page size. Here are key considerations:
- Default settings might not fit all your content on one page.
- Excel provides options to scale, adjust margins, and control page breaks.
- The layout can be viewed in print preview mode to assess the outcome before printing.
Steps to Print an Excel Sheet on One Page

Follow these steps to efficiently fit your Excel worksheet onto a single page:
Step 1: Access Page Layout

- Go to the Page Layout tab on the Ribbon.
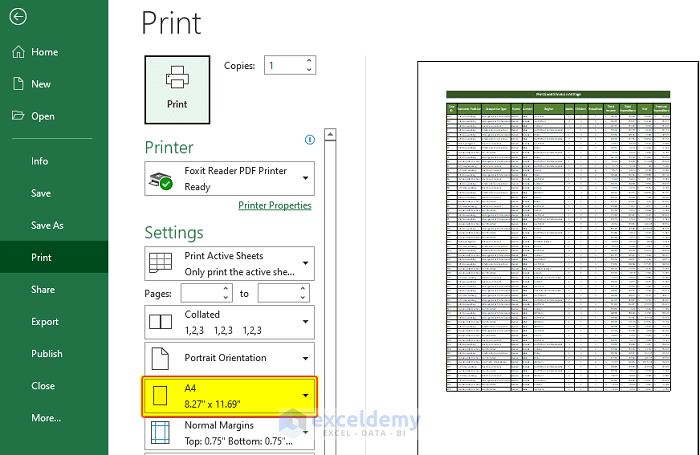
- Click on the ‘Size’ button to ensure your page size matches your printer’s capabilities.
🔍 Note: If your data is too wide to fit, consider switching to landscape orientation.
Step 2: Adjusting Margins and Page Breaks

- Click on ‘Margins’ to set narrow margins, which will help squeeze more content onto the page.
- In the ‘Page Setup’ dialog box, you can manually set page breaks under the ‘Breaks’ group. This helps control where your data wraps to the next page.
📚 Note: Manual page breaks allow for better control but can be time-consuming if the data changes often.
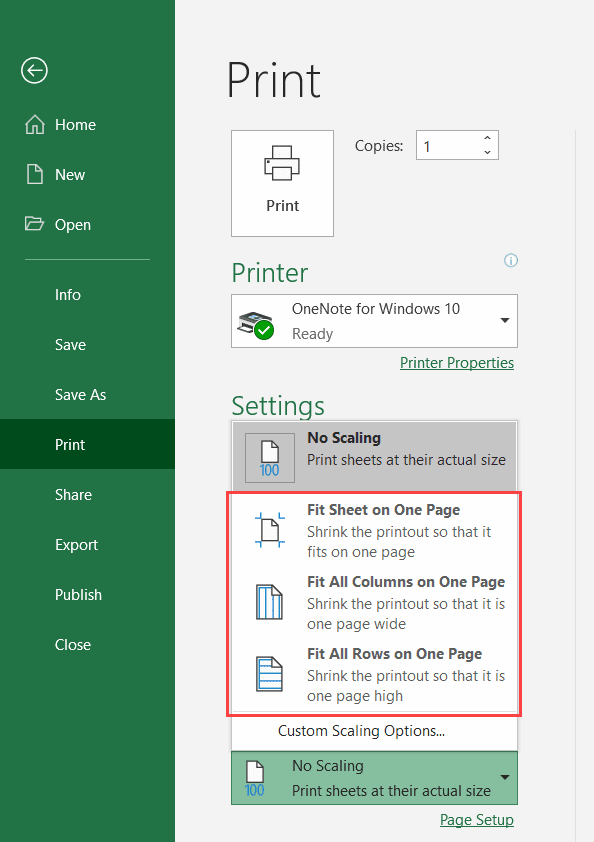
Step 3: Scaling to Fit Content

- Under the ‘Scale to Fit’ group, select either ‘Fit to’ option to automatically scale the data to fit one page wide by one page tall.
| Option | Description |
|---|---|
| Width | Sets how wide the printout will be; e.g., ‘1 page’ ensures it fits horizontally. |
| Height | Controls how many pages tall the printout will be; ‘1 page’ ensures it fits vertically. |

Step 4: Review Page Layout

Before printing, always:
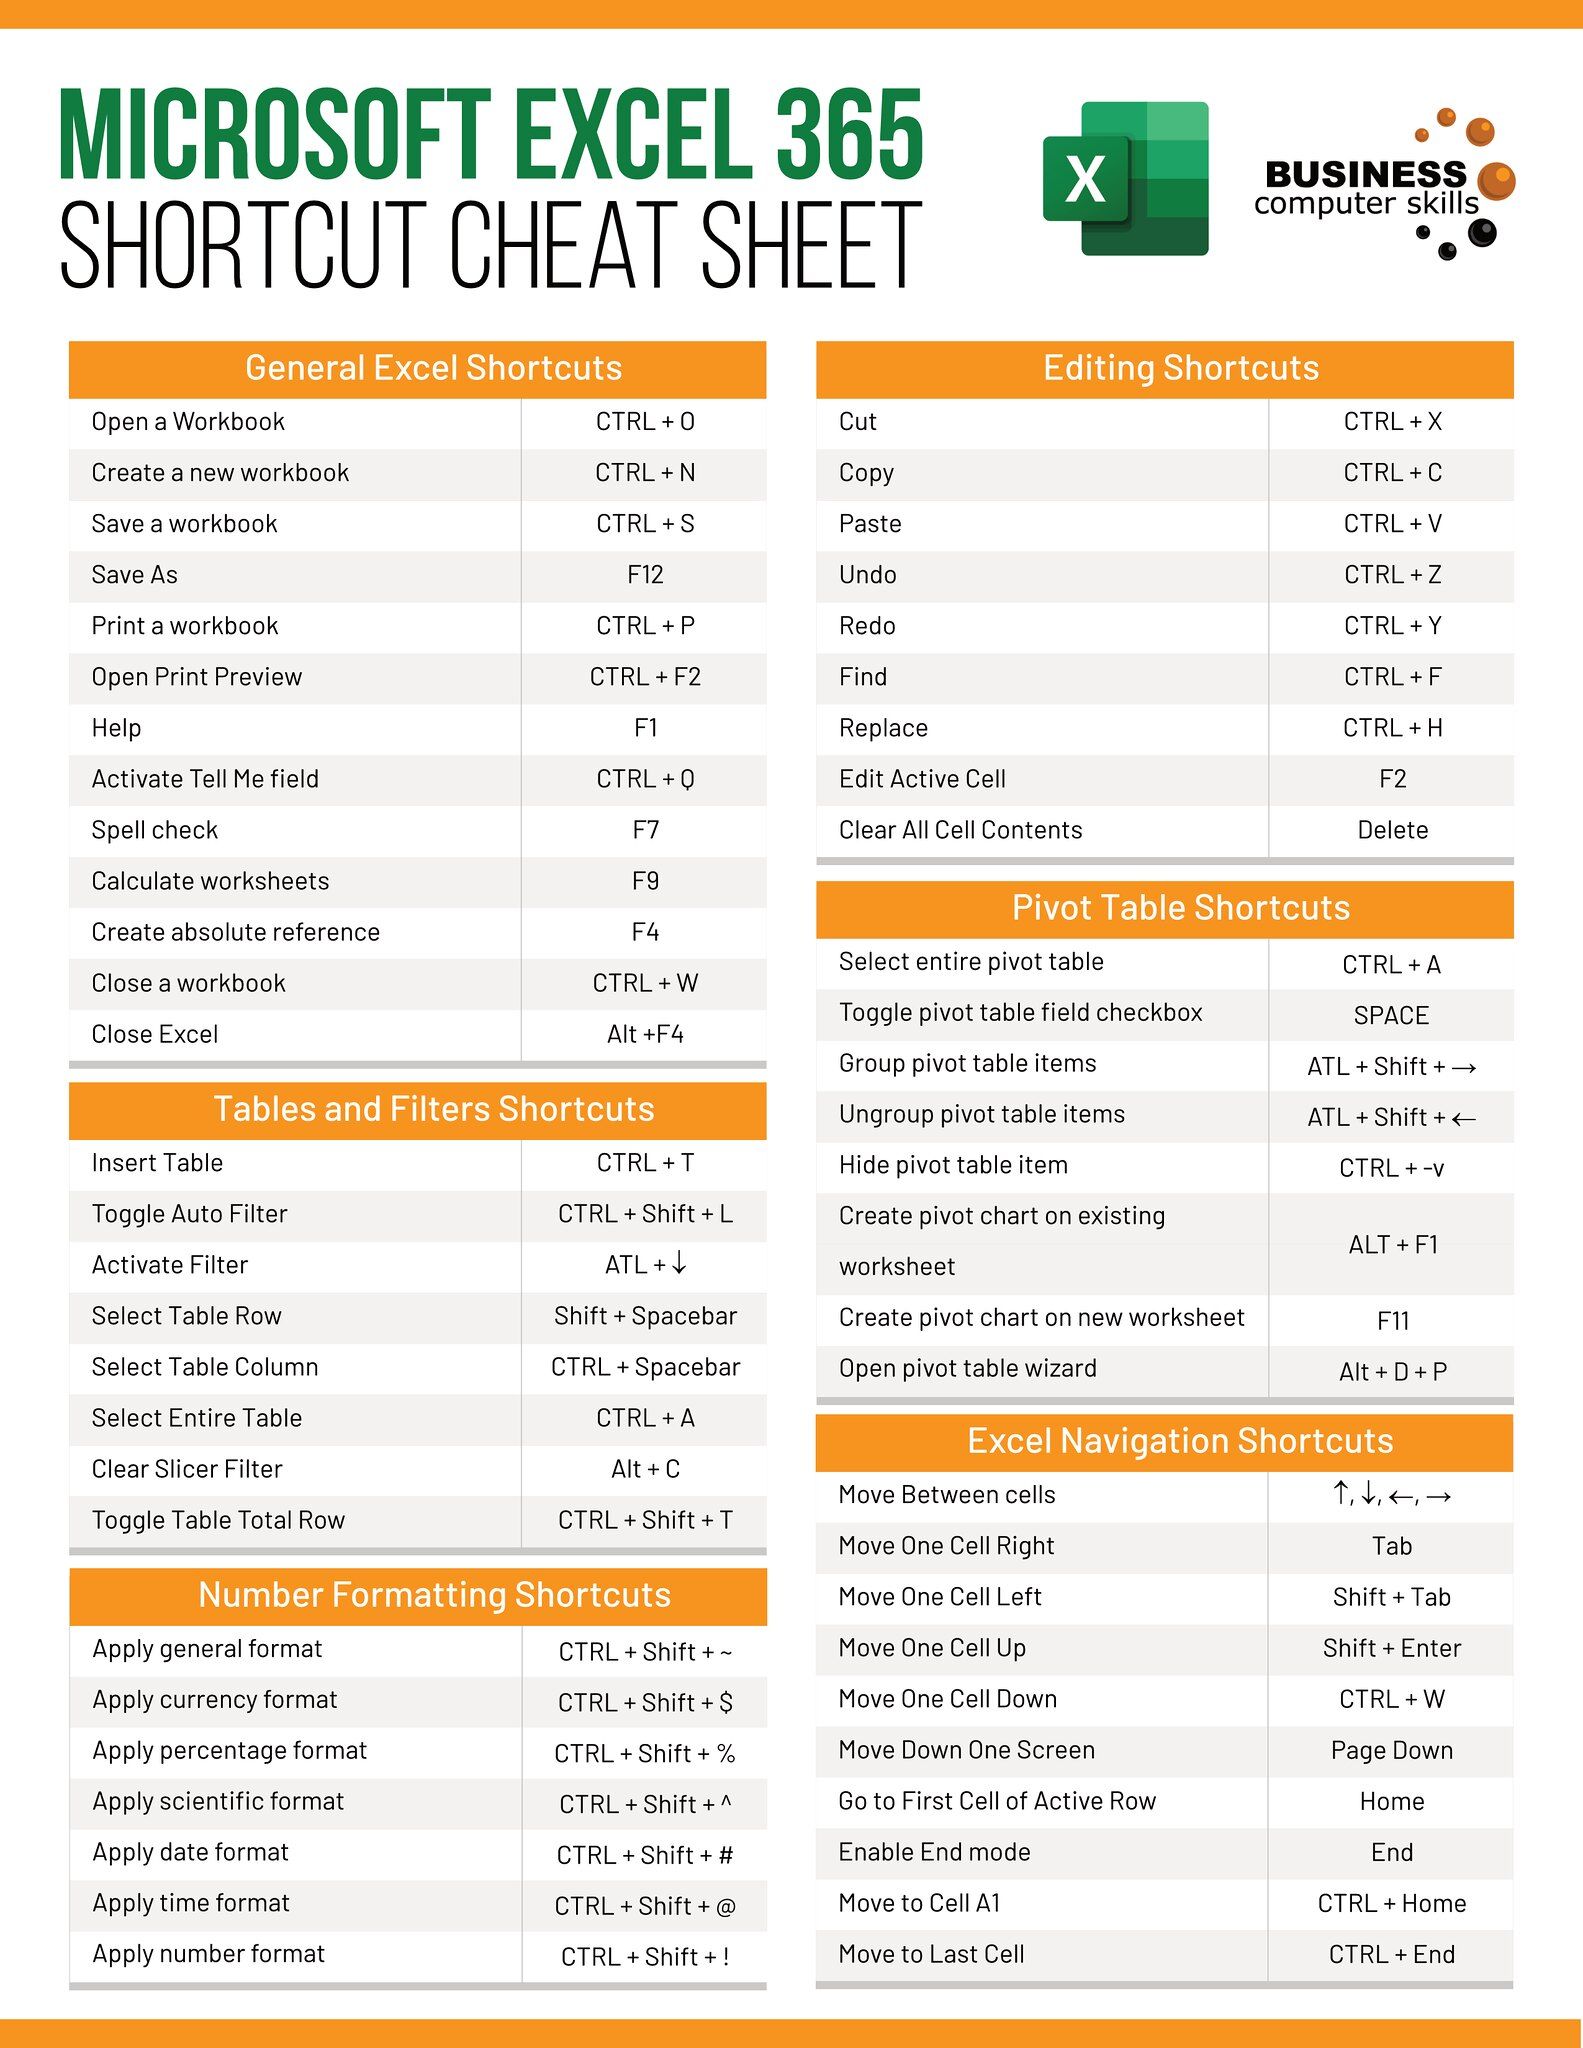
- Use Print Preview (found in the File tab under Print) to see how your data will appear on paper.
- Check for any cut-off cells or margins that might reduce readability.
💡 Note: Consider using the ‘Show Margins’ option to see how changes in margins affect your layout.
Step 5: Final Adjustments and Printing

- If your data doesn’t fit, consider reducing font size or changing column widths.
- Print your Excel sheet by clicking ‘Print’ in the print preview window or directly from the File menu.
In conclusion, mastering the art of fitting your Excel spreadsheets onto one page for printing involves understanding and manipulating page layout settings. With the tools Excel provides, you can ensure your data is presented clearly and effectively, even on a single page. This skill not only enhances your document presentation but also makes your work more efficient by reducing paper waste and improving readability. Remember to review your layout, make necessary adjustments, and always preview before printing to ensure the best results.
Why doesn’t my Excel sheet fit on one page?

+
Your sheet might not fit due to wide data sets, default printer settings, or insufficient scaling adjustments. Adjust your page layout or scale settings to ensure content fits within one page.
Can I print an Excel sheet to fit within specific dimensions?

+
Yes, under the ‘Page Layout’ tab, you can choose custom sizes for your printer. Then, use ‘Scale to Fit’ options to fit your sheet into the specified dimensions.
How do I know if my changes will appear correctly when printed?

+
Always use the Print Preview feature located under File > Print to check how your sheet will look before actually printing.


