Protect Excel Sheet with Password: A 2016 Guide

Getting Started with Protecting Your Excel Workbook

In today's fast-paced digital world, securing your data is paramount, especially when dealing with sensitive information within Excel 2016. Protecting an Excel workbook or specific sheets with a password adds a crucial layer of security, preventing unauthorized access and preserving the integrity of your data. Whether you're handling financial reports, confidential client data, or proprietary business information, ensuring that your workbook is password protected can safeguard against accidental or malicious alterations.

Steps to Protect Your Excel Workbook

The process to protect your Excel workbook with a password is straightforward:
- Open the Excel file you want to protect.
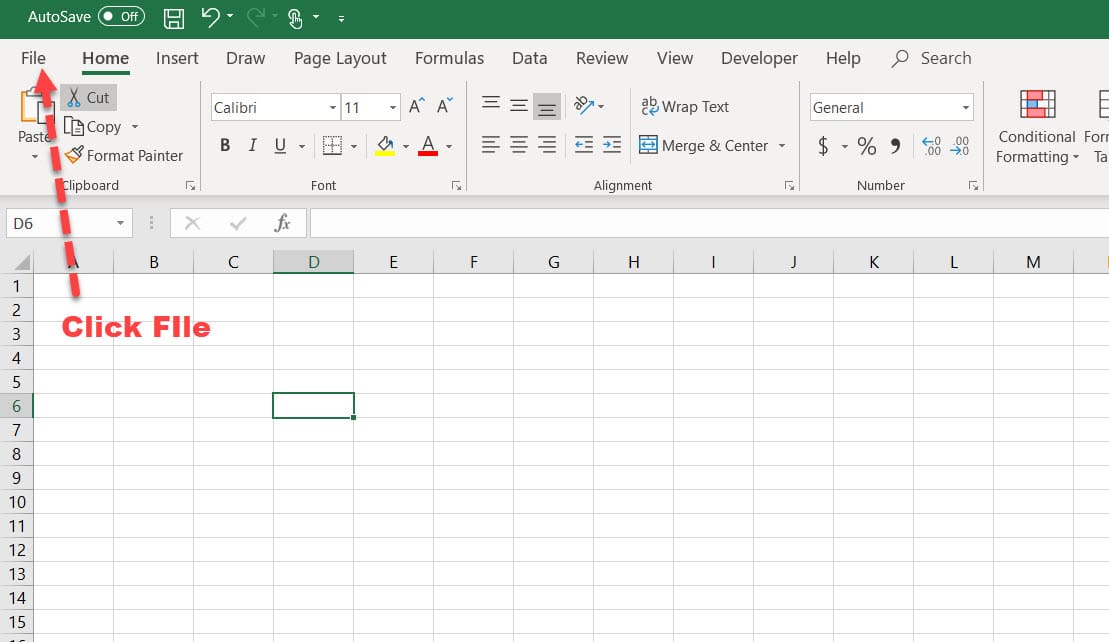
- Go to the File tab and select Info.
- Click on Protect Workbook and then choose Encrypt with Password.
- In the dialog box, enter your desired password. Keep in mind that the password is case-sensitive and make it robust to enhance security.
- Click OK, then re-enter your password for confirmation.
- Save your workbook to apply the changes.
Now, whenever someone attempts to open the workbook, they will be prompted to enter the password.

Protecting Specific Sheets within Excel

If you only want to secure certain sheets within your Excel workbook:
- Open the workbook.
- Click on the sheet tab you want to protect.
- Navigate to File > Info > Protect Workbook > Protect Sheet.
- In the Protect Sheet dialog:
- Check the options you want to allow users to do with the sheet.
- Enter a password for the sheet.
- Click OK and re-enter the password to confirm.
🔐 Note: Remember your password as there's no way to recover it if forgotten.
Editing a Password-Protected Sheet

To make changes to a protected sheet:
- Open the workbook with the protected sheet.
- Click on the protected sheet.
- Go to Review or File > Info > Protect Workbook > Protect Sheet and uncheck the protection.
- Enter the password to unlock the sheet for editing.
Best Practices for Password Protection

- Use strong passwords - Mix upper and lower case letters, numbers, and symbols.
- Regularly update your password for enhanced security.
- Store your passwords securely, perhaps using a password manager.
- Never share your password or store it in an easily accessible location.

Summarizing, protecting your Excel 2016 workbook or individual sheets with a password is a vital step in safeguarding your sensitive data. By following the outlined steps, you can ensure that only authorized users can access or modify the data. Remember, while passwords provide a significant layer of security, they should not be the only security measure you employ. Additional practices like regular backups, using encryption tools, and maintaining secure work environments also contribute to overall data protection.
Can I recover my password if I forget it?

+
No, Microsoft Excel does not provide a recovery tool for lost passwords. Make sure to store your passwords securely.
Can I set different passwords for different sheets in the same workbook?

+
Yes, you can assign different passwords to individual sheets within the same workbook for enhanced security.
How does protecting a workbook differ from protecting a sheet?

+
Workbook protection secures the entire file, preventing modifications unless the user has the password. Sheet protection controls what users can do within specific sheets, such as allowing or restricting cell edits, formatting, and data insertion.


