How to Print Selected Sheets in Excel Easily

One of the most common tasks in Excel is managing spreadsheets, which often involves printing specific sheets or ranges of data. However, when dealing with large workbooks or multiple sheets, printing can become a daunting task. This guide will walk you through the process of printing selected sheets in Excel, ensuring efficiency and accuracy in your document management.
Understanding Excel’s Print Settings


Before we delve into printing, it’s crucial to understand how Excel’s print settings work:
- Page Layout: Set the margins, orientation, size, and print area.
- Print Options: Choose what to print, including active sheets, entire workbook, or specific selections.
- Scaling: Fit your printout on a single page or adjust the scale to fit the content.
How to Print Selected Sheets

Here are the detailed steps to print selected sheets in Excel:
-
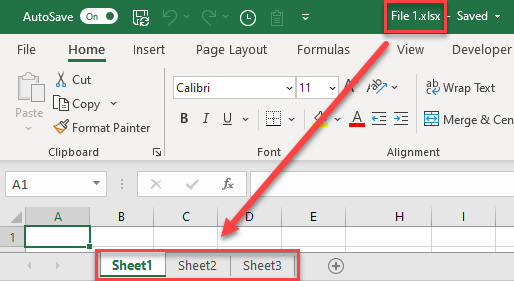
Select the Sheets: Click the tab of the first sheet you want to print while holding down the Ctrl key. Then, while keeping Ctrl pressed, click on any other sheet tabs you want to include in the print job.
💡 Note: Sheets must be contiguous if selecting multiple sheets in sequence without using Ctrl.
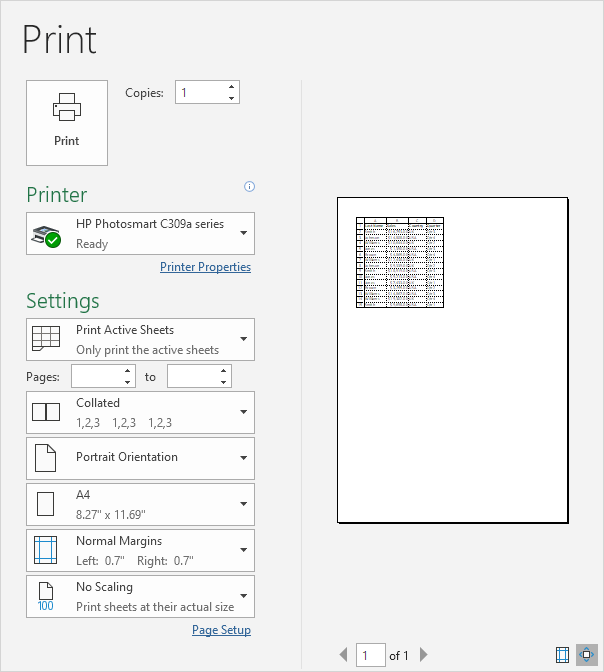
- Open Print Preview: Navigate to File > Print or use the shortcut Ctrl+P. This opens the Print Preview window where you can see how your selection will appear on paper.
-
Adjust Print Settings:
- Ensure the “Print Active Sheets” option is selected in the settings panel.
- Select the printer and change any necessary settings like orientation or size.
-
Print: After reviewing the preview, click on Print to send the job to your printer.
📞 Note: Verify the printer settings for duplex printing, color options, and paper source if necessary.
Tips for Efficient Printing

Here are some additional tips to enhance your printing experience in Excel:
- Use Page Break Preview: This mode allows you to adjust where pages break, which can help in fitting content onto fewer pages.
- Print Preview Review: Always check the Print Preview before printing to avoid waste.
- Print Area: Define a specific print area to control which data gets printed.
| Feature | Description |
|---|---|
| Print Area | Allows you to specify which cells will be printed. |
| Page Layout View | Helps visualize how the worksheet will look when printed. |
| Print Titles | Print column or row headings on each page for easy reading. |

Remember to check your printer settings, especially if you are printing at a shared printer or in a different environment than usual. Consistency in printer settings can save time and prevent unnecessary print runs.
By mastering these techniques, you'll find that printing in Excel becomes more of a seamless part of your workflow, allowing you to focus on analyzing and presenting data rather than worrying about how to get it on paper. Your ability to efficiently select, format, and print sheets will greatly enhance productivity, reduce paper waste, and streamline your Excel operations.
Can I print non-contiguous sheets?

+
Yes, you can print non-contiguous sheets by holding down the Ctrl key and clicking each sheet tab you want to print.
How can I print only specific parts of sheets?

+
Set a print area on each sheet. Go to Page Layout, click on Print Area, then Set Print Area to define which parts to print.
What if my printer does not support printing multiple sheets at once?

+
In that case, you might need to print each sheet individually or adjust your printer settings for better compatibility.


