Print Large Excel Sheets on One Page Easily

Printing large Excel spreadsheets can be a challenging task, especially when you need to maintain readability and organization. Whether you're dealing with financial reports, inventory lists, or project management timelines, understanding how to print your Excel documents efficiently can save you a lot of time and ensure your data is presented clearly.
Understanding Excel Printing Basics

Before diving into the methods for printing large Excel sheets on one page, it’s important to understand some basic printing concepts in Excel:
- Page Layout: This tab controls how your data is formatted for printing.
- Print Area: Define which part of your spreadsheet should be printed.
- Scaling Options: Determine how much your data will be scaled down or enlarged to fit on one page.
Setting Up Your Excel Sheet for Printing

To print an Excel document on one page, follow these steps:
-
Open Page Layout

Go to the ‘Page Layout’ tab where you’ll find options to adjust your print settings.

-
Adjust Margins

To maximize the printable area, reduce the margins:
- Click on “Margins” in the Page Layout tab.
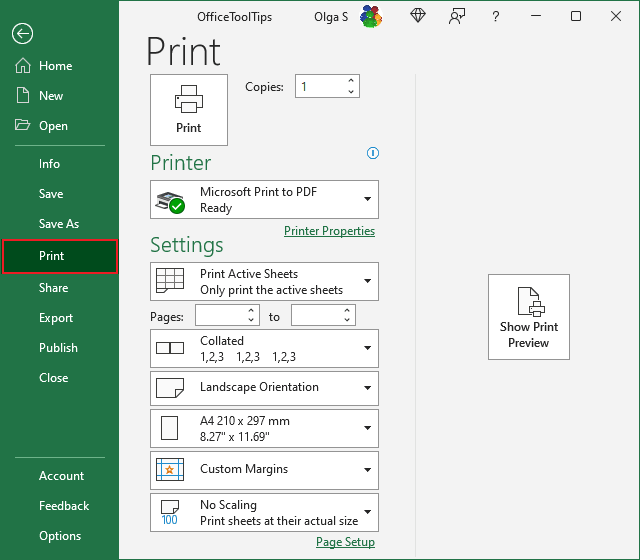
- Choose “Custom Margins” or set your own values.
💡 Note: Remember to check the final appearance in print preview before setting for narrower margins might not leave enough space for binding or cutting.
-
Define Print Area

If you don’t need to print the entire sheet:
- Select the range you want to print.
- Go to “Print Area” in the Page Layout tab.
- Click “Set Print Area.”
-
Scale to Fit

In the Page Layout tab:
- Select “Scale to Fit.”
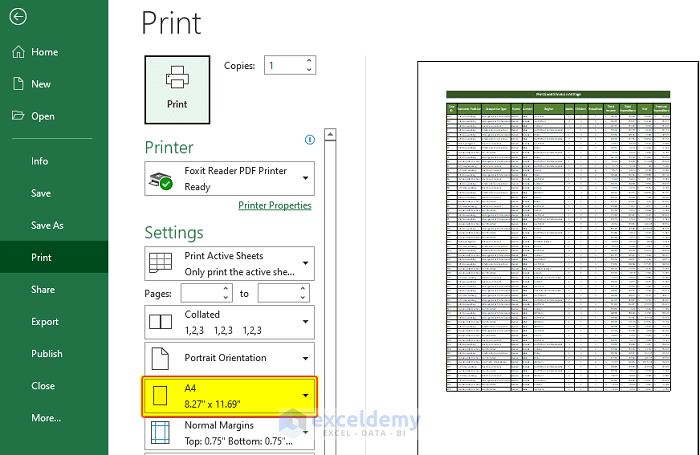
- Enter ‘1’ in “Pages tall” to print on one page vertically.
- Adjust “Pages wide” similarly if needed.
-
Orientation

Switch between portrait or landscape:
- In Page Layout, select “Orientation.”
- Choose ‘Portrait’ or ‘Landscape’ based on your document’s nature.
Advanced Techniques for Large Excel Sheets

If your Excel sheet still doesn’t fit on one page after basic adjustments:
- Manual Column Width Adjustment: Reduce or merge column widths to compress data horizontally.
- Row Height Adjustment: Similar to columns, this can help fit vertically.
- Hidden Rows and Columns: Use this option to hide less important data or adjust for better fitting.
- Zoom Printing: If all else fails, consider using Excel’s “Fit All Columns on One Page” or “Fit All Rows on One Page” options.
Printing Tips for Better Readability

Here are some additional tips to make your printout more reader-friendly:
| Feature | Description | Use Case |
|---|---|---|
| Headers/Footers | Add headers for report names, dates, or page numbers. | Useful for multi-page documents or to provide context. |
| Print Gridlines | Display gridlines to separate cells clearly. | Helps in reading and understanding data structure. |
| Print Black and White | Converts your document to monochrome. | Reduces printing costs and improves clarity. |

By implementing these techniques, you can achieve a much more compact and readable printout of your large Excel sheets, even if they initially seem impossible to fit onto one page.
Overall, preparing and printing your Excel document effectively involves a careful balance between data presentation and space management. By adjusting settings like margins, scaling, and orientations, and using advanced options like column merging and hidden data, you ensure your printout meets both aesthetic and functional needs.
What should I do if my Excel sheet still won’t fit on one page after scaling?

+
Try hiding less important data, adjusting row heights, or using manual column width adjustments to make your data fit more compactly. If space is still an issue, consider breaking your data into multiple sheets.
Can I print headers and footers on every page?

+
Yes, you can set up headers and footers in the Page Layout tab under the “Print Titles” section, allowing you to repeat them on every printed page.
Is it possible to print just part of my Excel sheet?

+
Absolutely, by setting a “Print Area” you can choose which parts of your sheet will be printed, leaving out the rest.


