5 Simple Steps to Print Labels from Excel

Printing labels from Excel might seem like a daunting task, but with a few straightforward steps, you can transform your data into perfectly printed labels. This guide will walk you through the process, ensuring you create professional-looking labels without any hassle.
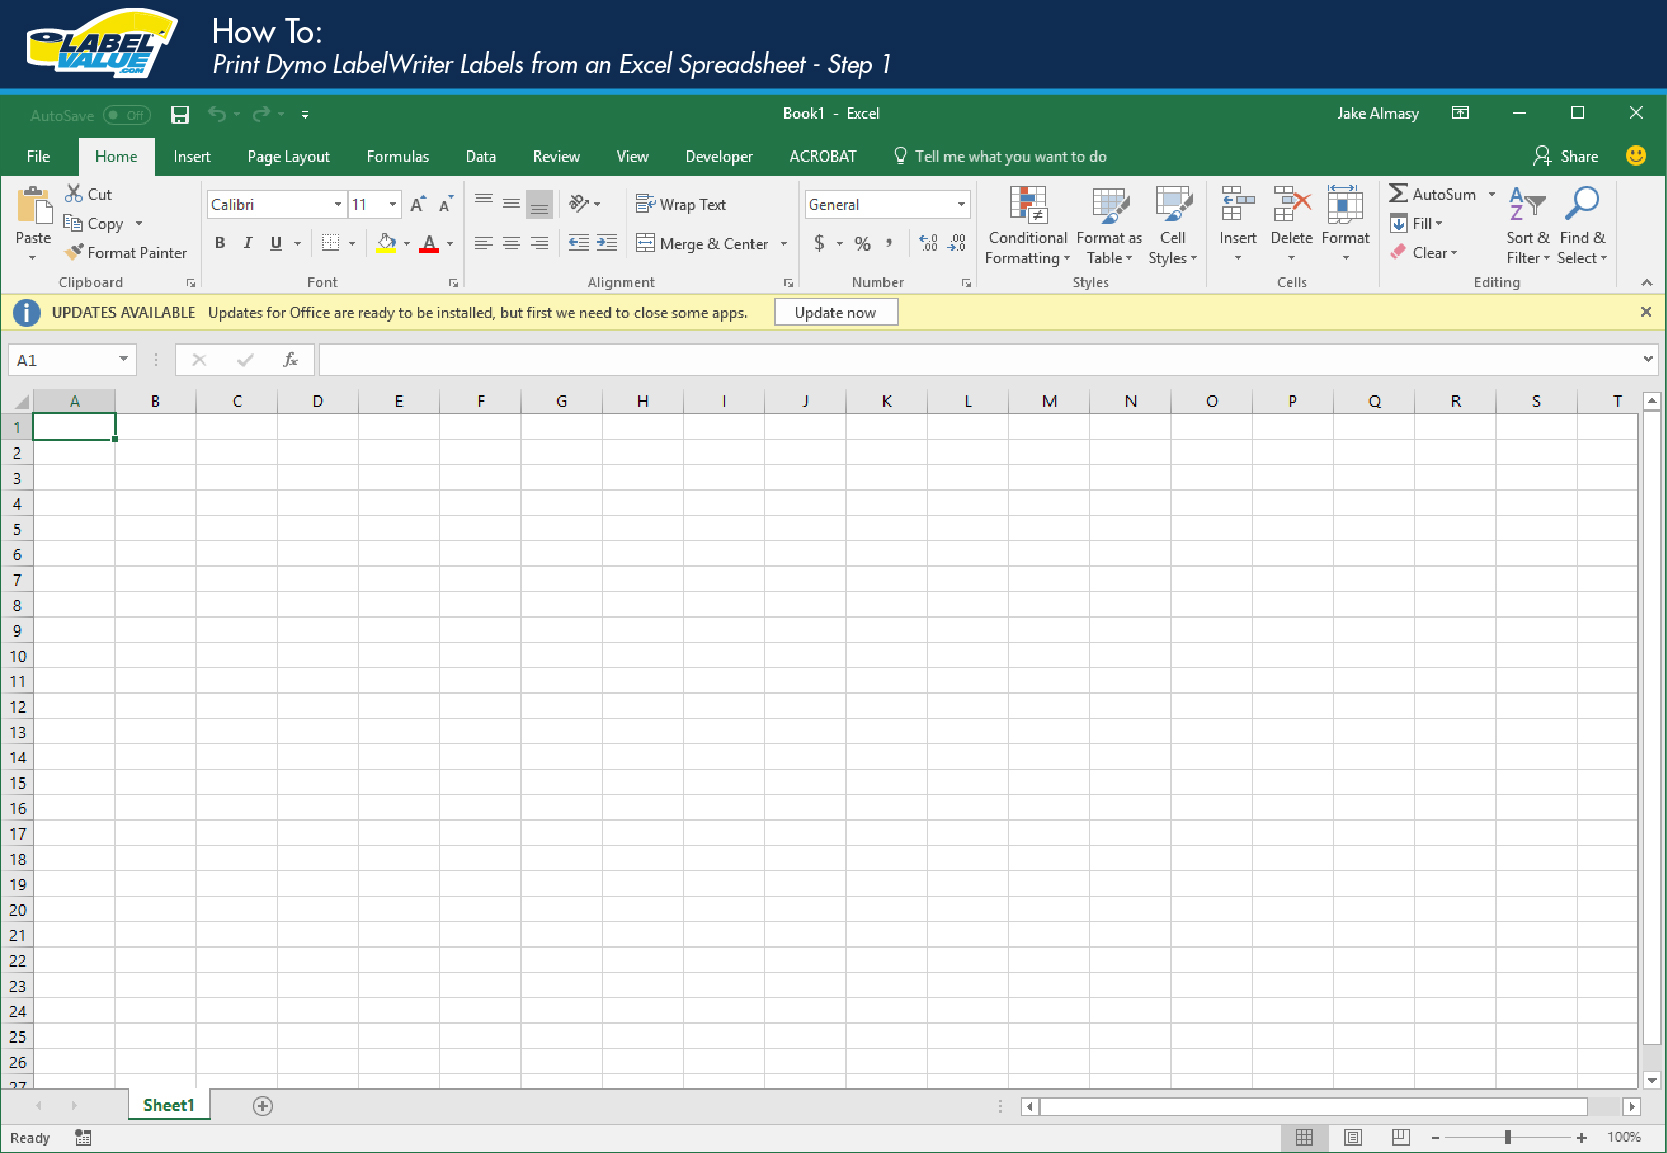
Step 1: Prepare Your Data in Excel

First and foremost, you’ll need to organize your data in Excel:
- Set up Headers: Clearly define column headers. For instance, Name, Address, City, State, ZIP Code, and so on.
- Data Cleanliness: Ensure your data is consistent. Remove any unnecessary spaces, standardize formats, and correct any spelling or address issues.
- Sort Your Data: Depending on your needs, sorting by ZIP Code or Name might be beneficial for batch printing.
🌟 Note: Maintaining clean and well-formatted data ensures that the labels look professional and align correctly on the label sheets.
Step 2: Choose Your Label Type

Excel does not have an in-built label printing function, so you’ll need to:
- Determine Label Size: Decide on the size of your labels based on the information you’ll print. Common sizes include Avery 5160 for standard address labels.
- Label Templates: Online, you can find label templates for various brands. These templates are essential for accurate alignment.
Step 3: Use Mail Merge

Excel works in harmony with Microsoft Word through Mail Merge for label printing:
- Open a new Word document for label setup.
- Under the ‘Mailings’ tab, click ‘Start Mail Merge’, then ‘Labels’.
- Choose your label size and type, ensuring it matches the labels you’re using.
- Click ‘Select Recipients’, choose ‘Use an Existing List’, and find your Excel document.
- Placeholders for your data fields are now in the label template. Click ‘Insert Merge Field’ to add each field where needed.
- Use ‘Preview Results’ to see how your labels will look, and ‘Finish & Merge’ to complete the process.
💡 Note: Using Mail Merge with an Excel data source keeps your document clean and updates labels dynamically if you modify the data source.
Step 4: Print Your Labels

With your labels set up in Word, it’s time to print:
- Load Label Sheets: Place your label sheets in the printer, ensuring they align correctly.
- Check Printer Settings: Ensure your printer is set to print on labels, not plain paper, to avoid jams or misprints.
- Print a Test Page: Before using your label sheets, print onto a blank sheet to ensure alignment.
- Once everything looks correct, proceed with printing your labels.
Step 5: Organize and Use Your Labels

After printing, here are some tips to manage and use your labels effectively:
- Store Properly: Keep your printed labels in a cool, dry place to prevent ink smudging or label curling.
- Use Fresh Labels: Ensure labels are not stuck together or have aged, which can affect their adhesion.
- Peel with Care: Peel labels carefully from the backing, avoiding creases or tears.
- Stay Organized: If you have multiple sets or batches, keep them organized for ease of use.
In summary, printing labels from Excel is not just about data; it's about precision, presentation, and practicality. By organizing your data, choosing the right labels, leveraging Mail Merge, setting up your printer correctly, and managing your labels after printing, you'll achieve professional results with minimal effort. This method ensures that your labels align well, look clean, and meet your specific needs, making mailing, inventory, or asset labeling a breeze.
Can I print labels directly from Excel?

+
Excel does not support direct label printing. You must use a program like Microsoft Word to set up labels and perform a mail merge to use Excel data for printing labels.
How do I ensure my labels align correctly when printing?

+
Always print a test page first onto plain paper to check alignment. Use the alignment guides provided in your printer settings or manual feed if available. If labels are misaligned, adjust the margins or printer settings accordingly.
What if I don’t have Microsoft Word for Mail Merge?

+
If you don’t have Microsoft Word, there are free online label maker tools or other word processors like Google Docs that also support mail merge functionality. You’ll need to convert or export your Excel data to use with these tools.


