5 Simple Steps to Print Excel Sheets with Numbers

Have you ever found yourself needing to print out an Excel sheet and realized that there are too many columns for a standard page to accommodate? One of the common dilemmas when working with Microsoft Excel is ensuring that all your vital data, especially column numbers, are printed legibly. While Excel is an incredibly powerful tool for data manipulation and analysis, printing can sometimes be a bit tricky. Here’s how you can print your Excel sheets with numbers showing in a way that's both efficient and readable.
1. Setting Up Your Excel Sheet

Before diving into the print settings, make sure your Excel sheet is well-organized:
- Check for merged cells, which might disrupt the flow when printing.
- Ensure your data doesn’t exceed the printable area. If it does, consider splitting it into multiple sheets or adjusting your print settings.
- Freeze panes if necessary to keep headers visible while scrolling or printing.
🖥️ Note: A well-organized sheet not only prints better but also enhances readability on the screen.

2. Adjusting Page Layout

To print numbers effectively, we need to:
- Navigate to the Page Layout tab on the ribbon.
- Select Print Titles from the Page Setup group.
- Go to the Sheet tab in the Page Setup dialog box.
- Under Rows to repeat at top, select the row containing your column headers. This ensures these headers print on every page.
3. Scaling and Printing Numbers

Printing numbers can be tricky due to space constraints:
- In the Page Layout tab, select Page Setup.
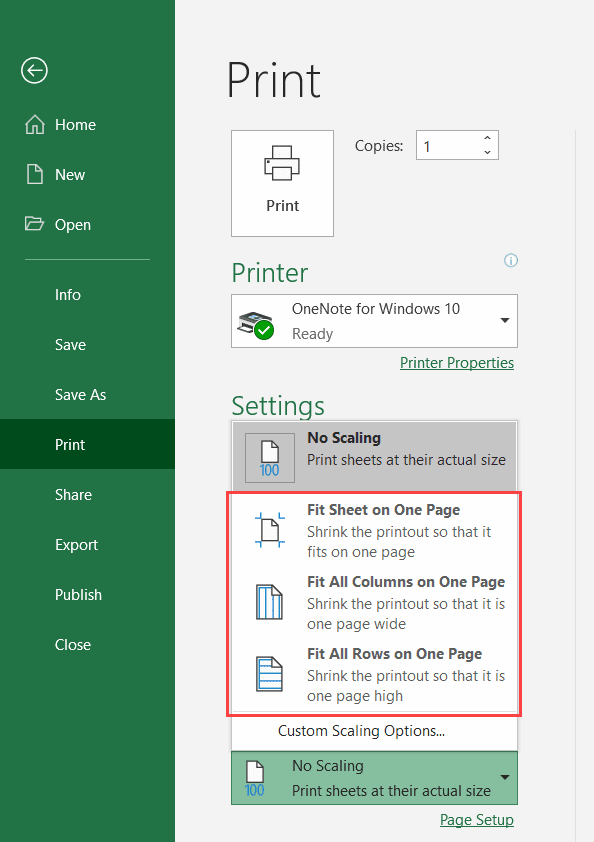
- Adjust the Scale option to fit more columns per page (e.g., 90% or less).
- Check Print and ensure Print Column and Row Headings is ticked if available.
📏 Note: Scaling down too much can make numbers less legible; strike a balance between readability and space.
4. Previewing Before Printing

Before sending your Excel sheet to the printer, it’s wise to use the Print Preview function:
- Click on File > Print to access the preview.
- Check if numbers are visible, headers are consistent across pages, and if there are any cut-off areas.

5. Executing the Print

When everything looks good:
- Click Print on the preview window or use the print shortcut.
- Select your printer, choose the number of copies, and proceed with the print job.
Excel's printing feature is designed to make document output straightforward, but without proper settings, you might end up with jumbled or incomplete data. By following these steps, you can ensure that when you print your Excel sheets, the numbers remain clear, legible, and useful for your intended audience or purpose.
Having implemented these simple steps, your next printed Excel sheet should look professional and easy to read, with all the necessary numbers prominently displayed.
Why are my numbers not printing properly in Excel?

+
This could happen due to incorrect scaling, page setup errors, or your sheet being too wide for the print layout. Adjust the settings using the steps above to correct this.
Can I print only a specific range of cells?

+
Yes, you can highlight the range you want to print, then use the Print Area feature in the Page Layout tab to set and print just that specific range.
How do I ensure headers repeat on every page?

+
Use the Rows to repeat at top option in Page Setup under the Sheet tab to make headers appear on all pages when printing.


