5 Simple Steps to Create a Blank Excel Sheet

Microsoft Excel remains a versatile tool for various industries, from finance to education, owing to its robustness in handling data. Whether you're a professional number cruncher or a student organizing data, knowing how to create a blank Excel sheet is fundamental. This post will guide you through 5 simple steps to create a blank Excel sheet, ensuring you can start organizing your data effectively.
Step 1: Open Microsoft Excel

The first step to creating a blank Excel sheet is to launch Microsoft Excel on your device. Here’s how:
- Click on the Start menu (Windows) or the Spotlight Search (Mac).
- Search for “Excel” in the search bar.
- Click on the Microsoft Excel application to open it.
📌 Note: If you don't have Excel installed, consider using the online version or Microsoft 365.
Step 2: Create a New Workbook

Once Excel is open, you’ll want to start with a fresh workbook:
- On the welcome screen, select “Blank Workbook.”
- If Excel is already open, click on File > New > Blank Workbook.
Step 3: Understanding the Excel Interface

Before you start entering data, familiarize yourself with the Excel interface:
- The Ribbon: Contains tabs like “Home,” “Insert,” “Page Layout,” etc., for different Excel functionalities.
- Cells: These are the boxes where you’ll input your data.
- Name Box: Shows the current cell’s address.
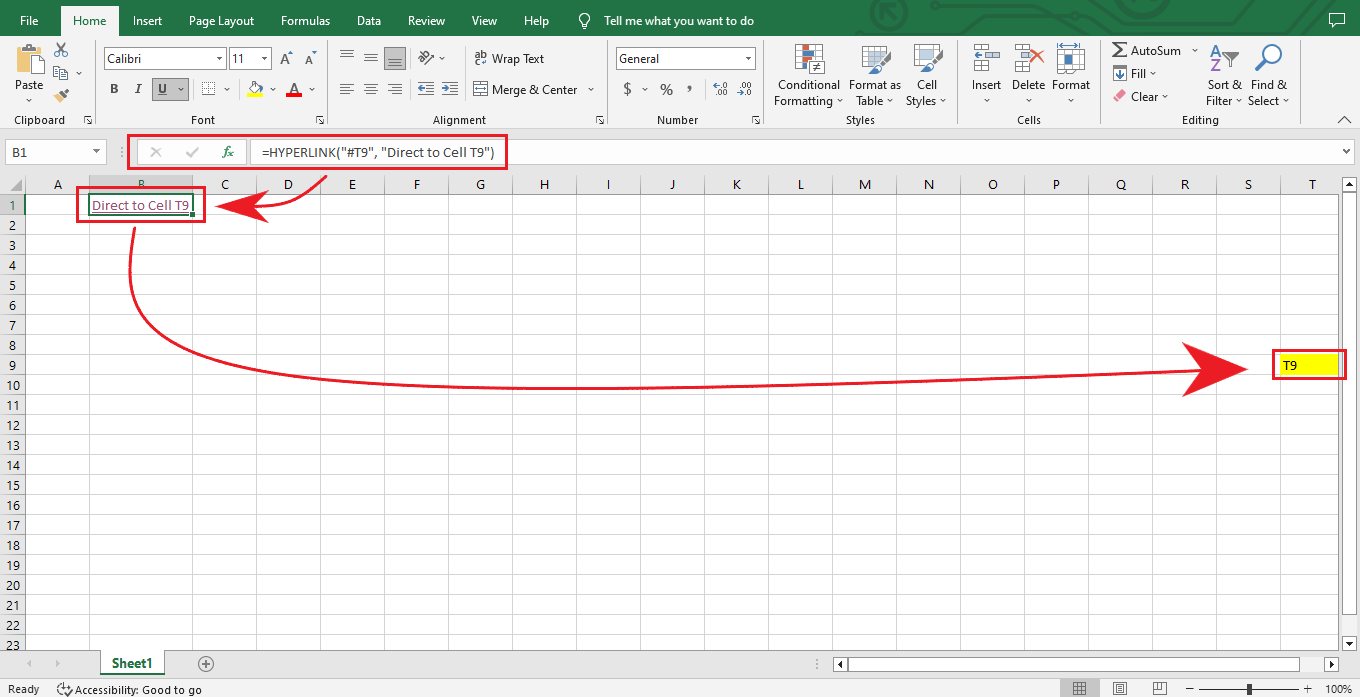
- Formula Bar: Displays the formula or content of the selected cell.
- Columns and Rows: Columns are labeled with letters, and rows with numbers.
- Worksheets: Located at the bottom, each tab represents a different sheet within the workbook.
| Interface Element | Function |
|---|---|
| Quick Access Toolbar | Customizable for frequent actions. |
| Active Cell Indicator | Highlights the cell you’re working in. |

Step 4: Saving Your Blank Workbook

It’s crucial to save your work:
- Press Ctrl+S (Windows) or Command+S (Mac), or go to File > Save.
- Choose a location on your device to save the workbook.
- Give your workbook a descriptive name, and hit “Save.”
🔒 Note: Save your workbook frequently to prevent data loss.
Step 5: Formatting Your Blank Sheet

Now that you have your blank Excel sheet, here’s how to customize it:
- Formatting Cells: Use the “Home” tab to format numbers, date, alignment, font, etc.
- Adding Headers and Footers: Go to Insert > Header & Footer.
- Gridlines: Enable or disable gridlines through View > Show > Gridlines.
- Freeze Panes: Lock columns or rows for easier data management.
Setting up your Excel sheet with these basic customizations ensures that your data entry process will be streamlined and tailored to your specific needs.
Recapping these steps, we've covered the essentials of creating and setting up a blank Excel sheet:
- Open Microsoft Excel.
- Create a new workbook.
- Familiarize yourself with the Excel interface.
- Save your workbook.
- Apply basic formatting to enhance functionality.
In mastering these steps, you're now equipped with the tools to utilize Excel for managing your data effectively, paving the way for more complex analyses, charts, and data organization in the future.
Can I use these steps on a Mac?

+
Yes, the process is similar on a Mac; you’ll just use Mac’s command key for shortcuts instead of the control key on Windows.
What if I want to create multiple sheets at once?

+
Excel allows you to add sheets as needed; after opening a new workbook, you can click the ‘+’ icon at the bottom to add new sheets.
Is Excel available online?

+
Absolutely, you can use Excel Online for free with a Microsoft account, although some features might be limited compared to the desktop version.


