Print Excel Sheet on One Page: Easy Steps

Printing an Excel sheet on one page can streamline your presentations and documentation processes. Excel offers several options to adjust your print settings so that your data fits onto a single page, making it ideal for handouts or when page count is crucial. Here's a step-by-step guide on how to achieve this:
Understanding Page Layout
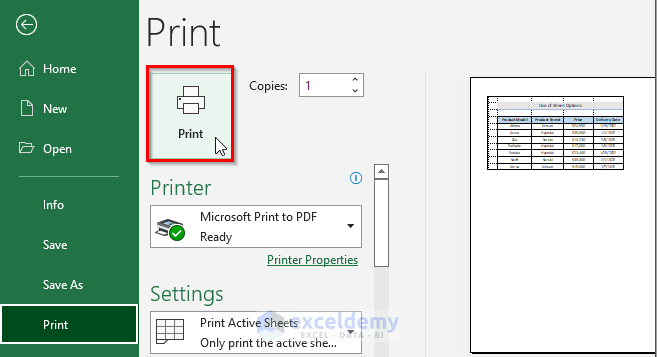
Before diving into the mechanics of resizing your spreadsheet, understanding the Page Layout tab is crucial:
- Page Setup: Access options for paper size, orientation, margins, and print scaling.
- Print Preview: View how your worksheet will appear when printed.
- Page Break Preview: Helps you visualize where Excel will automatically insert page breaks.
Adjusting Paper Size and Orientation
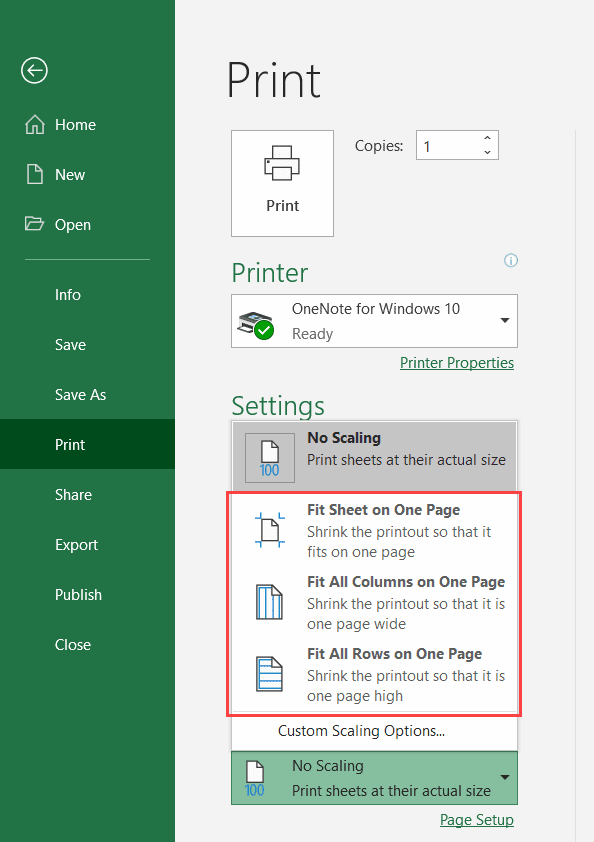
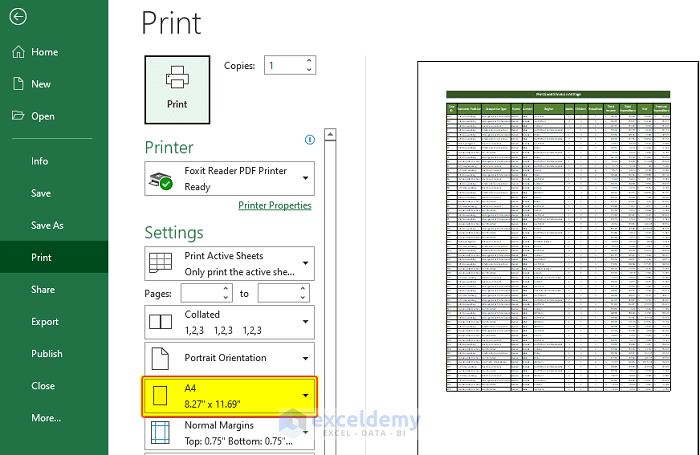
Choose the appropriate paper size and orientation to match your printer’s capabilities and your document’s needs:
- Paper Size: Go to Page Layout > Size > Select appropriate size (e.g., Letter, A4).
- Orientation: Page Layout > Orientation > Landscape or Portrait.
Scaling Your Printout

Excel offers scaling options to fit your data:
- Open the Page Setup dialog (Ctrl+P > Page Setup).
- Go to the Page tab.
- Select Adjust to: then enter a percentage that fits your needs.
- Or choose Fit to: where you can specify how many pages wide and tall your printout should be.
🔎 Note: Use the Fit to option with caution as it might distort cells or text.
Using Print Titles and Areas

Set print titles or areas to ensure important headers or parts of the document always appear:
- Print Titles: Page Layout > Print Titles > Choose rows/columns for headers.
- Print Area: Select the range you want to print, then Page Layout > Print Area > Set Print Area.
📄 Note: You can clear the print area if necessary.
Managing Page Breaks

To manually adjust where pages break, use Page Break Preview:
- View > Page Break Preview.
- Drag blue lines to set manual page breaks.
👁️ Note: Changes made in Page Break Preview are not visible in Normal View.
Using Margins and Headers/Footers
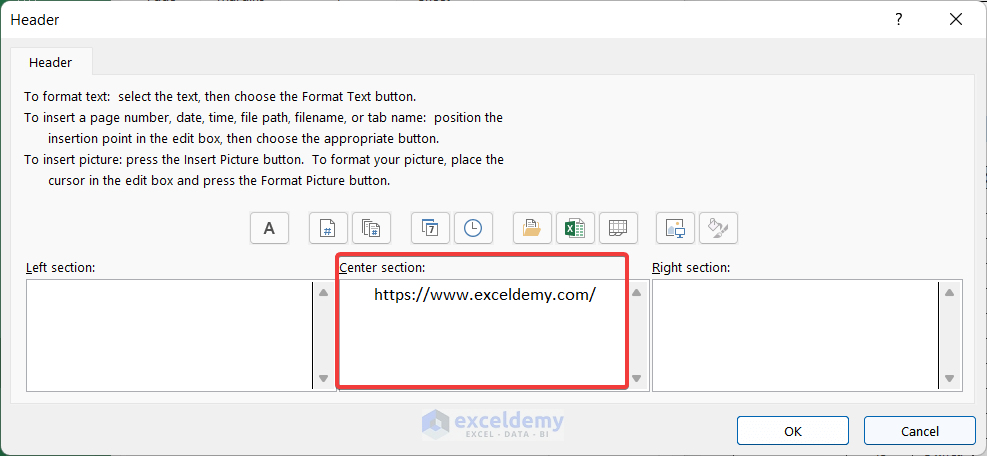
Adjust margins or add headers/footers for presentation:
- Margins: Page Layout > Margins > Adjust top, bottom, left, right margins.
- Headers/Footers: Page Setup > Header/Footer > Add or modify as needed.
Conclusion
Mastering how to print your Excel sheet on one page is invaluable for concise presentations and reports. By adjusting page layout, scaling your printout, setting print titles and areas, managing page breaks, and fine-tuning margins and headers/footers, you can ensure your data is presented in the best possible manner. Remember, the key is to balance readability with fitting everything onto one page without sacrificing the document’s visual appeal or clarity.
Why might my Excel sheet not fit onto one page?

+
Common reasons include: too many columns or rows, incorrect scaling settings, or wide margins. Check your page setup and scaling options to adjust how your sheet prints.
How can I tell if my Excel document will fit onto one page before I print?
+
Use the Print Preview feature under File > Print or Ctrl+P to see how your document will appear on paper. Here, you can adjust scaling and page layout in real-time.
Can I print a selected range of my Excel sheet?

+
Yes, you can set a specific print area to print only part of your sheet. Select your range, go to Page Layout > Print Area > Set Print Area.
What should I do if my Excel printout is too small or too large?

+
Adjust the ‘Adjust to:’ percentage in the Page Setup to change the size of your printout. This will increase or decrease the overall size of your content to fit your needs.


