Easily Print All Sheets in Excel: Step-by-Step Guide

In today’s fast-paced business environment, printing multiple sheets in Excel can save both time and resources. Whether you’re preparing for a crucial presentation or need to distribute data for analysis, knowing how to print all sheets at once can significantly streamline your workflow. In this guide, we’ll walk through the steps to print all sheets in Excel, ensuring your documents are presented with clarity and professionalism.
Step 1: Open Your Excel Workbook

Begin by opening the Excel workbook that contains the sheets you wish to print.
- Locate the file on your computer or cloud storage.
- Double-click to open it.
💡 Note: Ensure all the sheets you need to print are included in this workbook.
Step 2: Select All Sheets

For printing multiple sheets:
- Click on the first sheet’s tab at the bottom of the window.
- While holding the Ctrl key, click on each subsequent sheet you want to include.
If you wish to select consecutive sheets:
- Click on the first sheet.
- Hold down the Shift key.
- Click on the last sheet in the range you want to print.
| Keyboard Shortcut | Action |
|---|---|
| Ctrl + Mouse Click | Select individual sheets |
| Shift + Mouse Click | Select consecutive sheets |

🔍 Note: You'll notice that the color of the selected tabs changes, indicating the sheets selected for printing.
Step 3: Set Up Print Options

Before printing:
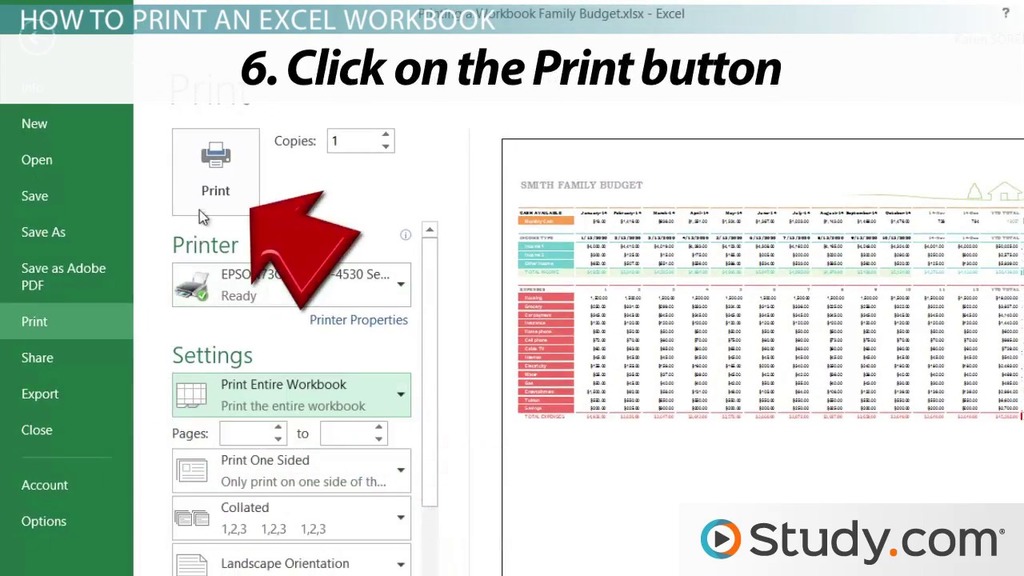
- Access the File menu and select Print.
- Review the print preview to see how your documents will appear on paper.
- Adjust settings like orientation (portrait or landscape), paper size, and margins to fit your data appropriately.
Printer Settings

- Navigate to the Printer section.
- Choose your desired printer from the list of available devices.
Print Range

Ensure All is selected under the Print Range options to print all selected sheets.
📝 Note: If you're using a printer with duplex printing capabilities, configure the settings to print on both sides of the paper.
Step 4: Configure Page Layout and Headers/Footers

For uniformity and professionalism:
- Go to the Page Layout tab.
- Here, you can customize headers and footers, adjust the scale, and set the print area if necessary.
Headers and Footers

- Click on the Header/Footer button to insert or modify headers and footers.
Print Area

- If specific cells or ranges are not required, set the print area to omit them, saving paper and ink.
Page Breaks

- Use the Page Break Preview view to manage where Excel should break pages for printing.
Step 5: Print Your Sheets

After setting up your print environment:
- Confirm your printer selection and press Print.
- Wait for the printer to complete the job.
📚 Note: Monitor the printing process to ensure all sheets are printed correctly. Large print jobs might take longer, so patience is key.
Wrapping Up

By following these steps, you’ll now be able to efficiently print all sheets in your Excel workbook, enhancing productivity and presenting your data in a clean, professional manner. Excel provides a wealth of options to customize your print output, ensuring your documents meet the highest standards of presentation. This guide not only helps in streamlining your printing process but also ensures that your documents are perfectly aligned for presentations, meetings, or any data distribution purpose.
Can I print selected sheets without having to manually select each one?

+
Yes, you can use VBA (Visual Basic for Applications) in Excel to create a macro that automatically prints selected sheets. However, this guide focuses on manual methods for simplicity and accessibility to all users.
What if my printer doesn’t support printing on both sides?

+
Set your printer to print single-sided, or manually flip the pages to print on the back, ensuring correct orientation and page order.
Can I print in color or black and white?

+
Yes, adjust this in your printer settings within the Print dialog box under the “Properties” or “Preferences” option.


