Easily Password Protect Excel Sheets: Quick Steps Guide

Whether you're managing sensitive financial data, client information, or just organizing your personal budget, securing your Excel spreadsheets is crucial. This comprehensive guide will walk you through the process of easily password protecting Excel sheets, ensuring your data remains safe and accessible only to authorized users. Let's dive into the steps to secure your documents effectively.
Understanding Password Protection in Excel

Before we proceed with the steps, it’s vital to understand what password protection in Excel entails:
- Protection from accidental edits: Prevents unintentional changes to cell data, formulas, or sheet structures.
- Security from unauthorized access: Stops others from opening or modifying your workbook without the password.
- Limitations: While Excel’s protection features provide a basic level of security, they are not foolproof against professional decryption attempts. Consider additional security measures for sensitive information.
How to Password Protect an Excel Workbook

Here’s how you can password protect an entire Excel workbook:
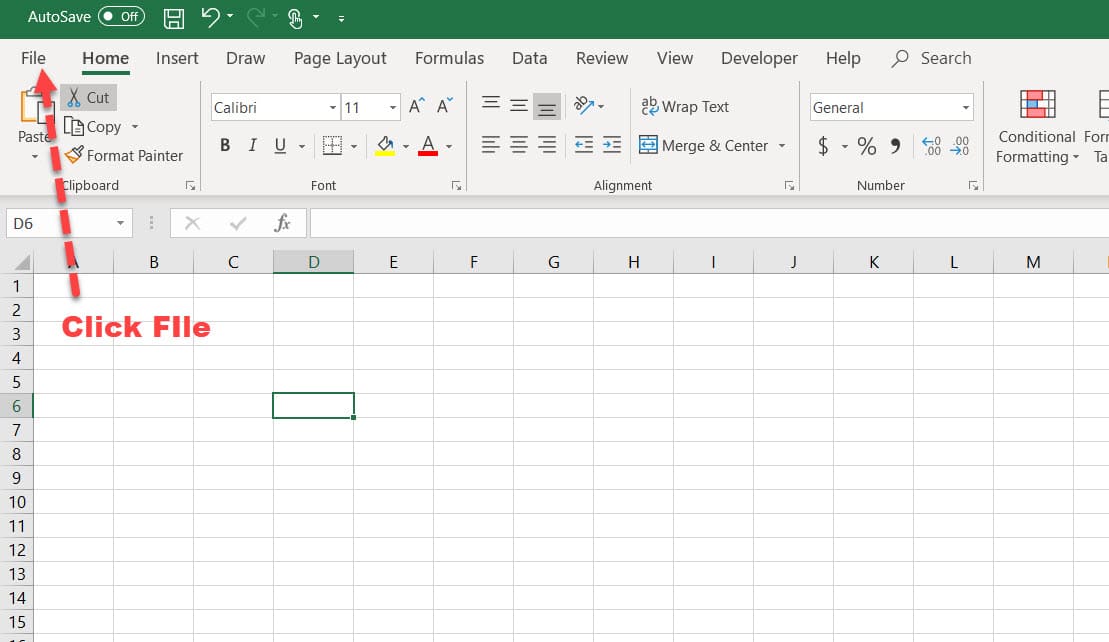
- Open your Excel workbook and go to File.
- Click on Info.
- Under the Protect Workbook section, click on Encrypt with Password.
- A window will prompt you to enter a password. Type your desired password, then confirm it by retyping.
- Press OK. Your workbook is now encrypted.
🔒 Note: Remember your password or keep it in a secure place; if you forget it, you'll permanently lose access to your file.
Password Protecting Individual Sheets in Excel

If you need to secure just specific sheets within a workbook:
- Open the workbook and select the worksheet you wish to protect.
- From the Home tab, navigate to Format under the Cells group.
- Choose Protect Sheet or, in older versions, click on Review then Protect Sheet.
- In the Protect Sheet dialog box:
- Select what actions users can still perform, like selecting locked cells or formatting cells.
- Enter a password if desired.
- Click OK after setting your preferences.
Encrypting Excel Sheets with a Password

Using encryption for an extra layer of security:
- Go to File, then Info, and select Protect Workbook.
- Choose Encrypt with Password.
- Type in your password, retype it to confirm, and hit OK.
- Save your workbook to apply these changes.
Removing or Changing Passwords

When the need arises to remove or alter the password:
- To remove a workbook password: Go through the same steps to Encrypt with Password but clear the password field and save.
- To change a worksheet password: Use the Unprotect Sheet feature, re-enter the current password if required, then proceed to re-protect it with a new password.
🔑 Note: Ensure you update any linked documents or templates that might require the original password.
By securing your Excel spreadsheets, you're taking an important step towards protecting your data. From financial records to client databases, password protection keeps your information confidential. Remember, while Excel provides a straightforward approach to safeguarding your work, always consider the sensitivity of the information and perhaps implement additional security measures for utmost security.
Can I recover an Excel password if I forget it?

+
Unfortunately, Excel does not provide a built-in password recovery tool. You should either have password recovery software, which isn’t foolproof, or maintain a secure record of your passwords.
Is Excel’s password protection secure?

+
Excel’s password protection is adequate for casual use to prevent accidental edits or unauthorized access by non-technical users. However, for highly sensitive data, additional security measures are recommended as Excel’s encryption methods might be vulnerable to advanced recovery techniques.
What should I do if my protected sheet is corrupted?

+
If your protected sheet is corrupted, you might not be able to access your data. Regular backups and using Excel’s automatic recovery options are crucial to minimize data loss. For recovery, consider using specialized software or reaching out to Microsoft support for help.


