Move Excel Sheet to End with Ease: Quick Guide

Handling Excel files has become an integral part of our daily lives, from tracking project progress to managing financial data. Whether you're a business owner, financial analyst, or simply an Excel enthusiast, there comes a time when you need to reorganize your spreadsheets, and one of the simplest yet most effective ways to improve readability is by moving sheets to the end of the workbook. This task, which might seem straightforward, can be incredibly useful for tidying up your data presentation.
Why Move Sheets to the End?

Before we delve into how to accomplish this, let’s discuss the reasons for doing so:
- Data Segregation: Sheets at the end of the workbook are often less relevant, providing a neat separation between main and ancillary data.
- Enhanced Readability: This practice can make navigation through your workbook more intuitive, especially in extensive files.
- Accessibility: Data that’s less frequently accessed or is of a reference nature can be easily found when moved to the back.
Steps to Move Sheets to the End of Your Workbook

Using Excel’s Built-in Features

Excel offers various built-in options to manage sheets, here’s how you can move them:
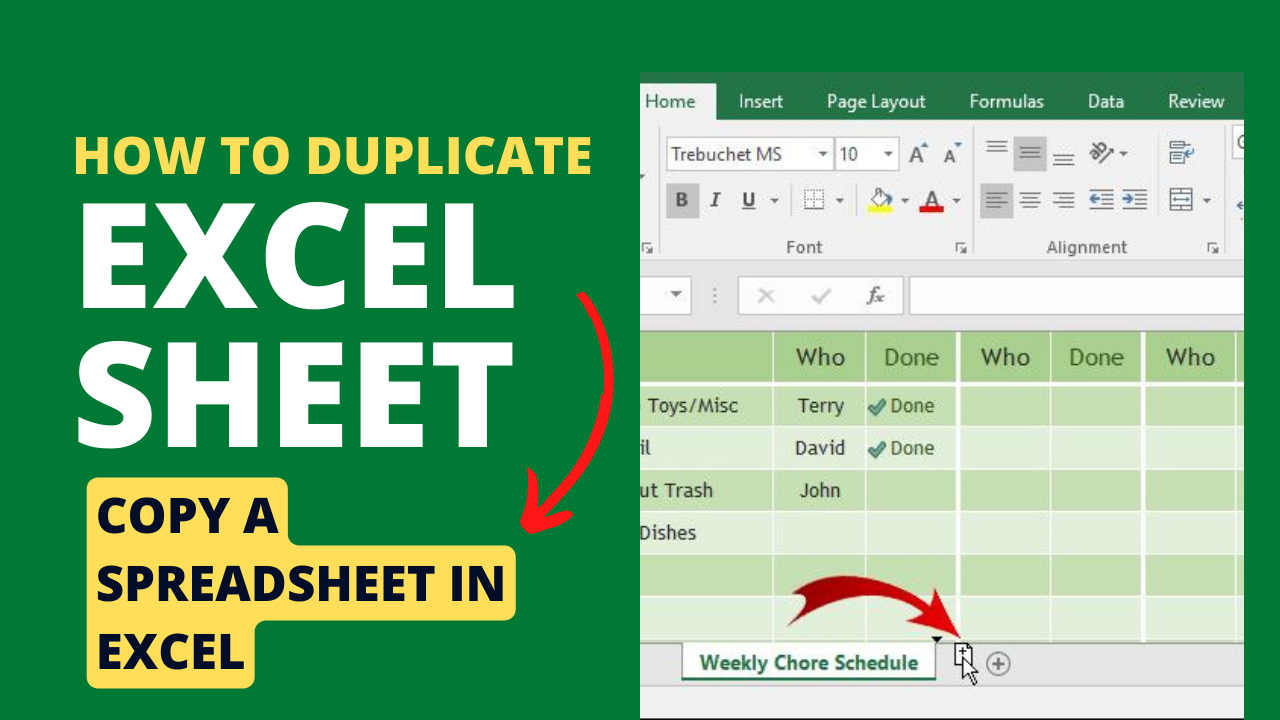
- Drag and Drop: Select the sheet tab you want to move, click and hold, then drag it towards the end. Release your mouse once you reach the last tab to drop it in place.
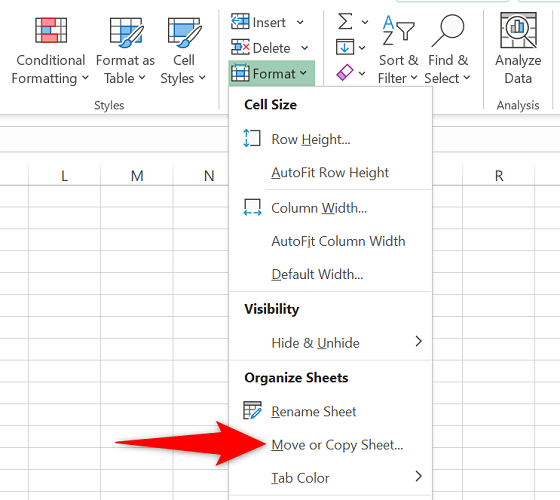
- Right-Click Menu: Right-click on the tab, go to ‘Move or Copy’, select (move to end) in the ‘To book’ dropdown, and hit ‘OK’.
- Keyboard Shortcuts: Use Ctrl+Page Down to cycle through the sheets until you reach the end, then drag or move as needed.
Using VBA for Bulk Actions

If your Excel workbook has numerous sheets and you need to move them all at once, VBA scripting can make the process much more efficient:
Sub MoveSheetsToEnd()
    Dim ws As Worksheet
    Dim i As Integer
    Dim sheetCount As Integer
    sheetCount = ThisWorkbook.Worksheets.Count
    For i = sheetCount To 1 Step -1
        If InStr(1, ThisWorkbook.Worksheets(i).Name, “Sheet”, vbTextCompare) > 0 Then
            ThisWorkbook.Worksheets(i).Move After:=ThisWorkbook.Worksheets(ThisWorkbook.Worksheets.Count)
        End If
    Next i
End Sub
💡 Note: This VBA script moves all sheets named “Sheet” to the end. Adjust the condition to match your specific sheet naming convention.
Things to Consider

- References: Ensure that no cells or formulas reference sheets that will be moved to avoid broken links or errors.
- Naming Conventions: A consistent naming convention can facilitate identification and management of sheets.
- Macros: If your workbook contains macros or VBA scripts, verify that these will still work correctly after sheet reorganization.
By organizing your workbook logically, you can make data analysis and report generation a breeze. Moving less relevant or archived sheets to the end can streamline your data management process, ensuring important information remains at the forefront.
Why would I need to move sheets to the end of my Excel workbook?

+
Moving sheets to the end of an Excel workbook can enhance readability, segregate data, and make navigation more intuitive. It helps to keep main and relevant data at the front of your workbook while archiving or hiding less important sheets at the back.
Can I move multiple sheets simultaneously in Excel?

+
Yes, you can move multiple sheets at once. Select the sheets by holding down the Ctrl key and clicking each tab you wish to move, then use the drag and drop method or right-click move option to reposition them collectively.
What are the potential pitfalls of using VBA to move sheets?

+
Using VBA to move sheets can break cell references, disrupt macros, and change the order in a way that might not be immediately visible. It’s crucial to ensure your script is tailored to your workbook’s structure to avoid these issues.


