Move Excel Rows Between Sheets Efficiently: A Guide

If you're looking to streamline your data management tasks in Microsoft Excel, moving rows between different sheets can be a game-changer. Whether you're organizing large datasets, cleaning data, or simply trying to make your spreadsheets more manageable, efficient methods for transferring rows can significantly boost your productivity. This guide will provide you with several techniques to move rows between Excel sheets, focusing on both basic and advanced methods to ensure you have the tools to fit your workflow perfectly.
Basic Drag and Drop Method

The simplest way to move rows between sheets involves a drag-and-drop approach:
- Open your Excel workbook with multiple sheets.
- Identify the row or rows you want to move.
- Click and hold the left mouse button on the row number to select the entire row.
- Drag the row to the destination sheet tab.
- Release the mouse button over the new sheet to drop the row into place.
🖱️ Note: Drag and drop is the fastest method for occasional transfers. However, it’s less precise for repetitive tasks or when moving multiple rows.

Using Cut and Paste

For a more controlled approach, especially when dealing with data integrity:
- Select the row(s) by clicking on the row number.
- Right-click and choose Cut or press Ctrl+X.
- Switch to the destination sheet.
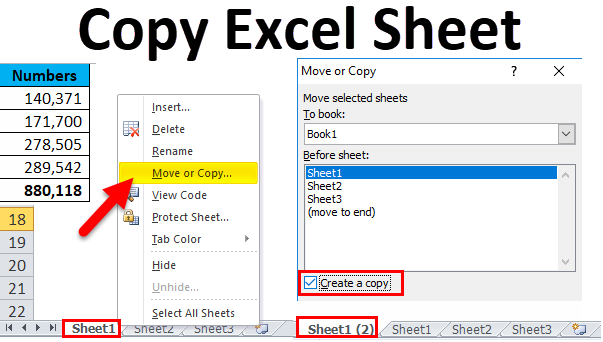
- Right-click where you want to paste the row and select Insert Cut Cells.
- Ensure the cells are inserted correctly to avoid overwriting existing data.
Advanced Techniques for Moving Rows
Filtering and Sorting for Batch Transfer
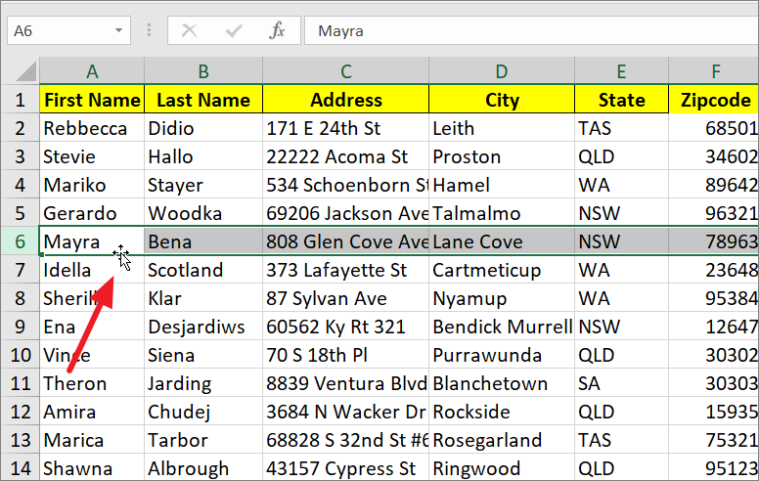
When dealing with a large amount of data:
- Use Excel’s filtering and sorting features to isolate the rows you need to move.
- Select the filtered rows, then use Cut/Paste or drag and drop.
VBA Macro for Automation

For frequent or complex tasks, a VBA macro can automate the process:
Sub MoveRowsToSheet() Dim wsSource As Worksheet, wsDest As Worksheet Dim rng As Range, cell As Range Dim lastRow As Long, destRow As Long Set wsSource = ThisWorkbook.Sheets(“Sheet1”) Set wsDest = ThisWorkbook.Sheets(“Sheet2”)' Find the last used row in the source sheet lastRow = wsSource.Cells(wsSource.Rows.Count, "A").End(xlUp).Row ' Loop through rows and check for criteria For Each rng In wsSource.Range("A2:A" & lastRow) If rng.Value = "Criteria" Then ' Adjust the criteria as needed rng.EntireRow.Cut Destination:=wsDest.Cells(wsDest.Rows.Count, "A").End(xlUp).Offset(1, 0) End If Next rng
End Sub
💻 Note: Macros can be intimidating if you’re new to VBA, but they provide immense efficiency for repetitive tasks.
Power Query for Advanced Data Management

If your data transfer involves complex transformations:
- Import your data into Excel using Get Data from Other Sources.
- Use Power Query Editor to shape your data.
- Combine different sheets or filter rows to meet your criteria.
- Load the results into a new or existing sheet.
Summing Up
Efficiency in Excel is not just about knowing the tools but about using them wisely to match your data management needs. From simple drag-and-drop methods to advanced macro automation, there are multiple ways to move rows between sheets. Each technique offers different benefits depending on your project’s complexity and your Excel proficiency. By mastering these methods, you’ll find that your data handling becomes smoother, enabling you to focus more on analysis and decision-making rather than wrestling with spreadsheets.
Can I move rows between sheets without overwriting existing data?
+
Yes, by using the ‘Insert Cut Cells’ option in the paste menu, you ensure that the rows are inserted without overwriting the existing data in the destination sheet.
What if I need to move rows based on certain conditions?
+
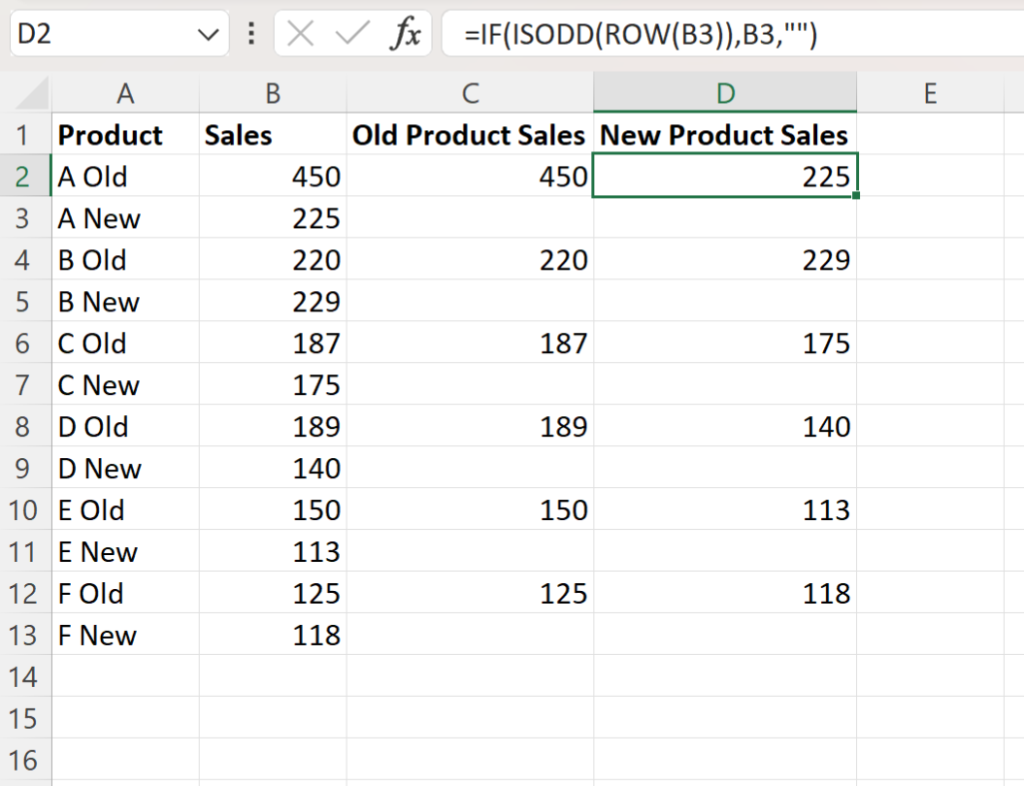
For conditional data movement, filtering before moving or using a VBA macro to automate the process based on specific criteria is the most effective approach.
Is there a way to automate moving rows if the conditions change?

+
A VBA macro can be set up to respond to changes in data or manually triggered when conditions are met.
