Merge and Sort: Unifying Two Excel Sheets Easily

How to Merge Two Excel Sheets Using the Power of Sorting

Have you ever found yourself with two Excel sheets filled with data, and all you want to do is merge them together into a single, coherent spreadsheet? This task might seem daunting at first, but with the right tools and techniques, it can be done quite effortlessly. In this comprehensive guide, we'll dive into the process of merging and sorting data from two Excel sheets, ensuring a smooth integration of information while maintaining data integrity.
Why Merge Excel Sheets?

- Data Consolidation: To combine datasets from different sources or departments into one master sheet.
- Analysis and Reporting: Facilitating comprehensive analysis by having all data in one location.
- Error Reduction: Reducing the chance of manual entry errors by automating the merge process.
Before you begin, it's important to ensure that the data in your Excel sheets is organized. This means checking for consistent headers, matching data types, and ensuring that the sorting keys or identifiers are uniform across both sheets.
Step-by-Step Guide to Merge and Sort Excel Sheets

1. Open Excel and Prepare Sheets

Start by opening Microsoft Excel and load the two sheets you intend to merge. Assume you have Sheet A and Sheet B:
- Sheet A: Contains customer information like name, contact, and sales data.
- Sheet B: Contains additional customer information, like loyalty points and last purchase date.
2. Identify a Key for Sorting

Identify a unique identifier or key that exists in both sheets. This could be:
- Customer ID
- Email address
- Any other field that is consistent and unique in both sheets.
3. Sort Both Sheets by the Key

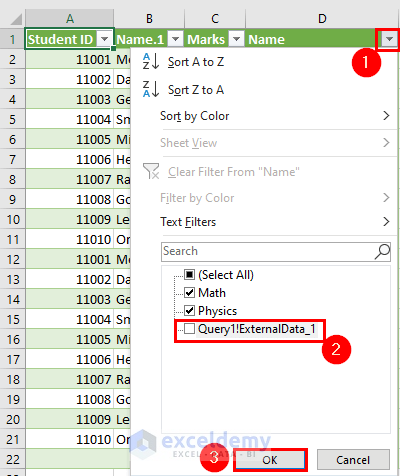
Sorting is crucial for ensuring that the merge process aligns correctly. Here's how to sort in Excel:
- Select the range or column containing the key in Sheet A.
- Navigate to the 'Data' tab on the Ribbon.
- Click 'Sort A to Z' or 'Sort Z to A' for ascending or descending order, respectively.
- Repeat this process for Sheet B, ensuring the sorting order matches Sheet A.
💡 Note: If the key is not consistent, consider using Excel's VLOOKUP or INDEX-MATCH functions to find matching rows manually before proceeding.
4. Copy Data from One Sheet to Another

| Steps | Description |
|---|---|
| 1. Select Data | Choose the columns from Sheet B that need to be merged into Sheet A. |
| 2. Copy | Right-click and select 'Copy' or use Ctrl+C (Command+C on Mac). |
| 3. Paste in Sheet A | Click on the cell next to where you want to start merging data in Sheet A, then use Ctrl+V (Command+V on Mac) to paste. Ensure to paste "Match Destination Formatting" if necessary. |

5. Use VLOOKUP or INDEX-MATCH for Merging

If direct copying isn't suitable due to mismatch in rows or keys:
- Insert new columns in Sheet A where you want the merged data to appear.
- Use Excel's VLOOKUP or INDEX-MATCH functions to fetch and insert data from Sheet B into Sheet A.
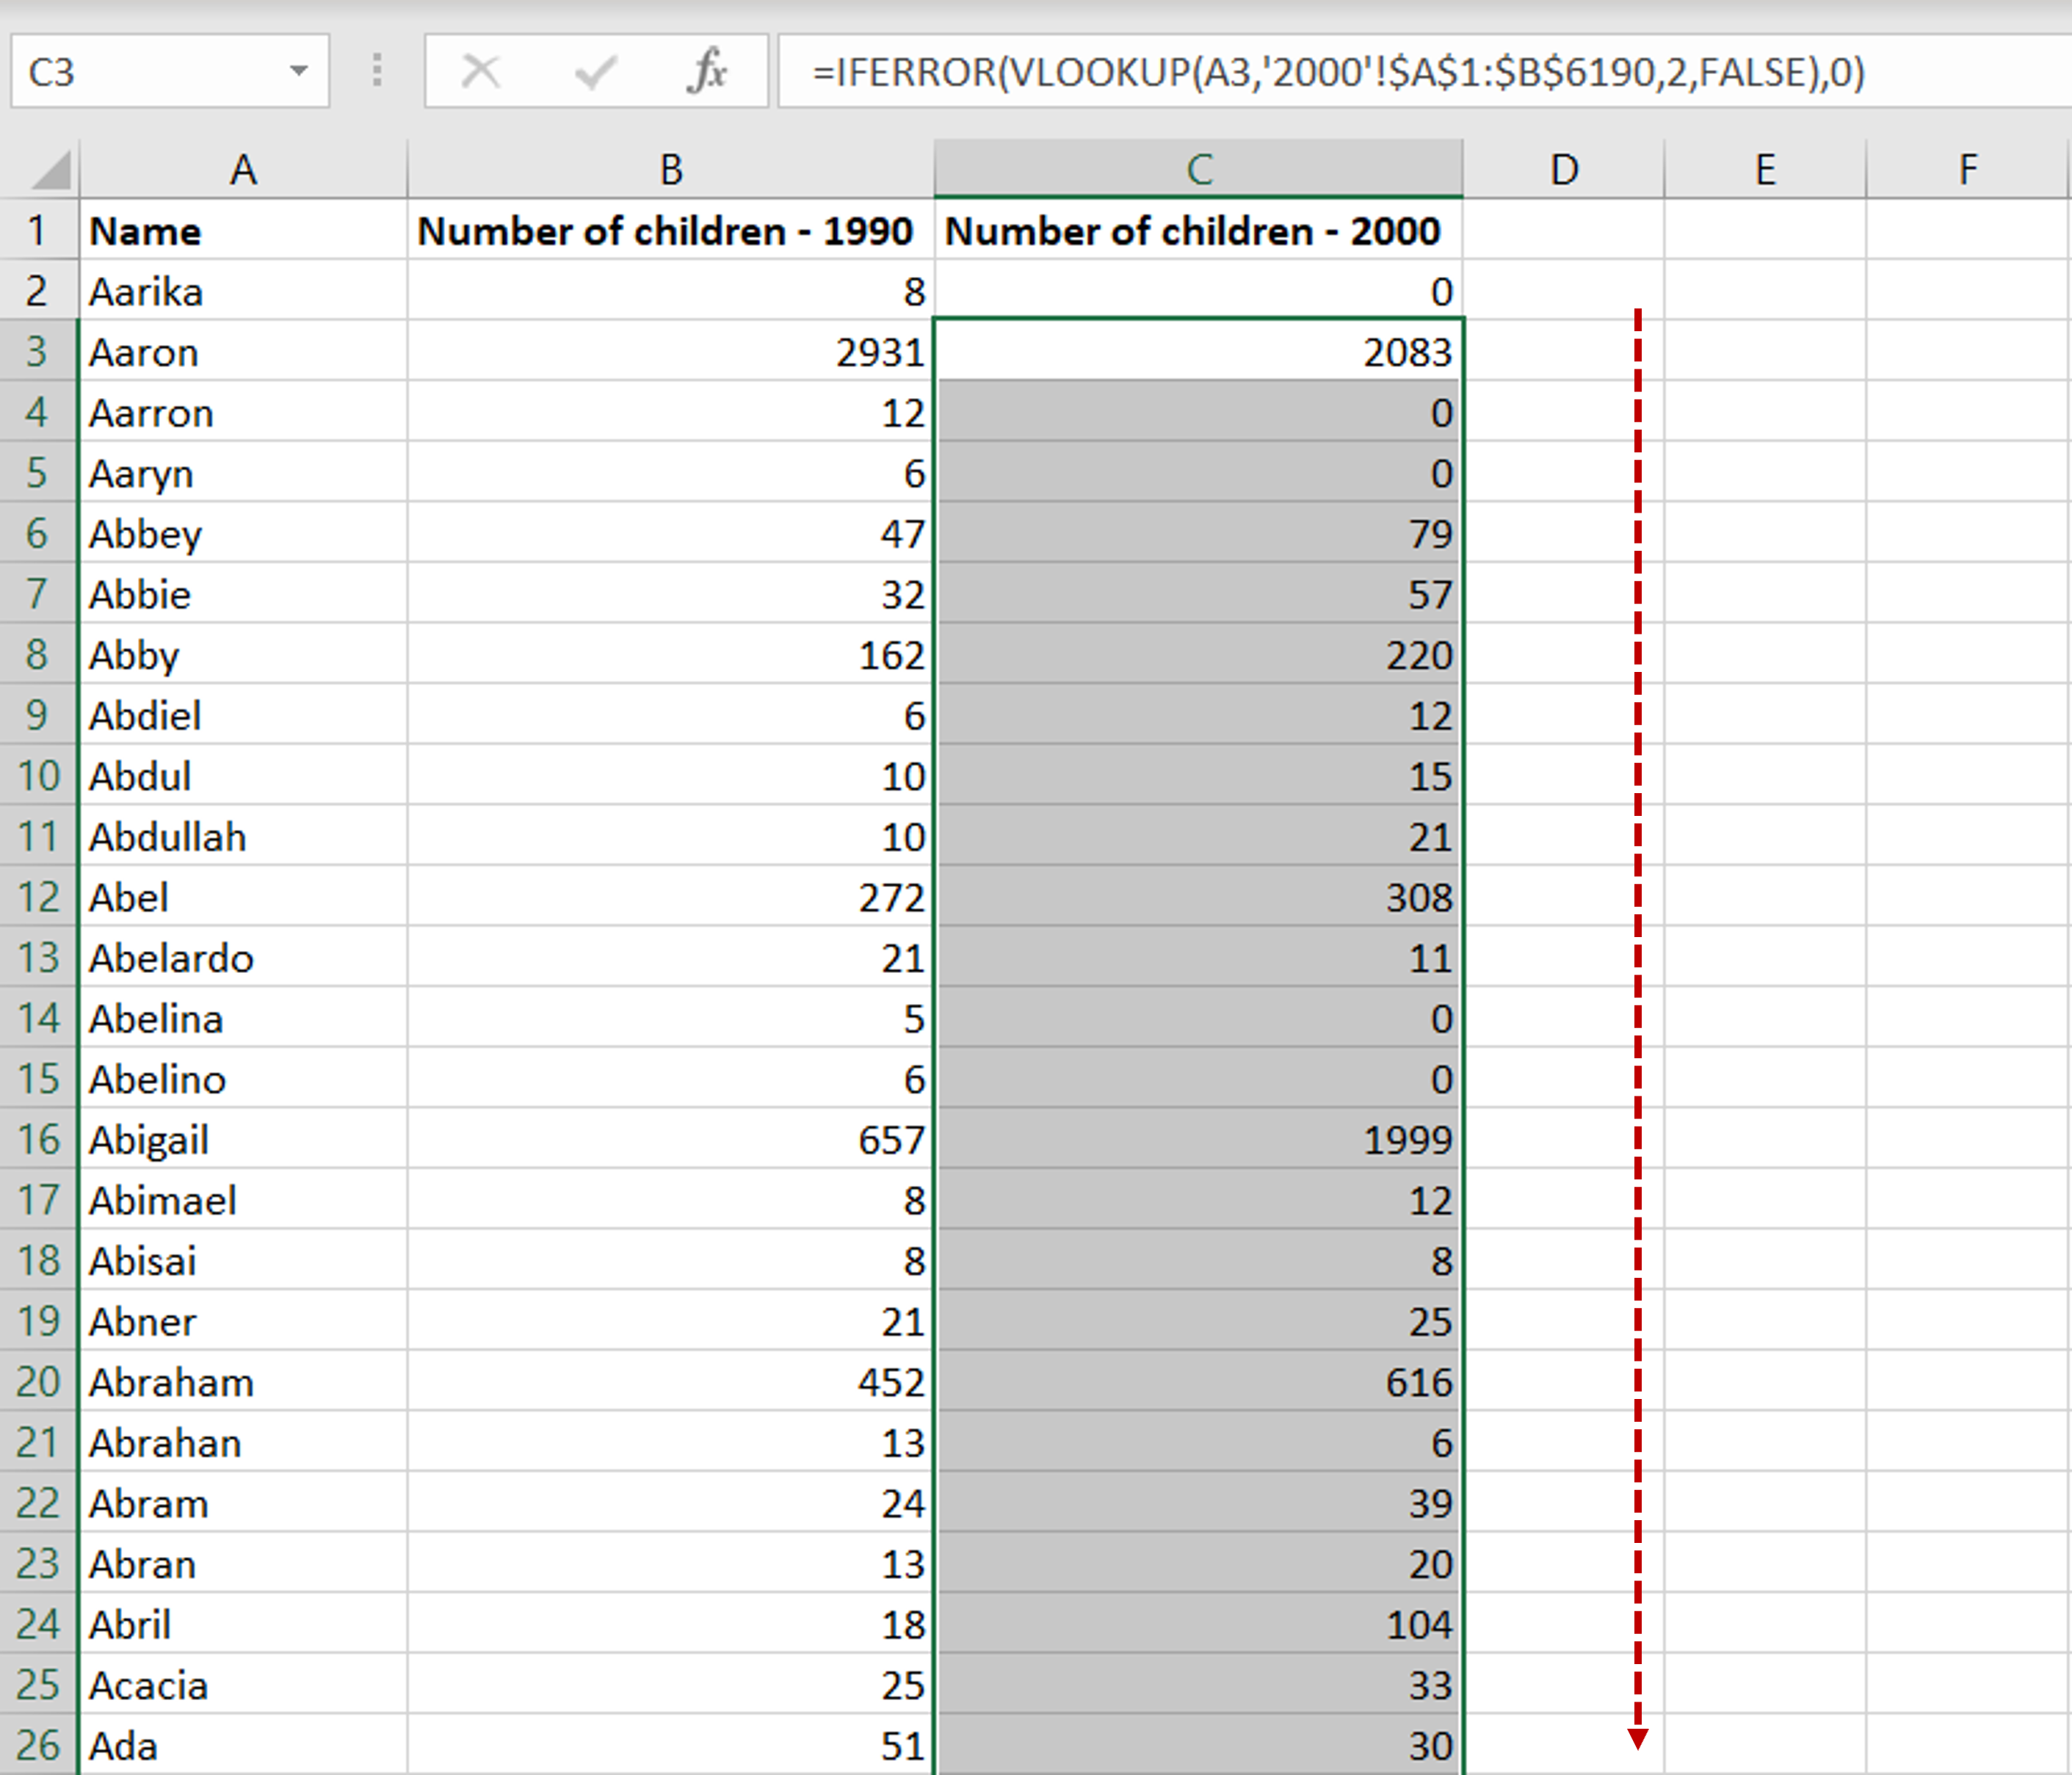
For example, if merging by Customer ID, the VLOOKUP formula would look like this:
=VLOOKUP(SheetA!A2, SheetB!$A$2:$C$1000, 2, FALSE)
This formula looks for the value in cell A2 of Sheet A in the first column of Sheet B, then returns the value from the second column of Sheet B.
💡 Note: Use FALSE or 0 in the range_lookup argument for an exact match; TRUE or 1 will give approximate matches which might not be suitable for this operation.
6. Clean Up and Review

After merging:
- Remove any duplicate headers or redundant data.
- Check for any errors or mismatches by reviewing the merged data carefully.
- If sorting needs adjustment, use the 'Sort' feature again to realign data.
Here, the logical conclusion to our journey of merging Excel sheets draws near. By following these steps, you've not only brought together disparate sets of data but also streamlined your workflow, enhancing your ability to analyze, report, and make decisions based on unified information.
The process we've outlined ensures that your data remains accurate and meaningful. The power of sorting and the precision of formulas like VLOOKUP or INDEX-MATCH work in tandem to create a cohesive and actionable dataset. This seamless integration allows you to analyze customer behavior, track sales trends, or simply have a clearer picture of your data's landscape.
Why should I sort data before merging?

+
Sorting ensures that the data is aligned correctly for merging, making the process more efficient and reducing the risk of errors.
Can I use these methods to merge more than two sheets?

+
Yes, you can expand this process to merge multiple sheets, but you’ll need to repeat steps for each additional sheet or use more complex Excel functions.
What if my data has duplicates?

+
Excel has features like ‘Remove Duplicates’ that can help in identifying and removing duplicate entries before or after merging.
Is there a limit to how much data I can merge in Excel?

+
Excel has row and column limits, but these are usually sufficient for most business needs. With Excel 2019 and later versions, you can manage up to 1,048,576 rows and 16,384 columns per sheet.
What are the alternatives to manual merging?
+Tools like Power Query or third-party applications can automate the process, offering more advanced options for data transformation and integration.


