5 Easy Ways to Merge Excel Sheets into Labels

Merging data from multiple Excel spreadsheets into mailing or name labels is often a task for businesses, event organizers, and personal mailings. This detailed guide will explore five streamlined methods to integrate your data from several spreadsheets into a cohesive set of labels, ready for printing. Each method has its own merits, suiting different levels of technical proficiency and workflow needs.
Method 1: Using Excel's Power Query

Power Query is an advanced tool within Excel that allows for data transformation and integration. Here’s how to use it:
- Load Files: Open a new Excel file, go to the "Data" tab, and select "Get Data" > "From File" > "From Folder".
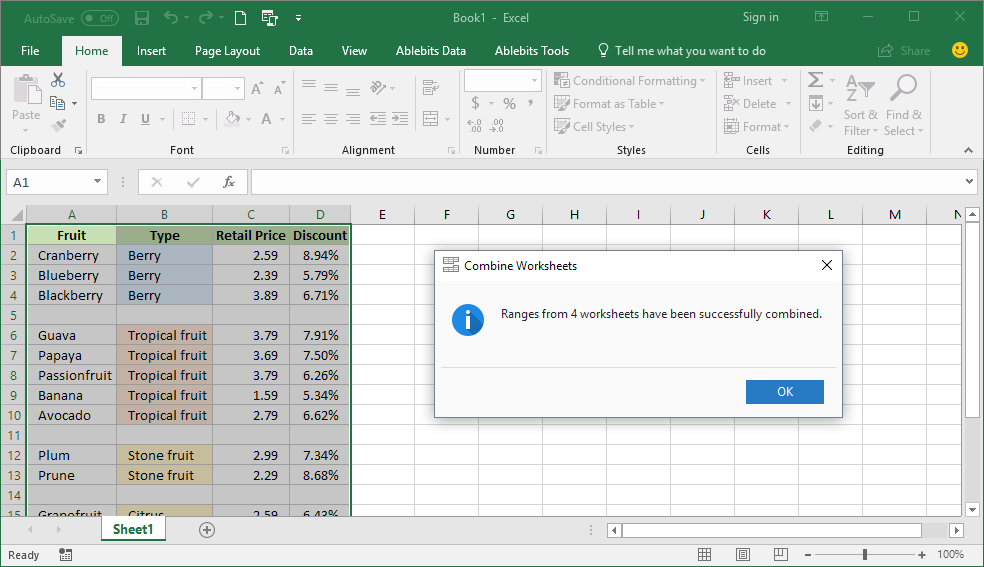
- Combine Files: Select the folder containing your Excel sheets and click "Combine & Load" to open the "Combine Files" dialog. Power Query will automatically detect the structure of your Excel files.
- Edit Query: In the "Query Editor", you can filter, sort, or modify the data before transforming it into labels. Choose "Advanced Editor" to further customize your query if needed.
Once your data is merged, you can proceed to create your labels:
- Use Excel's built-in label printing features, or export your data for use in label printing software like Avery Design & Print.
Method 2: Mail Merge with Microsoft Word

This classic approach is user-friendly:
- Prepare Your Data: Ensure your Excel data is clean and formatted correctly, with one sheet for the data and another for output.
- Start Mail Merge: Open Microsoft Word, go to "Mailings" > "Start Mail Merge" > "Labels", and choose the label type.
- Select Recipients: Connect to your Excel workbook by selecting "Use the current document", then "Select Recipients" > "Use an Existing List" and choose your Excel file.
- Insert Merge Fields: Use "Insert Merge Field" to place the relevant fields from Excel onto your labels. Preview the merge to ensure everything looks right, then complete the merge.
Method 3: Use VBA to Automate Merging

For those comfortable with coding, Visual Basic for Applications (VBA) can automate the merging process:
- Open VBA Editor: In Excel, press Alt + F11 to open the VBA editor.
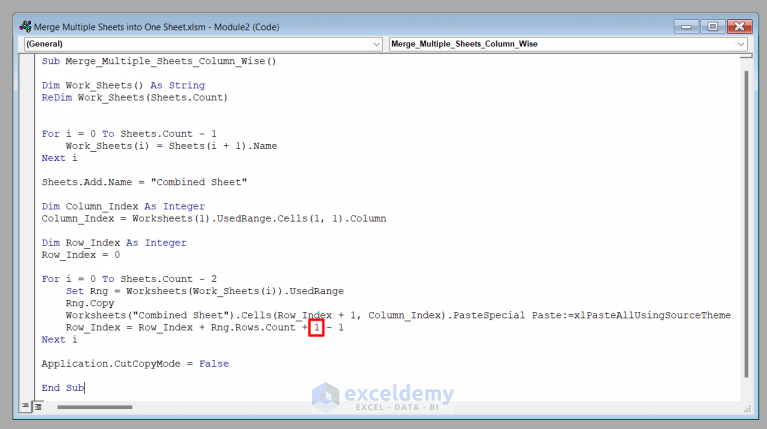
- Create a Script: Write a script that opens each Excel file, copies relevant data to a master sheet, and then formats this data for label printing. Here's a sample code:
Sub MergeWorkbooks()
    Dim wb As Workbook, ws As Worksheet
    Dim strFilename As String
    Dim rng As Range

    'Master workbook
    Set wb = Workbooks.Open("C:\your_path\to\masterworkbook.xlsx")
    Set ws = wb.Sheets(1)

    'Location of the data
    strFilename = Dir("C:\your_path\to\data_folder\*.xlsx")

    Do While strFilename <> ""
        Workbooks.Open Filename:=strFilename
        Set rng = Range("A1").CurrentRegion
        ws.Range("A" & ws.Rows.Count).End(xlUp).Offset(1, 0).Resize(rng.Rows.Count, rng.Columns.Count).Value = rng.Value
        Workbooks(strFilename).Close False
        strFilename = Dir
    Loop

    'Your code for creating labels would go here

    wb.Save
    wb.Close
End Sub
- Run the Script: After writing the script, run it to merge your sheets automatically. Make sure to adjust paths and logic as per your requirements.
Method 4: Utilizing Online Services

Several online platforms like Labelmaker, Avery, and CloudLabels allow you to upload your Excel files and design labels:
- Upload Data: Use their file upload feature to import your Excel sheet(s).
- Design Labels: With intuitive tools, customize your label layout, choosing from templates or starting from scratch.
- Merge and Print: These services typically handle the merging process behind the scenes, automatically placing your data onto labels.
Method 5: Manual Copy-Paste and Label Printing Software

This method is straightforward but can be labor-intensive:
- Manual Copy: Open all your Excel files, copy data from each sheet, and paste it into one sheet or document.
- Software Integration: Use label printing software or Microsoft Word’s mail merge to create labels from this compiled data.
- Print Labels: Preview your labels for accuracy, then print them from your chosen software or Word.
✍️ Note: For large datasets or when merging frequently, automated methods like Power Query or VBA offer significant time savings.
Integrating data from multiple Excel sheets into labels can be approached in various ways, each with its own advantages: - Power Query simplifies the data transformation process, making it ideal for large datasets and complex transformations. - Microsoft Word's mail merge provides an accessible solution for those less comfortable with data manipulation tools. - VBA scripts offer full automation, perfect for repeatable tasks or when customizing the merging process. - Online services are excellent for a quick, straightforward solution without software installations. - Manual methods are best suited for one-time, small-scale projects where precision isn't paramount. Whatever method you choose, the end goal remains the same: efficiently and accurately producing labels from your Excel data. The methods highlighted above cater to different levels of technical proficiency and workflow demands, ensuring there's a solution for everyone. Whether you're preparing for a mailing campaign, event organization, or simply need to label inventory, these techniques will streamline your process.
Can I use any of these methods for non-label printing tasks?

+
Yes, methods like Power Query, VBA, and manual copy-pasting can be adapted for various data manipulation tasks, not just label printing.
What if my Excel files have different structures?

+
Methods like Power Query and VBA can handle files with different structures by allowing you to customize data extraction and transformation processes to fit your needs.
Are these methods compatible with all versions of Excel?

+
Power Query is available in Excel 2010 and later, while VBA is available in most versions of Excel. Online services require an internet connection but work with any Excel file. Manual methods are universally applicable.


