5 Easy Steps to Password-Protect Excel Sheets

Why Protecting Your Excel Sheets is Crucial

Before we delve into the practical steps, it’s essential to understand why safeguarding your Excel sheets is so important. Here are a few key reasons:
- Data Security: Protecting your sheets can prevent unauthorized access to sensitive information like financial data, personal records, or proprietary business information.
- Error Prevention: By restricting editing capabilities, you avoid unintended changes or deletions by users unfamiliar with the data or content.
- Collaboration Control: You can allow certain users to view but not edit spreadsheets, which can be crucial for managing team collaborations where not everyone needs full access.
- Data Integrity: Ensuring that only authorized changes are made preserves the integrity and accuracy of your data.
Step 1: Opening Excel and Preparing Your Sheet

To password-protect an Excel sheet, start by opening Microsoft Excel on your computer and navigating to the worksheet you want to secure:
- Open Excel.
- Select the workbook containing the sheet you wish to protect.
- If the sheet needs organizing, ensure all necessary data is entered and formatted as desired before proceeding.
🔒 Note: Ensure you have backed up your data before applying protection. Losing access due to forgotten passwords can lead to data loss.
Step 2: Accessing the Protection Settings

Navigating to the protection settings is straightforward:
- Go to the “Review” tab located at the top of the Excel ribbon.
- Click on “Protect Sheet.” This will open the Protect Sheet dialog box where you can set your parameters for protection.
Step 3: Setting Up Password Protection

Now, set up your password protection:
- In the Protect Sheet dialog box, enter a strong password. A combination of letters, numbers, and symbols ensures better security.
- Configure the settings for the sheet. For example, you might allow users to sort or autofilter, but not edit or format cells.
Step 4: Confirming and Applying the Password

After setting your password and defining protection settings:
- Re-enter the password in the “Confirm Password” field to avoid typos.
- Hit “OK.” Your sheet is now protected.
Step 5: Unprotecting the Sheet (If Needed)

In case you need to make changes later:
- Go to the “Review” tab again.
- Click on “Unprotect Sheet.”
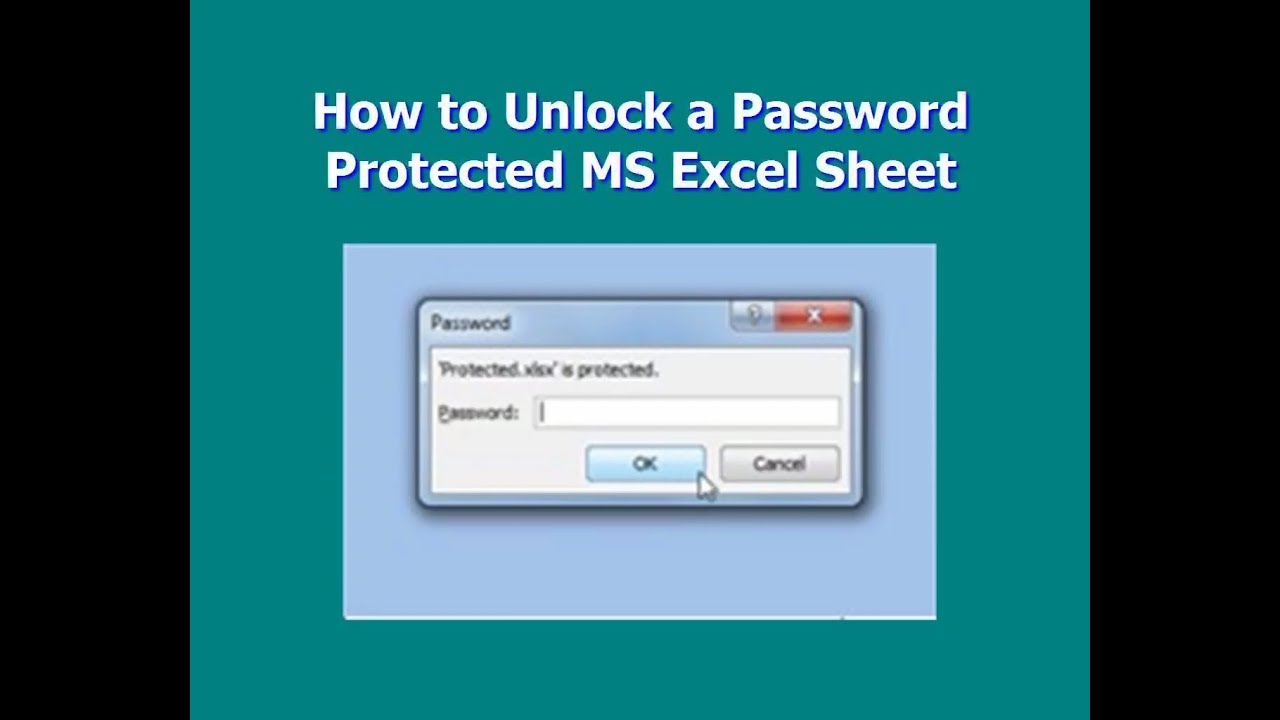
- Enter the password you set earlier to make the sheet editable.
🔓 Note: If you forget your password, Excel does not provide a password recovery option, which underscores the importance of password management and backup.
By following these five steps, you've not only safeguarded your Excel sheet from unauthorized access but also ensured that your data remains intact and accurate for future use. This process is not just about security; it's about empowering you to control who can interact with your spreadsheets, providing peace of mind when sharing or working collaboratively.
Can I protect multiple sheets at once?

+
No, you must protect each sheet individually. Excel does not offer a feature to protect multiple sheets simultaneously.
What happens if I forget the password?

+
If you forget the password, there is no way to recover it directly within Excel. You would need to use third-party software or restore from a backup.
Can I share password-protected sheets with others?

+
Yes, you can share password-protected sheets. However, users will need the password to open or edit the protected sections of the workbook.


