Create Excel Sheets on MacBook Pro: Simple Steps

Microsoft Excel is an indispensable tool for data analysis, organization, and reporting across various industries. If you're a MacBook Pro user and are looking to get started with Excel on your Mac, this comprehensive guide will walk you through the simple steps to install, customize, and use Excel effectively.
Installing Microsoft Excel on MacBook Pro
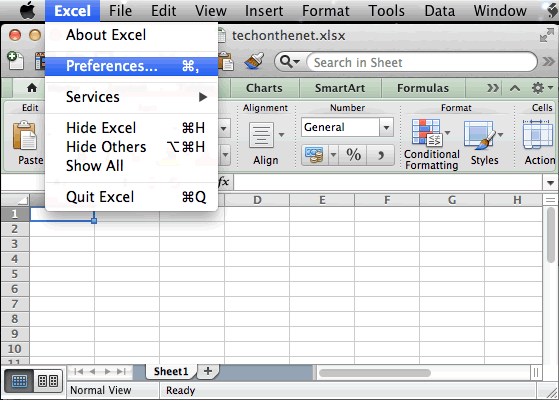
To use Excel on your MacBook Pro, you need to have Microsoft Office installed. Here’s how you can get Excel:
- Microsoft 365 Subscription: Sign up for a Microsoft 365 subscription to get the latest version of Excel, with cloud integration and auto-updates.
- Purchase a One-time Purchase: Opt for a non-subscription version that might not include all the latest features but allows for a one-time purchase.
💡 Note: If you are a student or an educator, look out for Microsoft’s special student discount offers.
Steps to Install Excel:
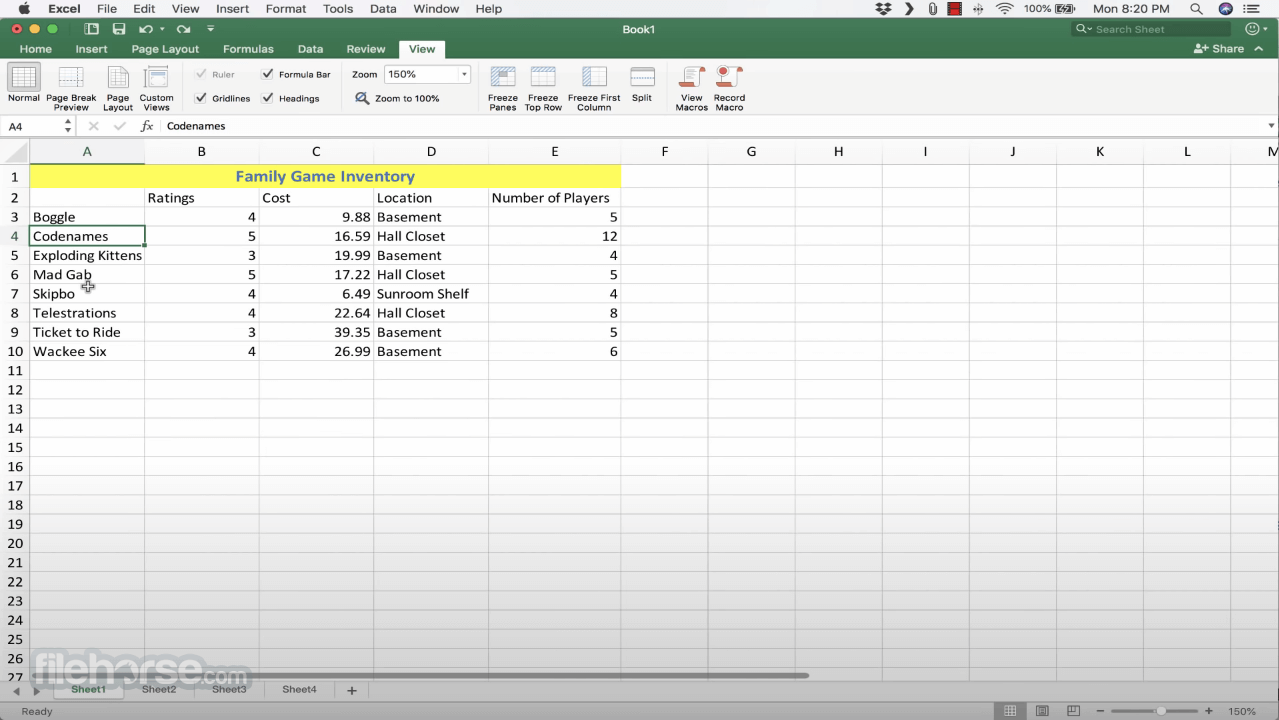
- Visit the Microsoft Office website and choose your preferred plan or product.
- Sign in with or create a Microsoft account.
- Download the installer package for macOS.
- Open the downloaded file and follow the on-screen instructions to install Office, which includes Excel.
- Upon completion, launch Excel from your Applications folder or Spotlight search.
Customizing Excel for Better Workflow

After installation, take some time to customize Excel for an optimal user experience:
Setting Up Your Workbook:

- Ribbon Customization: Modify the Excel Ribbon to add or remove tabs and customize your tool access.
- Default Save Location: Change the default file location to a folder you commonly use for Excel files.
- AutoRecover: Enable AutoRecover to avoid data loss in case of a crash or power loss.
- Customize the Status Bar: Add or remove features like Average, Count, and Sum to the status bar for quick data insights.
Visual Theme and Accessibility:
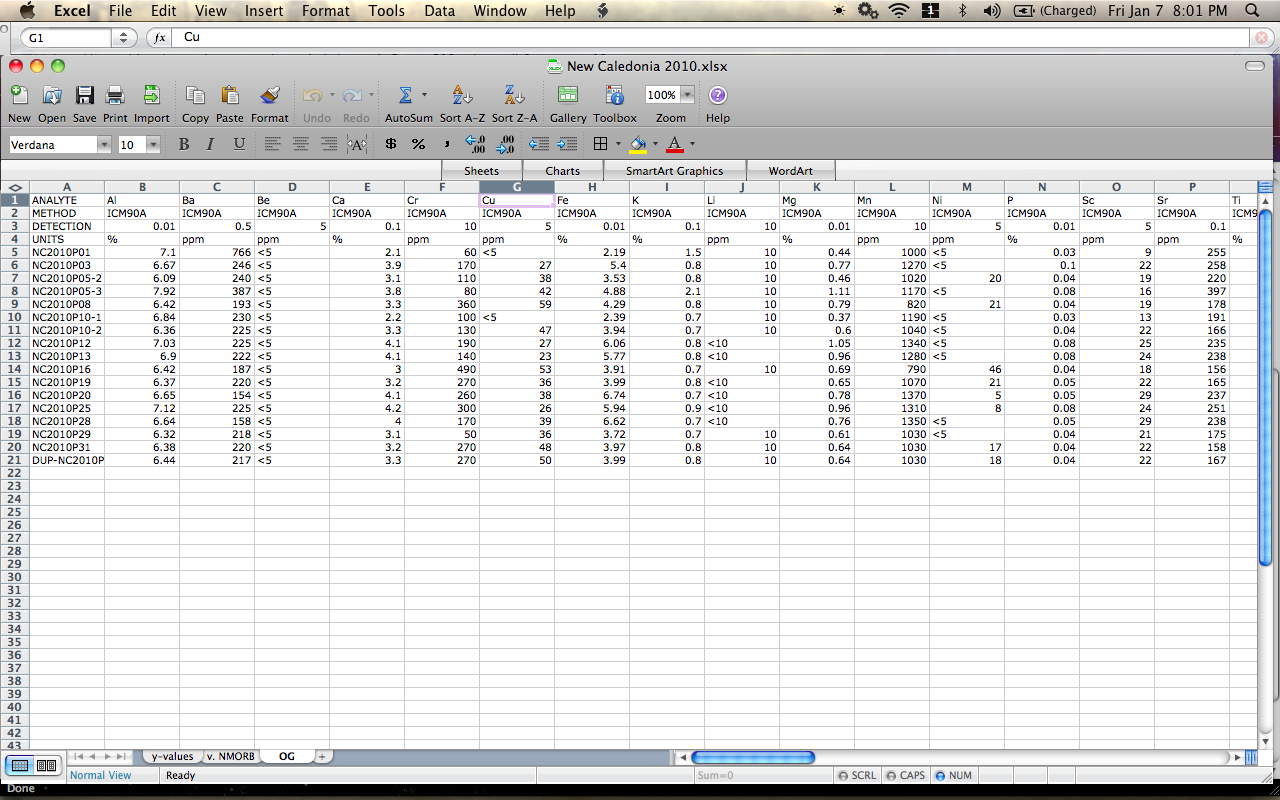
You can also customize the visual appearance of Excel:
- Choose a Theme: Excel comes with themes like ‘Office Theme’, ‘Black’, ‘Dark Gray’, ‘Colorful’, and ‘White’.
- Accessibility Settings: Use the Accessibility panel to improve your interaction with Excel if needed.
💡 Note: Customization helps in making Excel more user-friendly and tailored to your workflow needs.
Navigating Excel’s Interface

Getting familiar with the Excel interface is crucial:
Key Components:

| Component | Description |
|---|---|
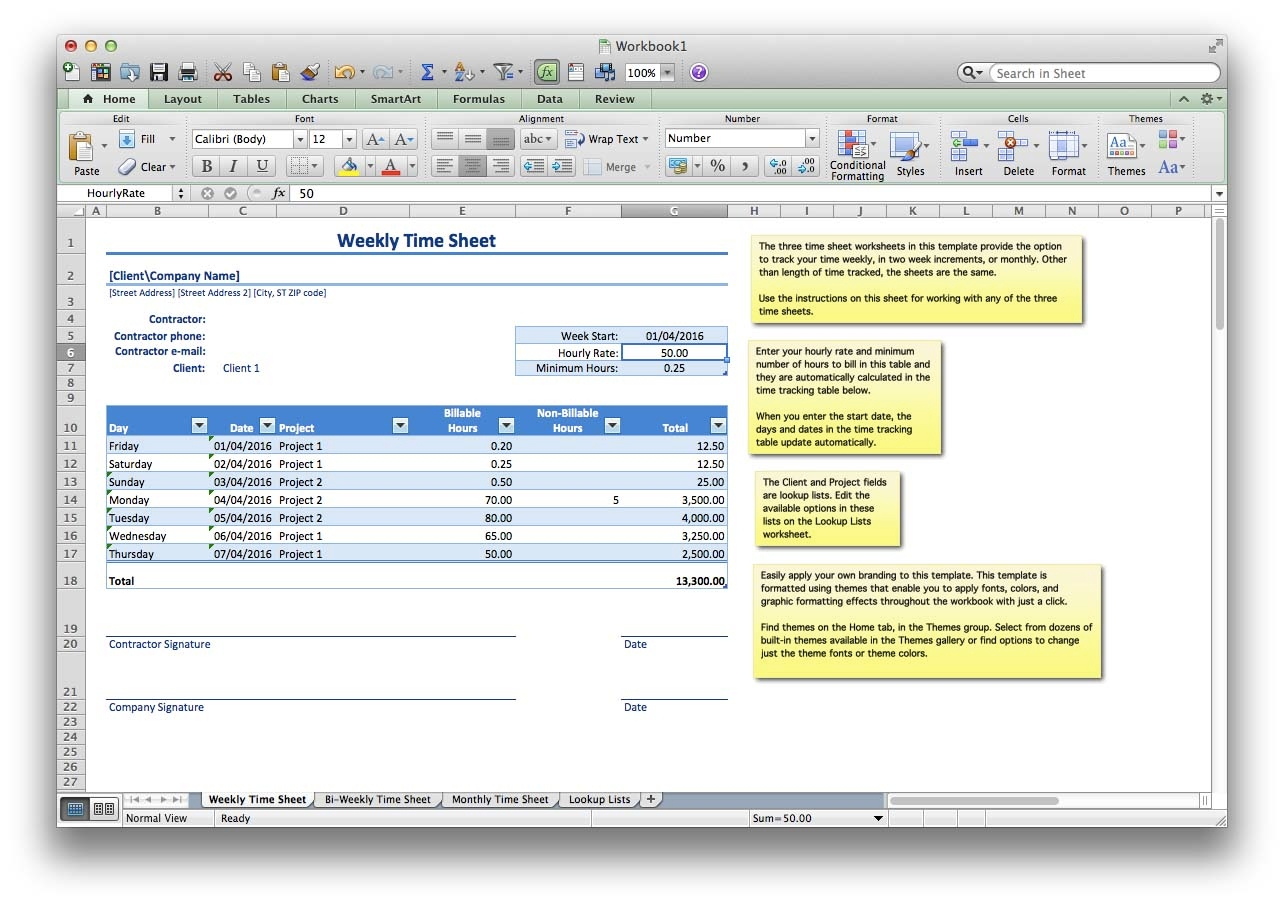
| Formula Bar | The area where you enter or edit formulas. |
| Ribbon | The top toolbar with tabs like Home, Insert, Page Layout, etc. |
| Worksheet Tabs | Navigate between different sheets in your workbook. |
| Name Box | Displays the active cell reference or named range. |
| Status Bar | Shows information about the active cell or selection. |
Using Excel for Data Analysis
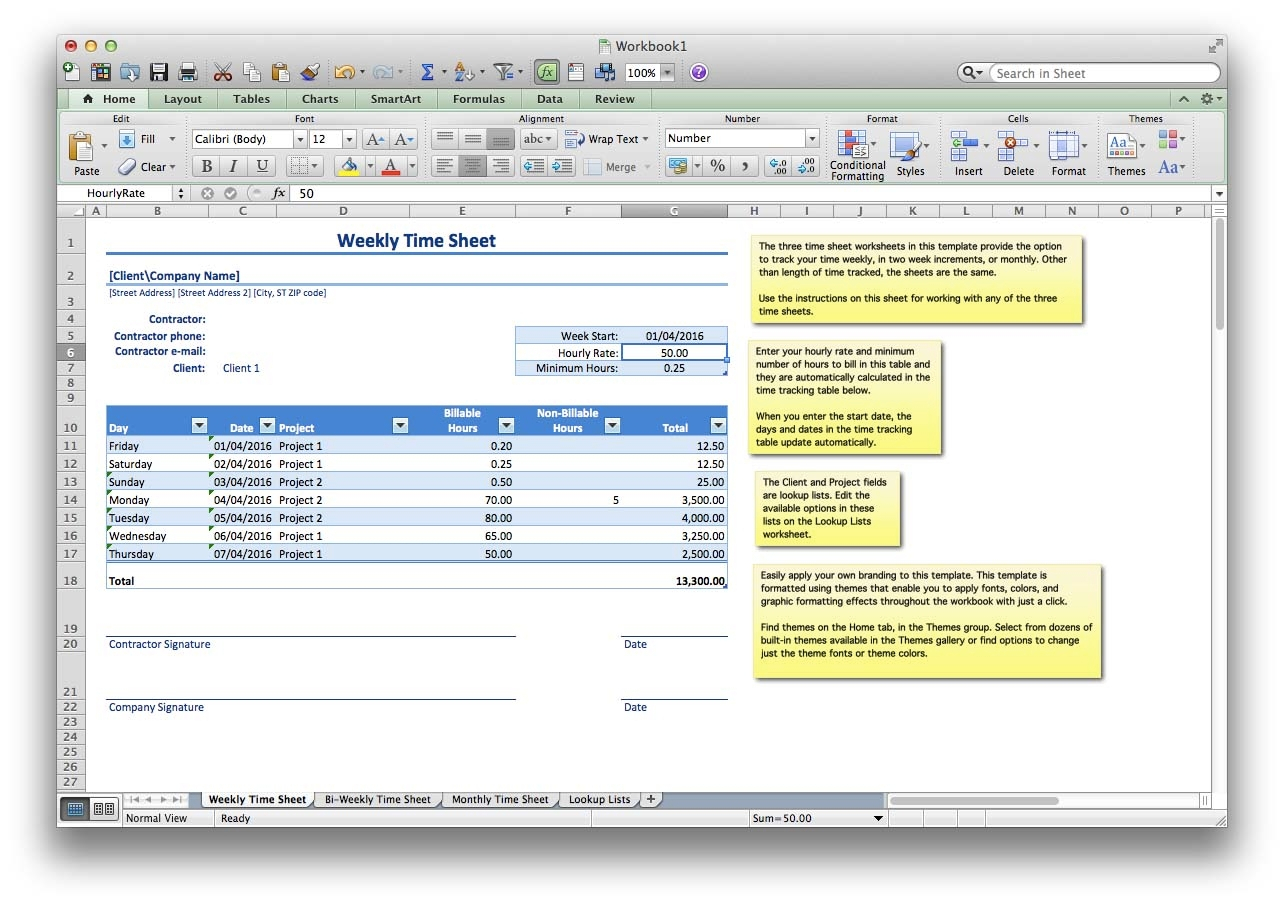
Excel’s power lies in its data analysis capabilities:
Formulas and Functions:

- Use common formulas like SUM, AVERAGE, MAX, MIN, and others to calculate data.
- Explore Excel’s vast library of financial, statistical, and engineering functions.
Data Visualization:

- Create charts and graphs with easy-to-use tools to represent data visually.
- Customize these charts to fit your presentation or report needs.
What-If Analysis:

Use features like Goal Seek, Scenario Manager, and Data Tables to explore different data outcomes:
- Goal Seek helps you find the input value needed to achieve a desired result.
- Scenario Manager lets you compare different sets of values in your data.
- Data Tables show how changing one or two variables in your formulas affects the results.
Advanced Features for Power Users

Excel offers advanced tools for those needing deeper data manipulation:
Power Query:

- Import data from a variety of sources, clean, and transform it.
- Create queries to automate data preparation tasks.
Power Pivot:

- Build complex models and pivot tables for large datasets.
- Use Data Analysis Expressions (DAX) to perform advanced calculations.
💡 Note: Learning these tools can significantly enhance your data manipulation and reporting capabilities.
Sharing and Collaboration in Excel

Excel on Mac now supports real-time collaboration:
- OneDrive Integration: Save your Excel files to OneDrive to enable cloud sharing.
- Co-authoring: Multiple users can work on the same document simultaneously.
- Version History: View and revert to previous versions of your Excel files.
In closing, setting up and using Excel on a MacBook Pro can significantly improve your data handling and analysis capabilities. From installation to customization, navigating the interface, performing basic to advanced data analysis, and engaging in collaborative work, Excel is equipped to meet a wide array of business and personal needs. By tailoring Excel to your specific workflow, you harness its full potential, making your data tasks more efficient and insightful.
Can I use Excel for free on my MacBook Pro?

+
While you need to purchase or subscribe to Microsoft Office to use Excel fully, there is a free Excel Online version with limited features. Also, some educational institutions offer Microsoft Office for free to students.
Does Excel on Mac have all the features of the Windows version?
+Excel for Mac includes many of the same features as the Windows version, but there might be slight differences in some functionality or interface design. However, with updates, the feature parity has improved significantly.
How can I recover an Excel file that wasn’t saved?
+If AutoRecover is enabled, check the AutoRecover files in Excel’s preference settings. If you don’t find it there, look in the Temp folder, or use file recovery software.