5 Easy Steps to Create a Salary Sheet in Excel

Creating a salary sheet in Excel can be a straightforward process if you follow these structured steps. Whether you're managing a small team or a large organization, understanding how to efficiently compile and distribute salary information is crucial for administrative efficiency and employee satisfaction.
Step 1: Organize Your Data

Before diving into Excel:
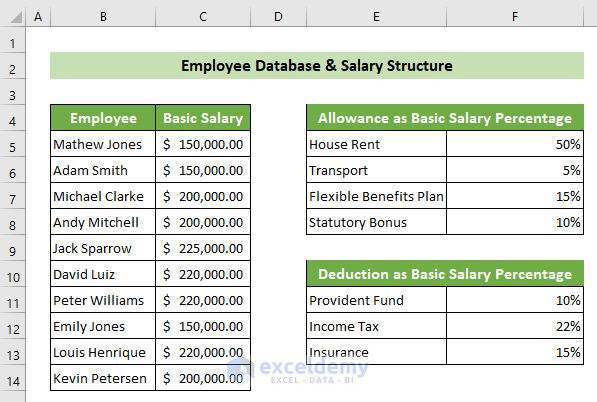
- Gather all necessary employee data: Names, employee IDs, job titles, basic salaries, allowances, deductions, and any other relevant salary components.
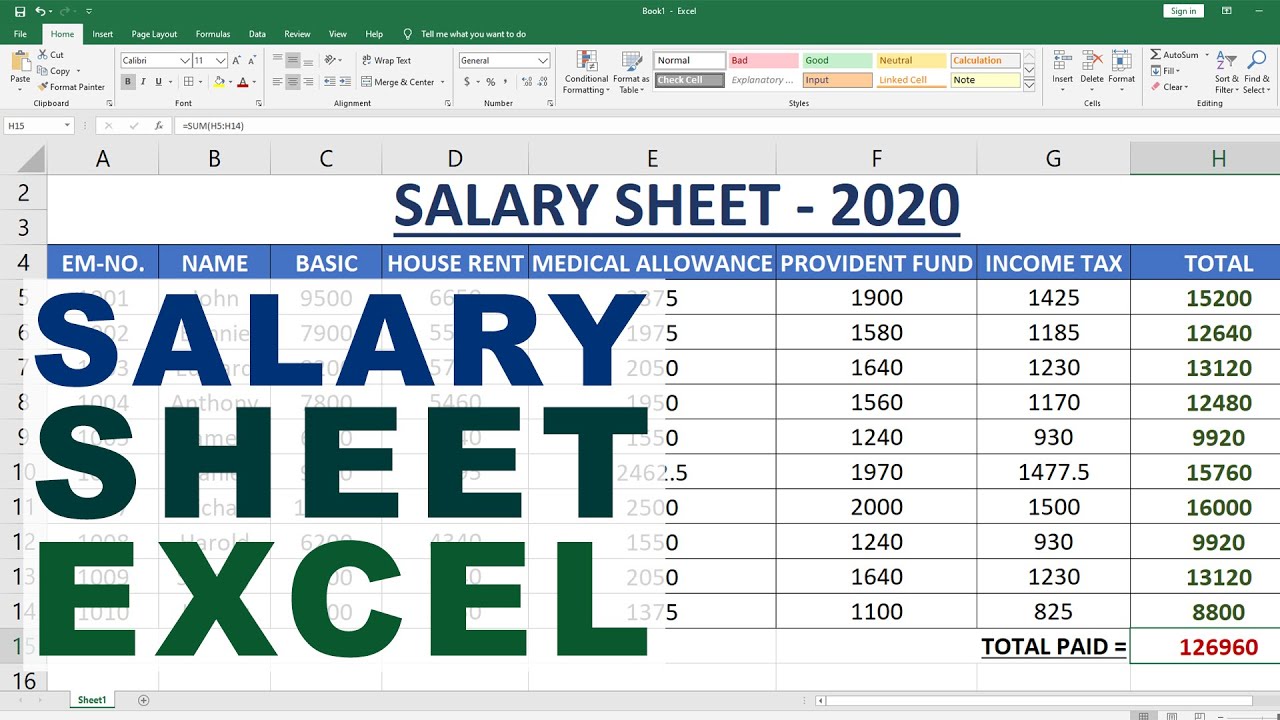
- Set up the headers: Your first row should clearly define what each column represents. Consider headers like ‘Employee Name’, ‘ID’, ‘Position’, ‘Basic Salary’, ‘HRA’, ‘Conveyance Allowance’, ‘Gross Salary’, ‘Taxes’, ‘Net Salary’, and others as per your organization’s needs.
💡 Tip: Keep your data clean and ensure there are no duplicate entries for employees to prevent confusion and errors in payroll processing.
Step 2: Input Data into Excel

With your data organized:
- Open a new Excel spreadsheet.
- Start entering the data from your headers downwards. Each column should now represent a different category of information about the employee’s salary structure.
- Use appropriate number formats for columns containing currency values to enhance readability.
💡 Note: Utilize Excel’s freeze panes feature to keep headers visible as you scroll through your data.
Step 3: Calculate Salaries Using Formulas

Excel’s formula functionality is key:
- Basic Salary Calculations: For basic salary, you can simply reference the cell with that employee’s salary.
- Allowances: Use formulas to calculate different types of allowances. For example, HRA might be 40% of the basic salary, so you’d use
=B2*0.4where B2 is the basic salary cell. - Deductions: Deduct taxes, EPF (Employee Provident Fund), and other statutory obligations.
- Net Salary: After all calculations, use a formula to find the net payable salary. This could be something like
=D2-E2-F2+G2where D2, E2, F2, and G2 represent Gross Salary, Tax, EPF, and Allowances respectively.
Step 4: Apply Data Validation and Protection

To ensure data integrity:
- Input validation: Use Excel’s data validation feature to limit the type of data entered into specific cells. For example, you can restrict ‘employee ID’ to be numeric.
- Cell protection: Lock cells that contain formulas or important data to prevent accidental edits. Go to ‘Format Cells’, then ‘Protection’, and check ‘Locked’. Apply protection to the sheet from ‘Review’ > ‘Protect Sheet’.
Step 5: Format and Style Your Sheet

Finalize your salary sheet with:
- Conditional Formatting: Highlight any salary discrepancies, overpayments, or potential issues. Set up rules to color code cells where the gross salary exceeds a certain threshold, for instance.
- Create Table: Use the ‘Format as Table’ feature to apply consistent styling and sorting capabilities. This also aids in maintaining data integrity and adding auto-fill when adding new rows.
| Feature | Description |
|---|---|
| Font | Arial, Calibri for readability |
| Font Size | 11-14 for headers, 10 for body text |
| Colors | Use for headings, subtotal lines, and to highlight important information |
| Cell Borders | Add grid lines for better readability |

In conclusion, by following these steps, you can create a comprehensive, accurate, and visually appealing salary sheet in Excel. This not only facilitates payroll processing but also ensures that all employees receive their due remuneration with full transparency. Proper organization, precise calculations, validation, and stylish presentation are the keys to a reliable salary sheet that benefits both the employer and the employee.
How do I protect salary data from being altered?

+
To protect salary data, lock cells containing formulas or sensitive data by going to ‘Format Cells’, checking ‘Locked’, and then ‘Protect Sheet’ from the ‘Review’ menu.
Can Excel automatically calculate overtime?

+
Yes, you can create formulas that calculate overtime pay based on predefined rules for overtime rates and hours worked beyond the standard hours.
What if there are many allowances, should I add a new column for each?

+
For numerous allowances, you can group them into fewer columns for clarity, then detail the breakdown in another sheet or section.


