Excel Basics: Create Your First Simple Sheet Easily

The world of spreadsheets can seem daunting at first, but fear not, as we're about to explore the wonders of Excel, one of the most powerful tools for data organization, calculation, and analysis. Whether you're managing a household budget, tracking expenses, or planning a project, Excel offers a straightforward platform to help you get organized. Let's embark on a journey to create your first simple Excel sheet, where we'll cover everything from the basic interface to entering and formatting data.
Getting Started with Excel

Upon opening Excel, you're greeted with a blank canvas, a grid of cells where rows are numbered and columns are labeled with letters. This blank slate might seem intimidating, but here are the initial steps to set up your first sheet:
- Open Excel: Launch the application from your computer.
- New Workbook: Excel typically opens with a new workbook. If not, click on 'File' > 'New' > 'Blank Workbook'.
- Explore the Interface: Familiarize yourself with the Ribbon at the top, the Formula Bar beneath it, and the grid of cells. Key areas to note include:
- File: For opening, saving, and managing workbooks.
- Home: Basic editing tools like formatting, font styles, and alignment.
- Insert: Options for adding charts, tables, illustrations, and more.
🔍 Note: The Ribbon can be customized to show or hide tabs according to your preferences.
Entering Data

Entering data into Excel is as simple as clicking into a cell and typing:
- To enter text or numbers, click on a cell and start typing. Press Enter or Tab to move to the next cell.
- For dates, type them directly (e.g., 10/15/2023) or use shortcuts like '10-15-23' to have Excel auto-format them.
✨ Note: Excel recognizes various date formats automatically. If your date isn't formatting correctly, you can set the cell to a date format under the 'Number' group in the 'Home' tab.
Formatting Your Sheet

Formatting is key to making your data easy to read and understand. Here are basic steps to enhance your sheet:
- Text Formatting: Use the 'Home' tab to change font, size, color, bold, italicize, or underline your text.
- Cell Alignment: Align your text horizontally or vertically for better organization.
- AutoFit: Double-click the boundary between column headers to auto-fit the column width to the content.
The following table provides a quick reference for some common formatting options:
| Feature | Location | Description |
|---|---|---|
| Font | Home > Font Group | Change font, size, and style of text. |
| Cell Color | Home > Fill Color | Add color to cells for visual distinction. |
| Number Format | Home > Number Group | Format numbers, dates, and currencies. |

Formulas and Functions

Excel's real power comes from its ability to perform calculations with formulas and functions. Here's how to start:
- Basic Formulas: For example, to sum values in cells A1 through A5, click into a cell and enter =SUM(A1:A5).
- AutoSum: Click the Σ (AutoSum) button to quickly add, average, or count numbers.
💡 Note: Use the formula bar at the top to see and edit the formula or function applied to a selected cell.
Finalizing Your Sheet

With the basics of entering data, formatting, and applying simple calculations, you now have a basic sheet to work with. Here's how to take it to the next level:
- Save Your Work: Regularly save your work. Use 'File' > 'Save As' to name your workbook and choose where to save it.
- Organize with Tabs: You can add new sheets by clicking the '+' icon at the bottom of the Excel window. Rename sheets by double-clicking the tab and typing the desired name.
- Protect Your Data: If you need to share your sheet, consider protecting sensitive data by using 'Review' > 'Protect Sheet'.
In conclusion, Excel’s vast capabilities start with these simple steps. By mastering data entry, formatting, and basic calculations, you’ve laid the foundation for more advanced uses. With practice, you’ll be able to harness Excel’s full potential for data analysis, visualization, and automation, making it an indispensable tool in your digital toolkit.
What if I make a mistake when entering data?

+
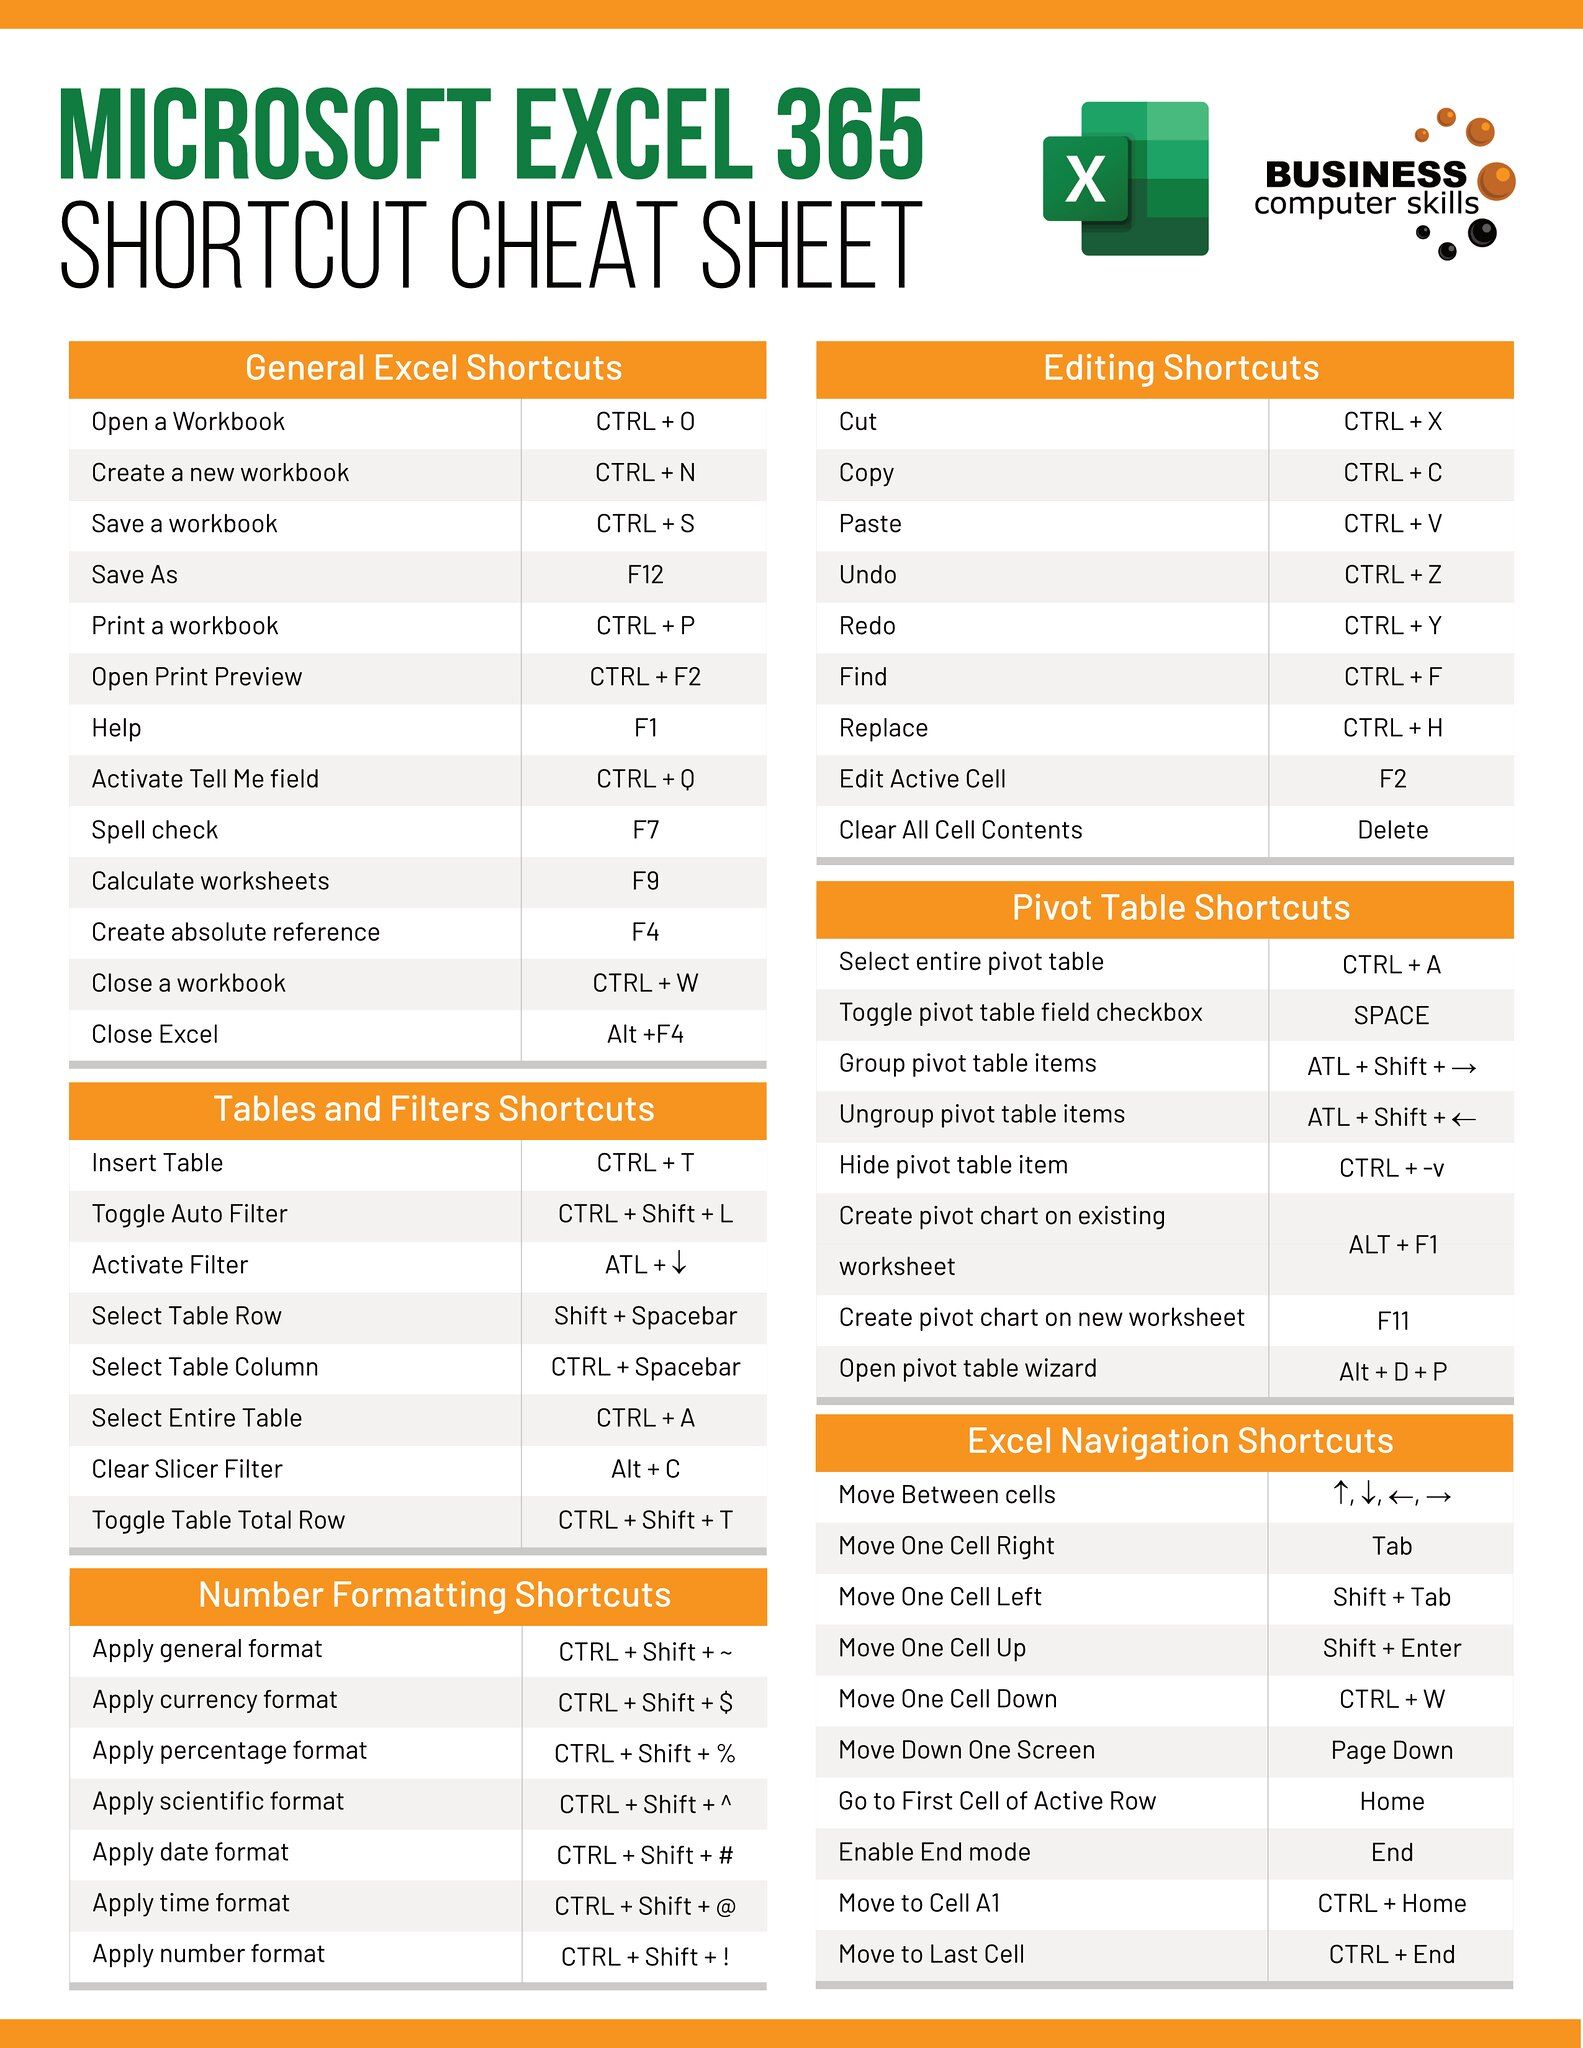
You can simply click into the cell with the error and correct it. Excel also has an Undo feature (Ctrl+Z) to revert your last action.
How do I save my work automatically?

+
Enable the AutoRecover feature by going to ‘File’ > ‘Options’ > ‘Save’ and checking ‘Save AutoRecover information every x minutes’.
Can I share my Excel file with others?

+
Yes, you can share Excel files through various methods including email, cloud storage like OneDrive, or directly through Excel’s ‘Share’ feature if you have Excel Online or 365.


