5 Ways to Lock Excel Sheets from Viewing

Microsoft Excel is a powerful tool used for various purposes ranging from simple data management to complex analytical tasks. However, there are times when you need to ensure that certain sheets within a workbook are protected from unauthorized viewing or editing. Here are five detailed methods to lock Excel sheets from viewing, helping you safeguard your sensitive data effectively.
1. Password Protecting Excel Workbooks

Password protection is the simplest and most straightforward way to secure your entire Excel workbook. This method:
- Protects the file from being opened without the correct password.
- Is applied to the entire workbook, including all sheets.
Steps:
- Open the workbook you want to secure.
- Click on ‘File’ and then ‘Info’.
- Select ‘Protect Workbook’.
- Choose ‘Encrypt with Password’.
- Enter a strong password, then confirm it.
- Save the file.
🔒 Note: Ensure to save and back up your password securely since Excel cannot recover or reset lost passwords.
2. Worksheet Level Protection

Excel allows you to protect individual sheets within a workbook. This method is useful when you need to allow access to some sheets while restricting others.
- You can restrict users from changing, moving, or deleting cells, but they can still view the data.
- To make it truly hidden, use the ‘Very Hidden’ setting via VBA.
Steps:
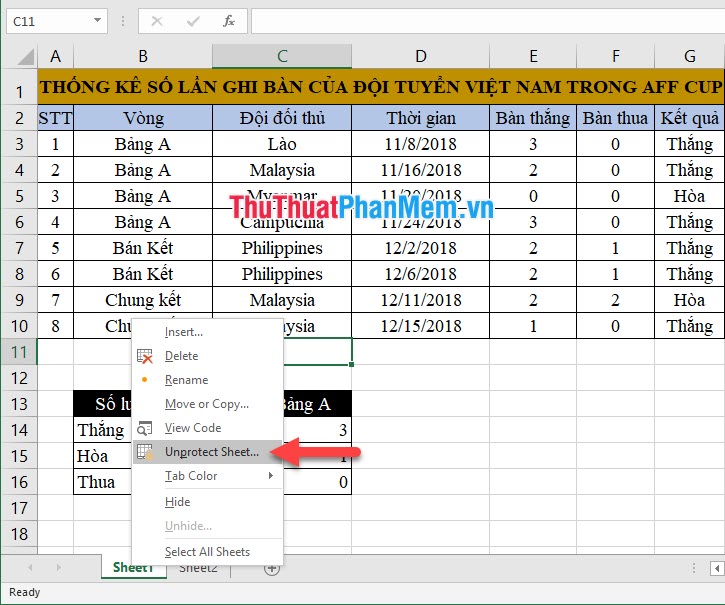
- Right-click on the sheet tab you want to lock.
- Select ‘Protect Sheet’.
- Choose which actions to allow in the ‘Allow all users of this worksheet to’ list.
- Enter and confirm a password if desired.
- To hide the sheet:
- Press ‘Alt + F11’ to open VBA editor.
- Locate your workbook in the left pane.
- Go to the ‘ThisWorkbook’ module.
- Enter this code to hide the sheet:
Sheet1.Visible = xlVeryHidden
🔒 Note: Remember, if you use the 'Very Hidden' property, the sheet can only be made visible through VBA again.
3. Using Workbook Structure Protection

This method not only protects the worksheet content but also the structure of the workbook, preventing users from adding, deleting, or renaming sheets.
- Prevents unauthorized changes to the workbook layout.
- Can be combined with sheet protection for additional security.
Steps:
- Go to ‘Review’ tab in Excel.
- Click ‘Protect Workbook’ under ‘Changes’ section.
- Select ‘Structure’ or ‘Windows’ options for protection.
- Optionally, set a password.
4. Hiding Sheets

A simple way to lock sheets from casual viewing is by hiding them. However, this isn’t foolproof since users can unhide sheets with ease unless combined with other methods.
- Hiding sheets makes them less visible but not secure.
Steps:
- Right-click on the sheet tab you want to hide.
- Select ‘Hide’.
5. Cell-Level Protection

For protecting specific ranges of cells rather than the entire sheet:
- Allows users to view data but not modify it.
- Useful for collaborative work where some data needs to be editable.
Steps:
- Select the cells you wish to lock.
- Go to ‘Home’ tab, click on ‘Format’ in the ‘Cells’ group.
- Choose ‘Protect Sheet’ or ‘Lock Cells’.
- Then protect the entire worksheet using the steps in section 2.
| Method | Level of Security | Control |
|---|---|---|
| Password Protecting Workbooks | High | Full Access or No Access |
| Worksheet Protection | Medium | Partial Access Control |
| Workbook Structure Protection | High | Prevents Structural Changes |
| Hiding Sheets | Low | Visual Access Control |
| Cell-Level Protection | Medium | Specific Cell Access |

By employing these methods, you can ensure that sensitive information within Excel sheets remains private, whether it's financial data, personal information, or any other data you wish to keep confidential. Each method offers a different level of security, and combining them can provide robust protection.
In sum, locking Excel sheets from viewing or editing is an important feature for anyone dealing with sensitive or confidential data. Whether you are safeguarding a single cell, an entire worksheet, or the entire workbook, Excel offers various tools to match your security needs. Remember to use passwords wisely, keep backups, and educate users about accessing and protecting data. Your data's integrity is as vital as its confidentiality.
What if I forget my password for Excel protection?

+
Unfortunately, Excel does not provide a recovery option for lost passwords. You would need to use third-party software to attempt password recovery, or if you have a backup, revert to a previous version where the password is known.
Can I share a protected Excel file?

+
Yes, you can share a protected Excel file. However, if it’s protected with a password, the recipient will need the password to open or modify it. Make sure to communicate the password securely.
Is worksheet protection the same as workbook protection?

+
No, they are different. Worksheet protection restricts actions within an individual sheet, whereas workbook protection secures the structure of the entire workbook, preventing changes like adding or deleting sheets.
Can users unhide ‘Very Hidden’ sheets?

+
Regular users cannot unhide sheets marked as ‘Very Hidden’ without using VBA or knowing the specific VBA commands to unhide them.
Is there a way to encrypt Excel files for added security?

+
Yes, by using the ‘Encrypt with Password’ option under ‘Protect Workbook’, Excel files can be encrypted. This feature uses strong encryption to protect file contents, making it harder for unauthorized users to access the data.


