5 Ways to Lock and Unlock Excel Sheets

Excel sheets are essential tools in the workplace for organizing, analyzing, and storing data. Often, you might find the need to restrict access or edits to certain data for accuracy, privacy, or to protect formulas or configurations. Here are five robust methods to lock and unlock Excel sheets efficiently.
1. Basic Worksheet Protection

The simplest way to secure your Excel sheet is by using the built-in worksheet protection feature:
- Select the entire worksheet or the cells you want to protect.
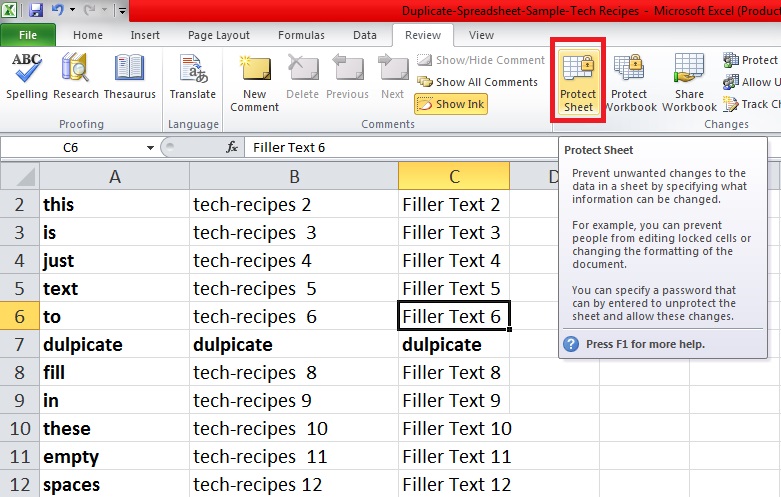
- Go to the Review tab, click on Protect Sheet.
- Choose what users can and cannot do (e.g., format cells, insert rows).
- Optionally set a password.
🔐 Note: Remember the password or share it securely, as you cannot unprotect the sheet without it.
2. Protecting Specific Elements

Sometimes, you only need to protect specific cells or formulas:
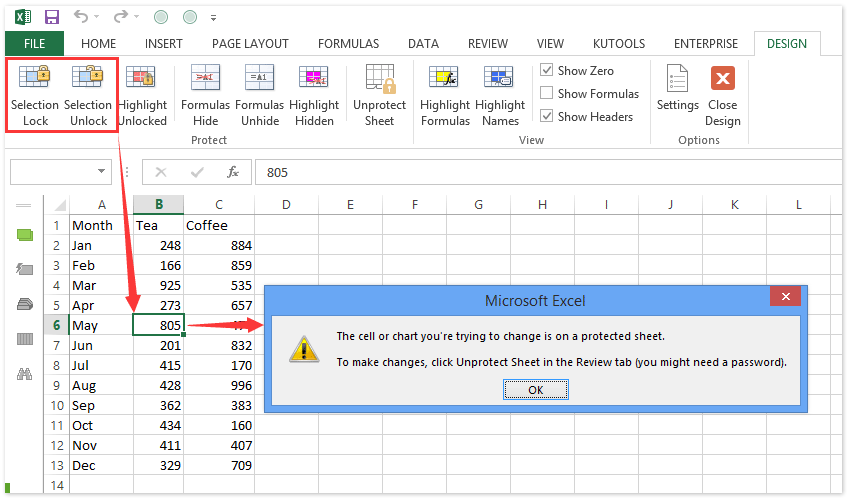
- Unlock cells you wish users could edit before protecting the sheet.
- Select the cells you want to be locked, then right-click, go to Format Cells, and check the Locked option.
- Go to Protect Sheet in the Review tab, but now users can edit the unlocked cells while the locked ones remain protected.
🧐 Note: Only cells you’ve explicitly set as locked will be protected when you protect the sheet.
3. Password-Protect Workbook

To prevent changes to the workbook structure:
- Go to File > Info > Protect Workbook > Encrypt with Password.
- Enter and confirm a password.
This locks the entire workbook, including hidden sheets, formulas, and macro code.
🔑 Note: This password protection affects saving and opening the workbook, not individual sheet access.
4. Using VBA to Lock/Unlock Sheets

For more control, you can use Visual Basic for Applications (VBA) to automate locking:
Sub ProtectSheet()
    ActiveSheet.Protect Password:=“MyPassword”, DrawingObjects:=True, Contents:=True, Scenarios:=True
End Sub

Sub UnprotectSheet()
    ActiveSheet.Unprotect Password:=“MyPassword”
End Sub
These macros will respectively protect or unprotect the active sheet. You can customize the protection by changing the parameters.
⚙️ Note: Ensure you enable macros in Excel for these scripts to work.
5. Sharing with Specific Permissions

If you want to share your workbook but only allow certain users to modify it:
- Go to File > Share and select OneDrive or SharePoint.
- Set different permissions for viewers and editors.
- Create a link with view-only or edit permissions.
This method provides an extra layer of control over who can modify the Excel document.
By understanding and implementing these methods, you can ensure your Excel data remains secure, accurate, and accessible only to those who need to make changes.
Throughout your Excel journey, you’ll come to appreciate these techniques for maintaining data integrity and confidentiality, not to mention enhancing collaboration in shared work environments. Keep in mind that:
- Excel protection methods aren’t unbreakable; they’re primarily for preventing accidental changes or unauthorized access within the organization.
- Using these techniques requires a balance between security and usability, ensuring you and others can still work efficiently.
What happens if I forget the password to unlock an Excel sheet?

+
Unfortunately, if you forget the password, there’s no built-in way to retrieve or reset it within Excel. You would need third-party software or contact Microsoft support for assistance.
Can I lock Excel sheets on mobile devices?

+
Yes, you can lock and unlock sheets using the Excel mobile app, though the interface might be slightly different from the desktop version.
Is it possible to have different passwords for different sheets in one workbook?

+
Yes, each sheet can be individually protected with a unique password. However, this can be cumbersome for both the creator and users in terms of password management.


