5 Easy Steps to Link Excel Sheets

Mastering the art of linking Excel sheets can dramatically enhance your data management and analysis processes. Imagine working with a large set of data spread across multiple sheets or workbooks, where you can update data in one place, and changes automatically reflect everywhere else. This not only saves time but also reduces errors. Let's delve into the simple yet powerful methods to link Excel sheets effectively.
Understanding Excel Sheet Linking

Before we get into the specifics, it’s crucial to understand why you might need to link Excel sheets:
- To consolidate data from different sources.
- To automate data updates across multiple sheets.
- To maintain data integrity and reduce redundancy.
Step 1: Open the Source and Destination Sheets

To start:
- Open the Excel workbook containing the source sheet.
- Open or create the destination workbook where you want to show the linked data.
💡 Note: Both source and destination workbooks must be open to set up a link.
Step 2: Select the Data to Link

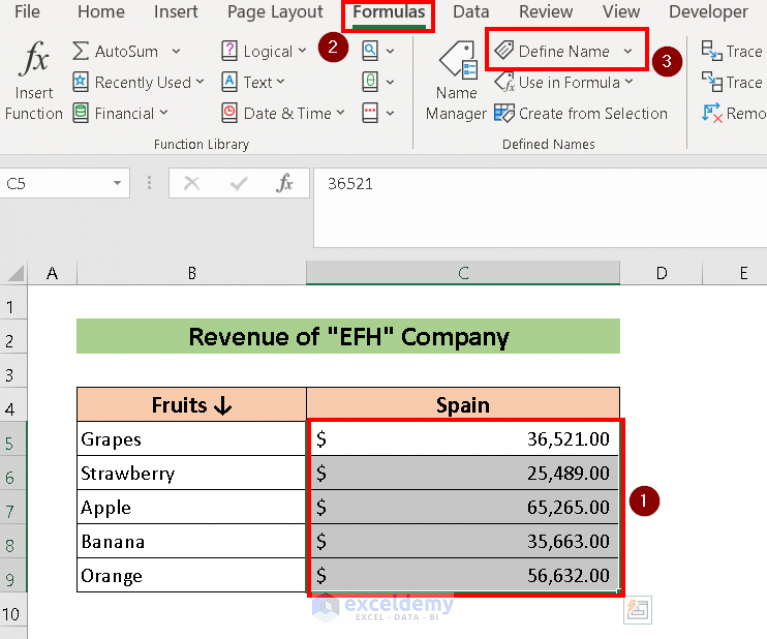
In your source sheet, select the cell, range of cells, or even a named range that you want to link:
- To select a cell, click it.
- For a range, drag your mouse over the cells you wish to link.
- If you’ve named the range, you can simply type the name in the destination sheet.
Step 3: Enter the Link in the Destination Sheet

Now, head over to your destination sheet:
- Click on the cell where you want to display the linked data.
- Start typing an equal sign (=), then go to the source sheet:
- Either click on the cell in the source sheet, or
- Manually type the reference, e.g., =[WorkbookName]SheetName!CellReference
- Press Enter. Your linked data will appear in the destination cell.
⚠️ Note: Ensure the file path of the source workbook remains unchanged; otherwise, the link will break.
Step 4: Handle Linked Ranges and Formatting

To link ranges:
- After selecting the destination cells, enter the range formula.
- For ranges, the formula might look like: =[WorkbookName]SheetName!A1:B5
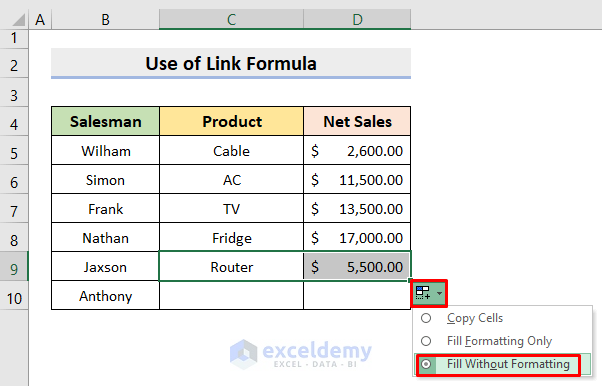
- Formatting from the source sheet might not be retained; you’ll need to manually format the destination range.
Step 5: Managing and Updating Links

Linking sheets dynamically means:
- Any changes to the source data automatically reflect in linked cells.
- Use the ‘Edit Links’ feature in Excel to update link paths if needed.
- To update manually, click ‘Edit Links’, choose the link, and hit ‘Update Values’.
📘 Note: Keeping your workbooks organized and your file names consistent is key to effective linking.
By following these steps, you can seamlessly integrate data across various Excel sheets, ensuring your analysis is both accurate and efficient. Whether you're compiling quarterly reports, tracking inventory, or just want to keep personal finance data up-to-date, linking sheets is a fundamental Excel skill to master.
Can I link sheets from different Excel files?

+
Yes, you can link sheets from different Excel files. Just ensure both files are open when setting up the link, and the source file’s path remains unchanged to avoid broken links.
What happens if I change the location of the source workbook?

+
If the location or file name of the source workbook changes, the link will break. You would need to update the link path manually or through Excel’s ‘Edit Links’ feature.
How do I keep formatting when linking data?

+
Excel does not automatically transfer formatting when linking data. You must manually apply any desired formatting to the destination cells.
Can I link only certain cells from a range?

+
You can link individual cells within a range by selecting them separately and using cell-specific links, although linking entire ranges is more common and straightforward.
Is there a limit to how many cells I can link in Excel?

+
Excel does not impose a strict limit on how many cells you can link. However, performance can degrade significantly with an excessive number of links, so it’s advisable to use linking judiciously.


