Quick Guide: Adding Buttons in Excel 2010

Microsoft Excel 2010 provides a powerful platform for data analysis, charting, and reporting. One of its lesser-known features is the ability to add interactive elements like buttons, which can enhance user interaction with spreadsheets significantly. In this guide, we will explore how to add buttons to your Excel 2010 workbook, customize them, and understand their practical applications.
Why Add Buttons to Excel 2010?


Before diving into the technical details, let's briefly consider the advantages of incorporating buttons in your Excel worksheets:
- User Interaction: Buttons allow users to perform actions with a single click, simplifying navigation or executing macros.
- Professionalism: Well-designed buttons can make your spreadsheet look more professional and polished.
- Automation: Assigning macros to buttons can automate repetitive tasks, thereby increasing efficiency.
How to Add a Button in Excel 2010

Step 1: Access the Developer Tab

The Developer tab is not visible by default in Excel 2010. Here’s how you can enable it:
- Click on File > Options.
- Go to Customize Ribbon.
- Check the box next to Developer in the list of Main Tabs.
- Click OK to apply changes.
Step 2: Insert a Button
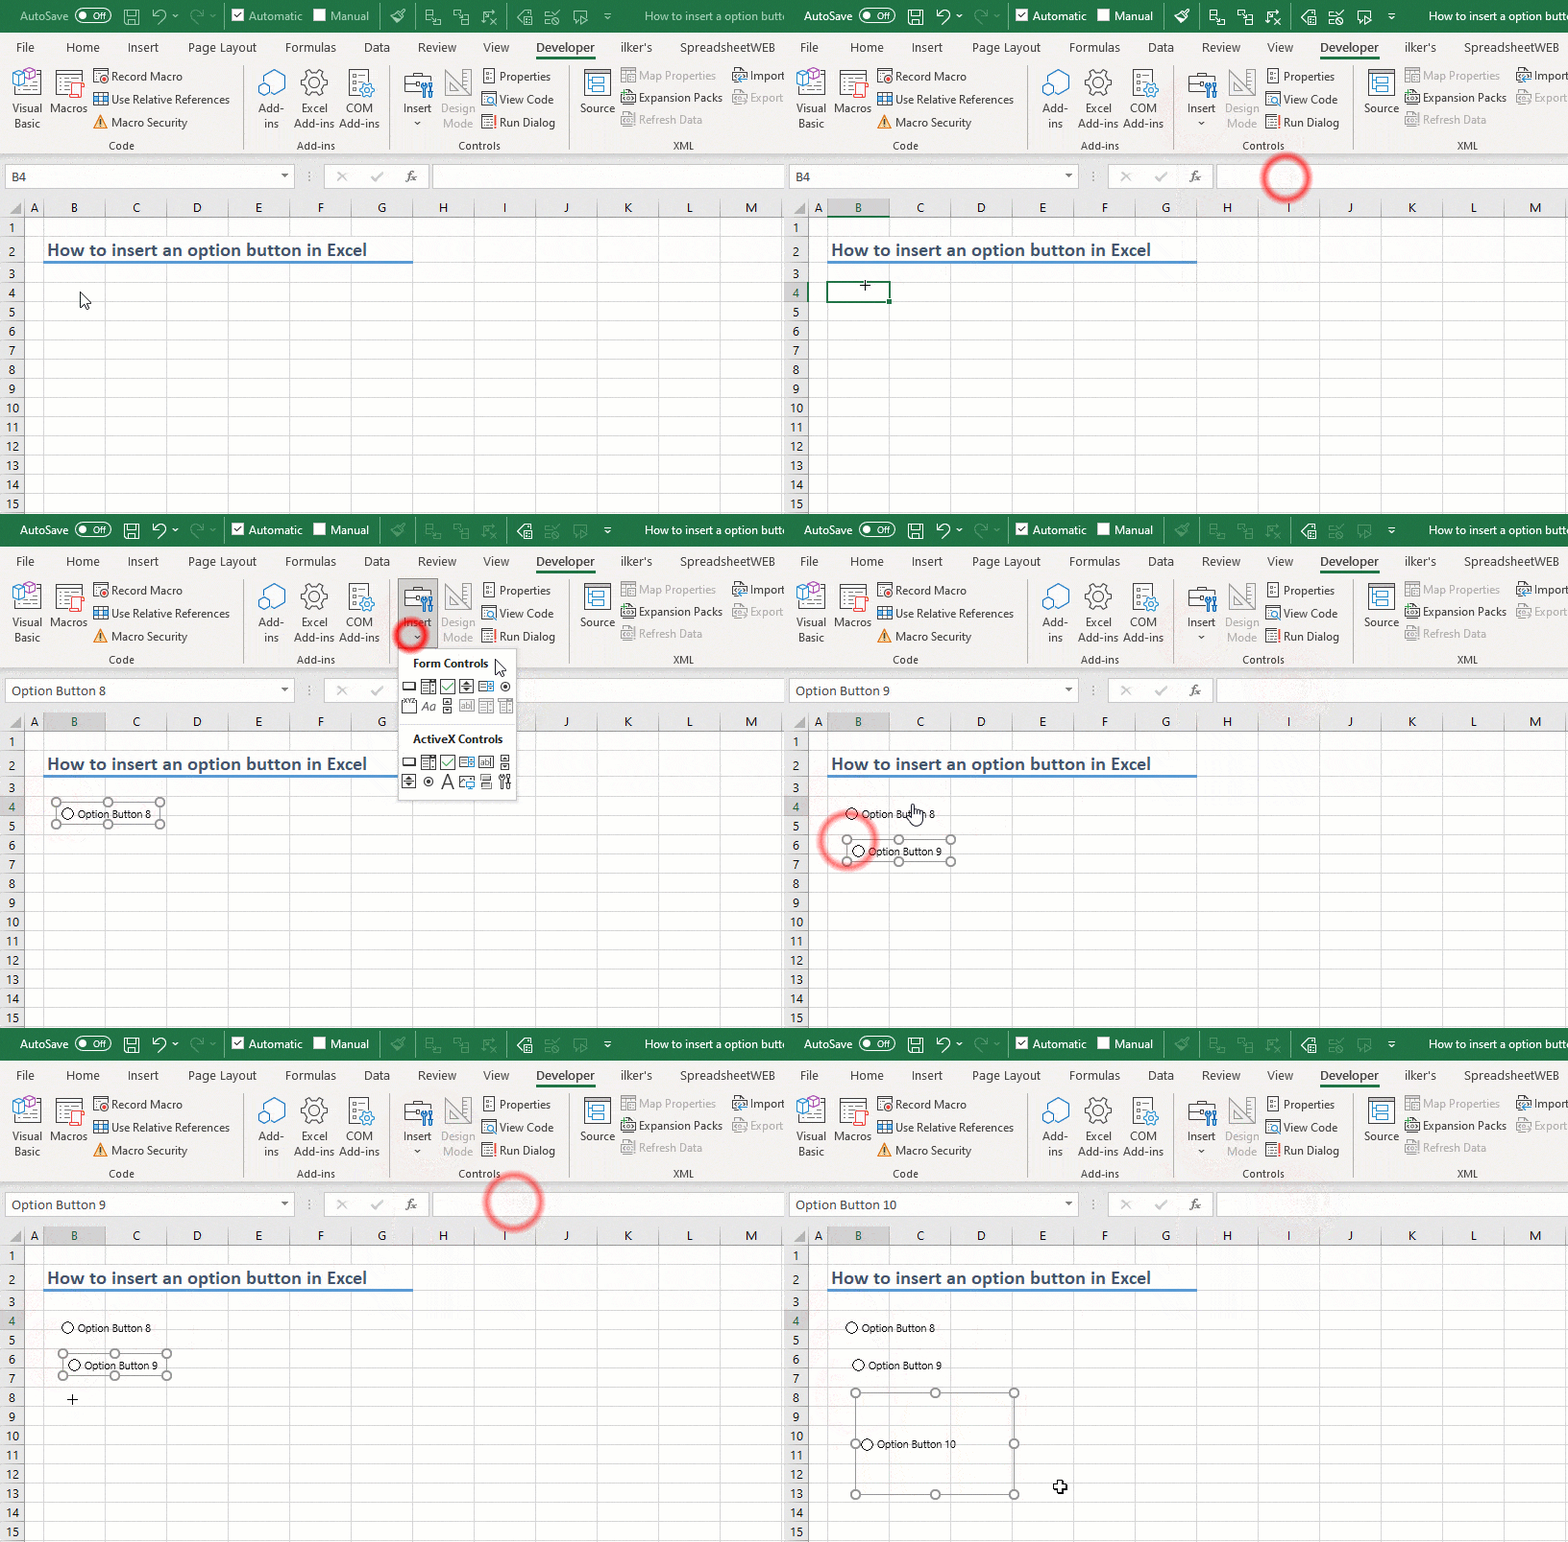
Now that the Developer tab is available, you can insert a button:
- Navigate to the Developer tab.
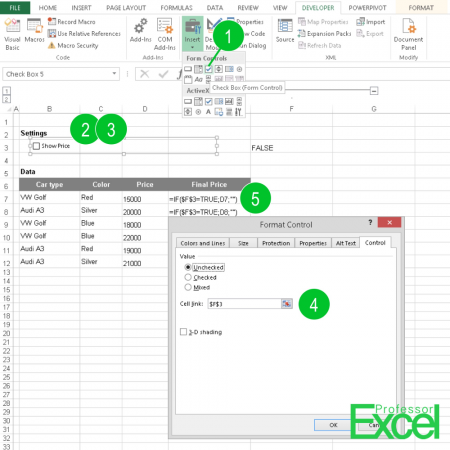
- Click on Insert, then choose Button from the Form Controls section.
- Your cursor will change into a crosshair. Click and drag on your worksheet to create the button.
Step 3: Assign a Macro or Action

After inserting the button:
- Right-click the button and select Assign Macro.
- Choose an existing macro or record a new one if none exist. This action will determine what the button does when clicked.
Step 4: Customize the Button

To change how your button looks:
- Right-click the button and choose Edit Text to change the text displayed.
- Use the formatting options in the Ribbon or Home tab to adjust the button’s size, color, and font style.
Examples of Button Usage

Here are some practical examples of how buttons can be used in Excel:
Data Entry Simplification

- Create a button that, when clicked, populates a form with predefined values or resets forms to default settings.
Interactive Reporting

- Add buttons that generate reports or switch between different data sets or visualizations with one click.
User Navigation
- Implement buttons to navigate to different sheets or sections of the workbook, enhancing user experience in complex workbooks.
| Button Label | Function |
|---|---|
| Generate Report | Triggers a macro to compile and display a report from the current data set. |
| Reset Form | Clears all form inputs or resets to default values. |
| Navigate to Dashboard | Takes the user directly to the overview dashboard. |
📝 Note: Ensure that the macros assigned to your buttons are tested thoroughly to avoid errors when users interact with your Excel workbook.
Integrating buttons into your Excel 2010 spreadsheets can significantly improve both functionality and user-friendliness. By following these steps, you can create a more interactive, automated, and visually appealing data environment. Whether for simplifying tasks, enhancing presentation, or improving data entry processes, buttons can make your Excel experience more dynamic and user-centric.
Can I change the shape of a button in Excel 2010?
+
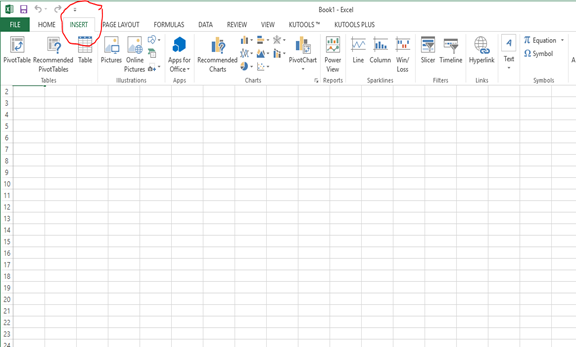
While Excel 2010 does not offer direct options for changing button shapes, you can use the “Shapes” option under the “Insert” tab to create a shape and then link it to a macro, effectively functioning as a custom button.
How can I delete a button from my worksheet?

+
Simply right-click on the button and select “Delete” or press the “Delete” key on your keyboard when the button is selected.
Is there a limit to how many buttons I can add to an Excel workbook?

+
There isn’t a strict limit, but performance might degrade with an excessive number of buttons due to resource consumption. Manage button usage sensibly for optimal performance.

