3 Simple Steps to Password Protect Your Excel Sheet
Protecting sensitive data in Excel is a fundamental aspect of data security. Whether you are dealing with financial details, personal information, or any confidential business data, ensuring that these spreadsheets are only accessible to the right people is crucial. Password protection in Microsoft Excel offers a straightforward yet effective method to secure your data. In this guide, we'll walk through three simple steps to password protect your Excel sheet, ensuring that only authorized users can view or modify the data.
Step 1: Open Your Excel File
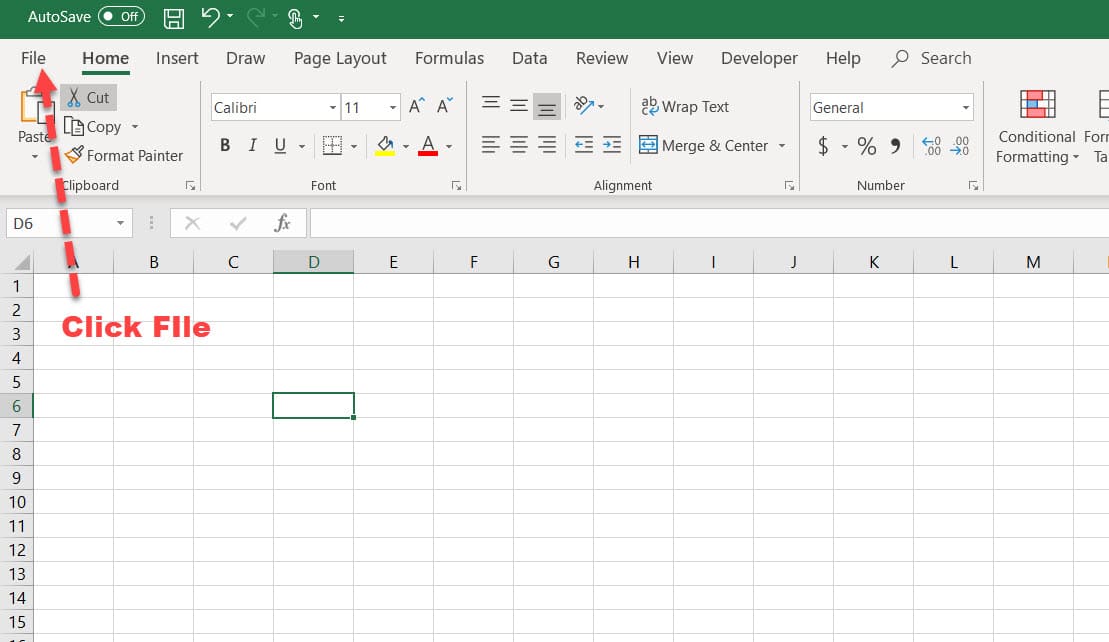
Begin by opening the Excel workbook you wish to secure. If you are starting with a new file:
- Open Excel and start a new workbook or open an existing file.
- Ensure that the document contains the data you need to protect.
If you’re working on a shared network or cloud storage, make sure you have the latest version of the file to prevent any data loss.
Step 2: Apply Password Protection
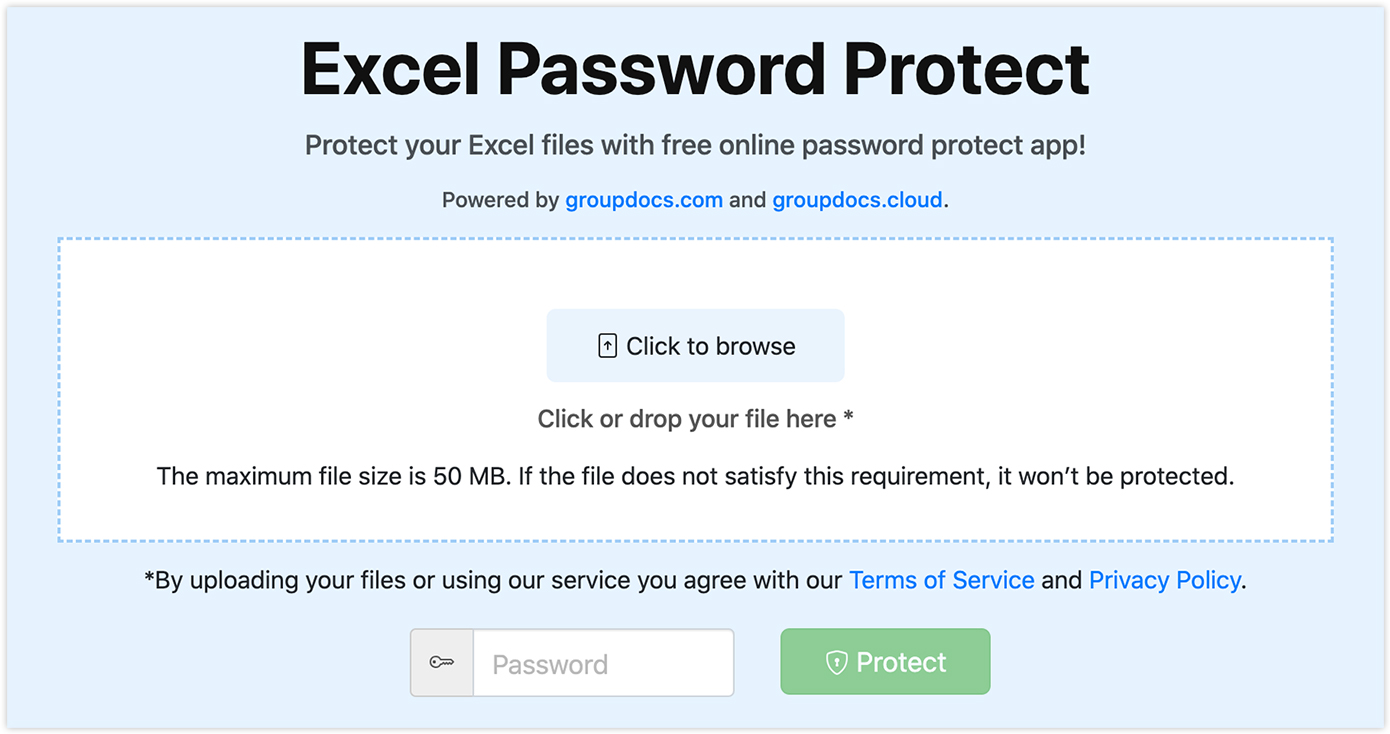
With your workbook open, follow these steps to apply password protection:
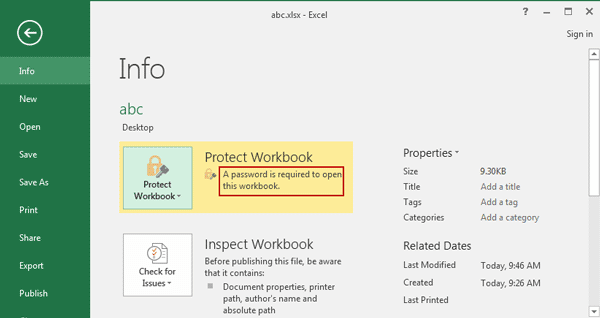
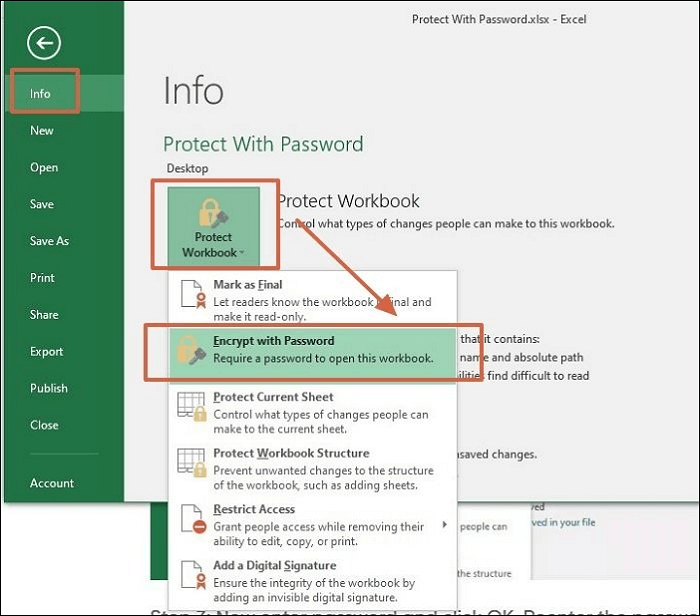
- Click on File in the top left corner of Excel.
- Select Info from the left menu.
- Choose Protect Workbook, then click on Encrypt with Password.
- In the dialog box that appears, enter a strong password. Remember, a strong password typically includes:
- At least 8 characters.
- A mix of uppercase and lowercase letters.
- Numbers.
- Special characters.
- Re-enter the password to confirm and click OK.
🔐 Note: Always keep your password in a secure place. If you forget it, you’ll not be able to access your workbook.
Step 3: Save Your Excel File
After setting the password, you need to save the file to apply the changes:
- Click File again and choose Save As.
- Choose where you want to save your file.
- Select Excel Workbook from the save as type dropdown if you’re not already there.
- Ensure that your file name is unique or remember it for future reference.
- Hit Save. Now your Excel file is password protected.
How to Remove or Change Password

Should you need to modify or remove the password from your Excel file later:
- Open the workbook you want to unprotect.
- Enter the password to open the file.
- Go to File > Info > Protect Workbook.
- Select Encrypt with Password.
- Delete the password in the dialog box, or enter a new password if you’re changing it.
- Save the file again.
Can I recover my password if I forget it?
+
Unfortunately, if you forget the password you've set, Microsoft Excel does not provide a built-in method to recover it. Keep your password in a secure location or use a password manager.
Does password protection make my Excel sheet unhackable?
+
No, Excel's built-in password protection is not considered highly secure for sensitive information. It provides a basic level of security to deter unauthorized access. For highly sensitive data, consider using encryption software or more robust security measures.
What if I need to protect only specific sheets in my workbook?
+
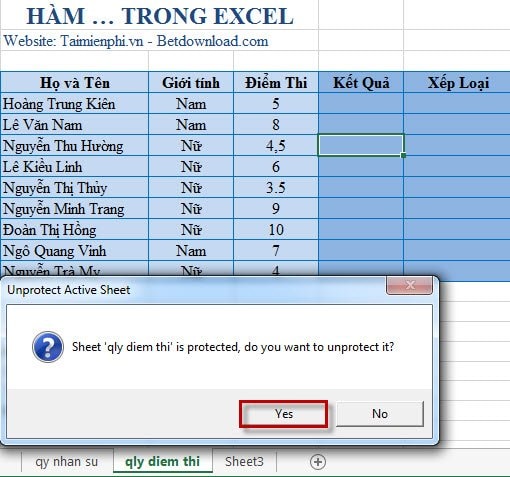
Excel allows you to protect individual sheets by right-clicking on the sheet tab, selecting Protect Sheet, and then setting a password. This will protect the selected sheet from unauthorized edits or viewing without the password.
Implementing password protection in Excel is a simple yet effective way to secure your sensitive information. Following these three steps ensures that your data is protected from unauthorized access, providing peace of mind and maintaining the confidentiality of your work or personal data. Remember, while password protection adds a layer of security, it’s also important to handle password creation and storage with care. Keeping your spreadsheet secure is not just about setting a password, but also about safeguarding the keys to that lock. With these guidelines, you’re equipped to keep your Excel files safe and secure, minimizing the risk of data breaches.
