5 Ways to Print Full Excel Sheet Easily

Are you tired of wrestling with your computer as you try to print an entire Excel sheet, only to see that the printer has cut off important data or that the pages are out of order? Navigating the vast ocean of options in Excel for printing can seem daunting. Fear not, as we delve into five straightforward methods that will help you print your entire Excel sheet with ease, ensuring that every piece of information is precisely where it should be.
Setting Up Your Excel Sheet for Printing

Before we jump into the different methods for printing, let's ensure your Excel sheet is ready for the printer:
- Check your margins. Navigate to Page Layout and ensure margins are set correctly.
- Adjust the page orientation. Decide between Portrait or Landscape under Page Layout > Orientation.
- Verify the fit on pages. Use Print Titles in the Page Setup dialog box to repeat rows or columns on every printed page.
💡 Note: Review your print preview regularly to catch any layout issues before printing.
Method 1: Print to PDF

Instead of printing directly to a printer, consider saving your Excel sheet as a PDF. This method is particularly useful for sending documents digitally while maintaining the layout.
- Go to File > Save As.
- Choose PDF in the "Save as type" dropdown.
- Select Options and ensure that "Entire Workbook" is selected for range.
- Save the file and either print or share the PDF as needed.
Method 2: Use the Print Area Feature

If you need to print only specific parts of your Excel sheet, defining a print area is ideal:
- Select the range of cells you want to print.
- Go to Page Layout > Print Area > Set Print Area.
- Now, when you print, only this area will be included.
Method 3: Automatic Fit to Page

This method ensures all your data fits onto a single page, though at times the text might appear small:
- Go to Page Layout > Scale to Fit.
- Adjust the "Width" and "Height" dropdowns to "1 page" to fit all your data onto one page.
Method 4: Print to Microsoft XPS Document Writer

Similar to saving as PDF, Microsoft XPS Document Writer offers a way to preview your document's print layout and share it:
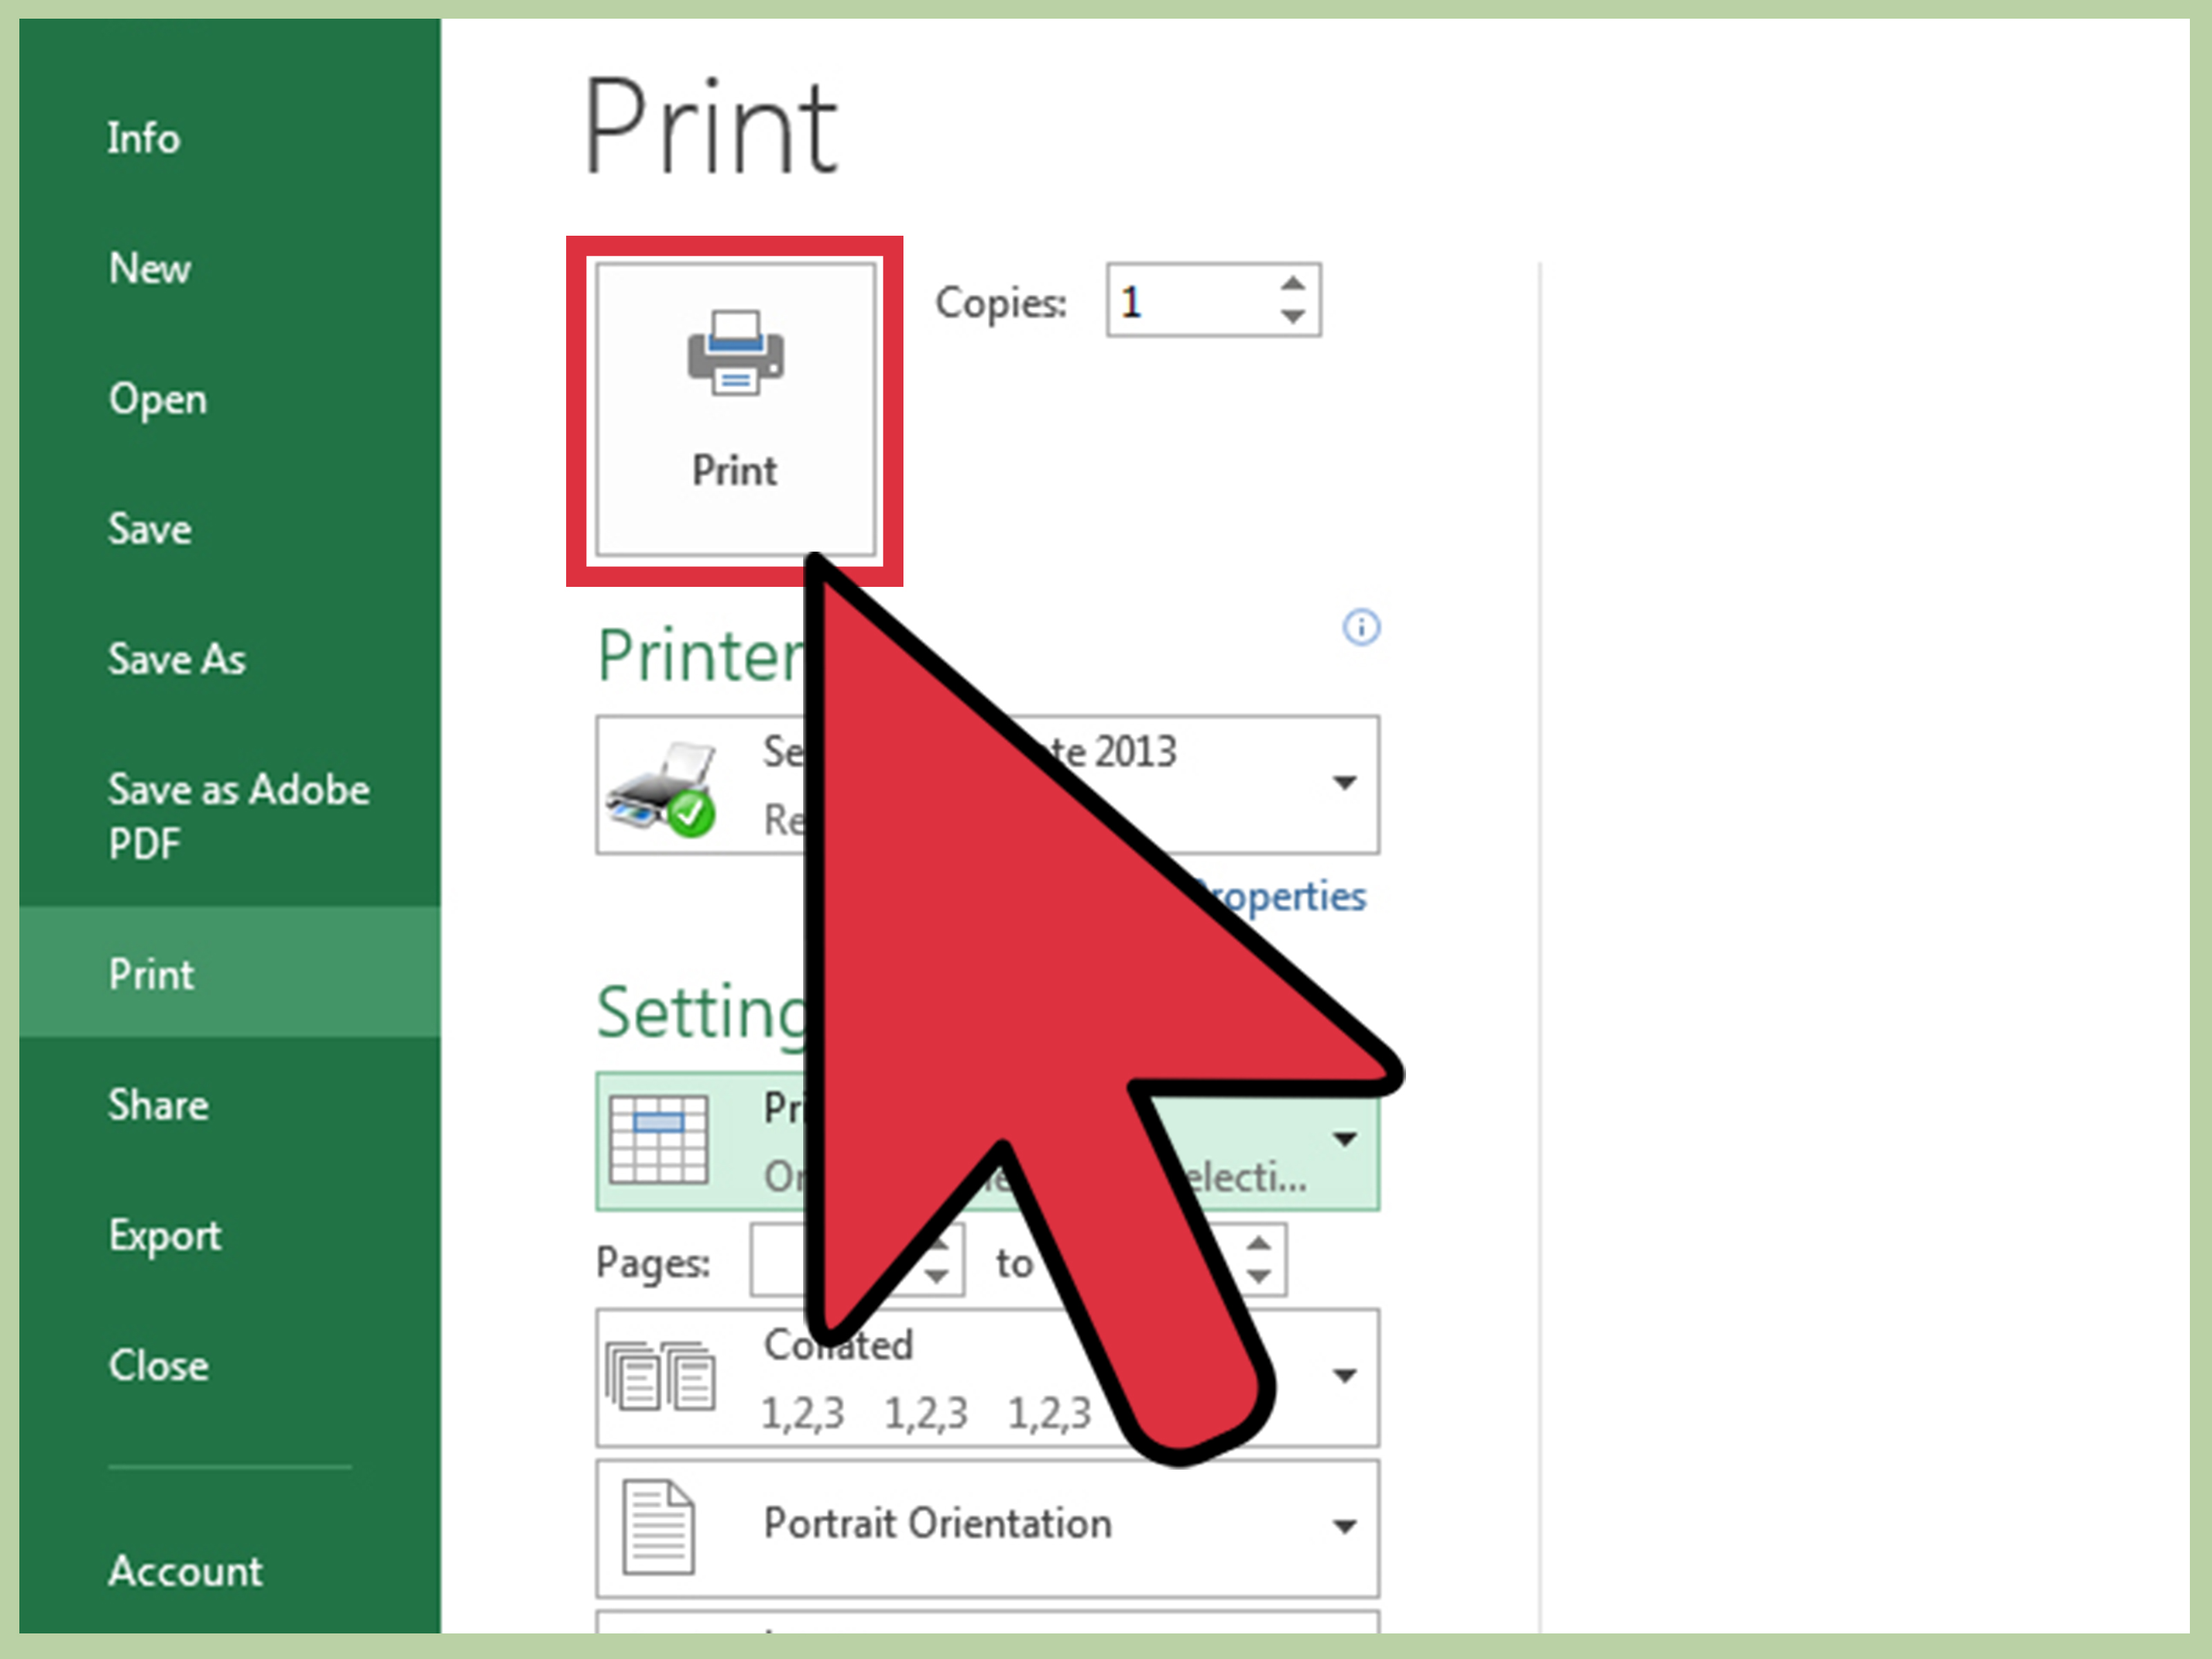
- Select your printer as "Microsoft XPS Document Writer" in the Print dialog box.
- Click Print to save the file.
- Open the XPS file to review or print from there.
Method 5: Batch Printing with VBA

For those comfortable with VBA, automating your printing process can save you time, especially when dealing with large datasets:
- Open the VBA Editor by pressing Alt + F11.
- Insert a new module and paste in this code: ```vba Sub PrintFullWorkbook() Dim ws As Worksheet For Each ws In ThisWorkbook.Worksheets ws.PrintOut Next ws End Sub ```
- Close the VBA Editor and run the macro from Excel.
This macro will print each sheet in your workbook sequentially.
In summary, the world of Excel printing doesn't have to be confusing. Whether you're saving to PDF for digital distribution, using print areas for specific data, scaling your document to fit one page, or automating your printing process with VBA, there's a method for every need. By mastering these printing techniques, you can ensure that your Excel sheets are presented clearly and efficiently, meeting both your expectations and the requirements of your audience.
What is the difference between saving as PDF and printing as PDF?

+
Saving as PDF creates a static document file with your Excel sheet’s layout intact, which can be viewed or printed. Printing as PDF sends the document to a virtual printer that generates a PDF file. The former allows for digital sharing, while the latter is used when you need to retain the exact print layout.
Why would I use Microsoft XPS Document Writer?

+
Microsoft XPS Document Writer is used when you want to preview how your document will look when printed without actually printing it. It’s also useful for sharing documents in a format similar to PDF but with different viewing capabilities.
How do I change the page orientation in Excel?

+
To change the page orientation in Excel, go to the Page Layout tab, click on Orientation, and choose either Portrait or Landscape.


