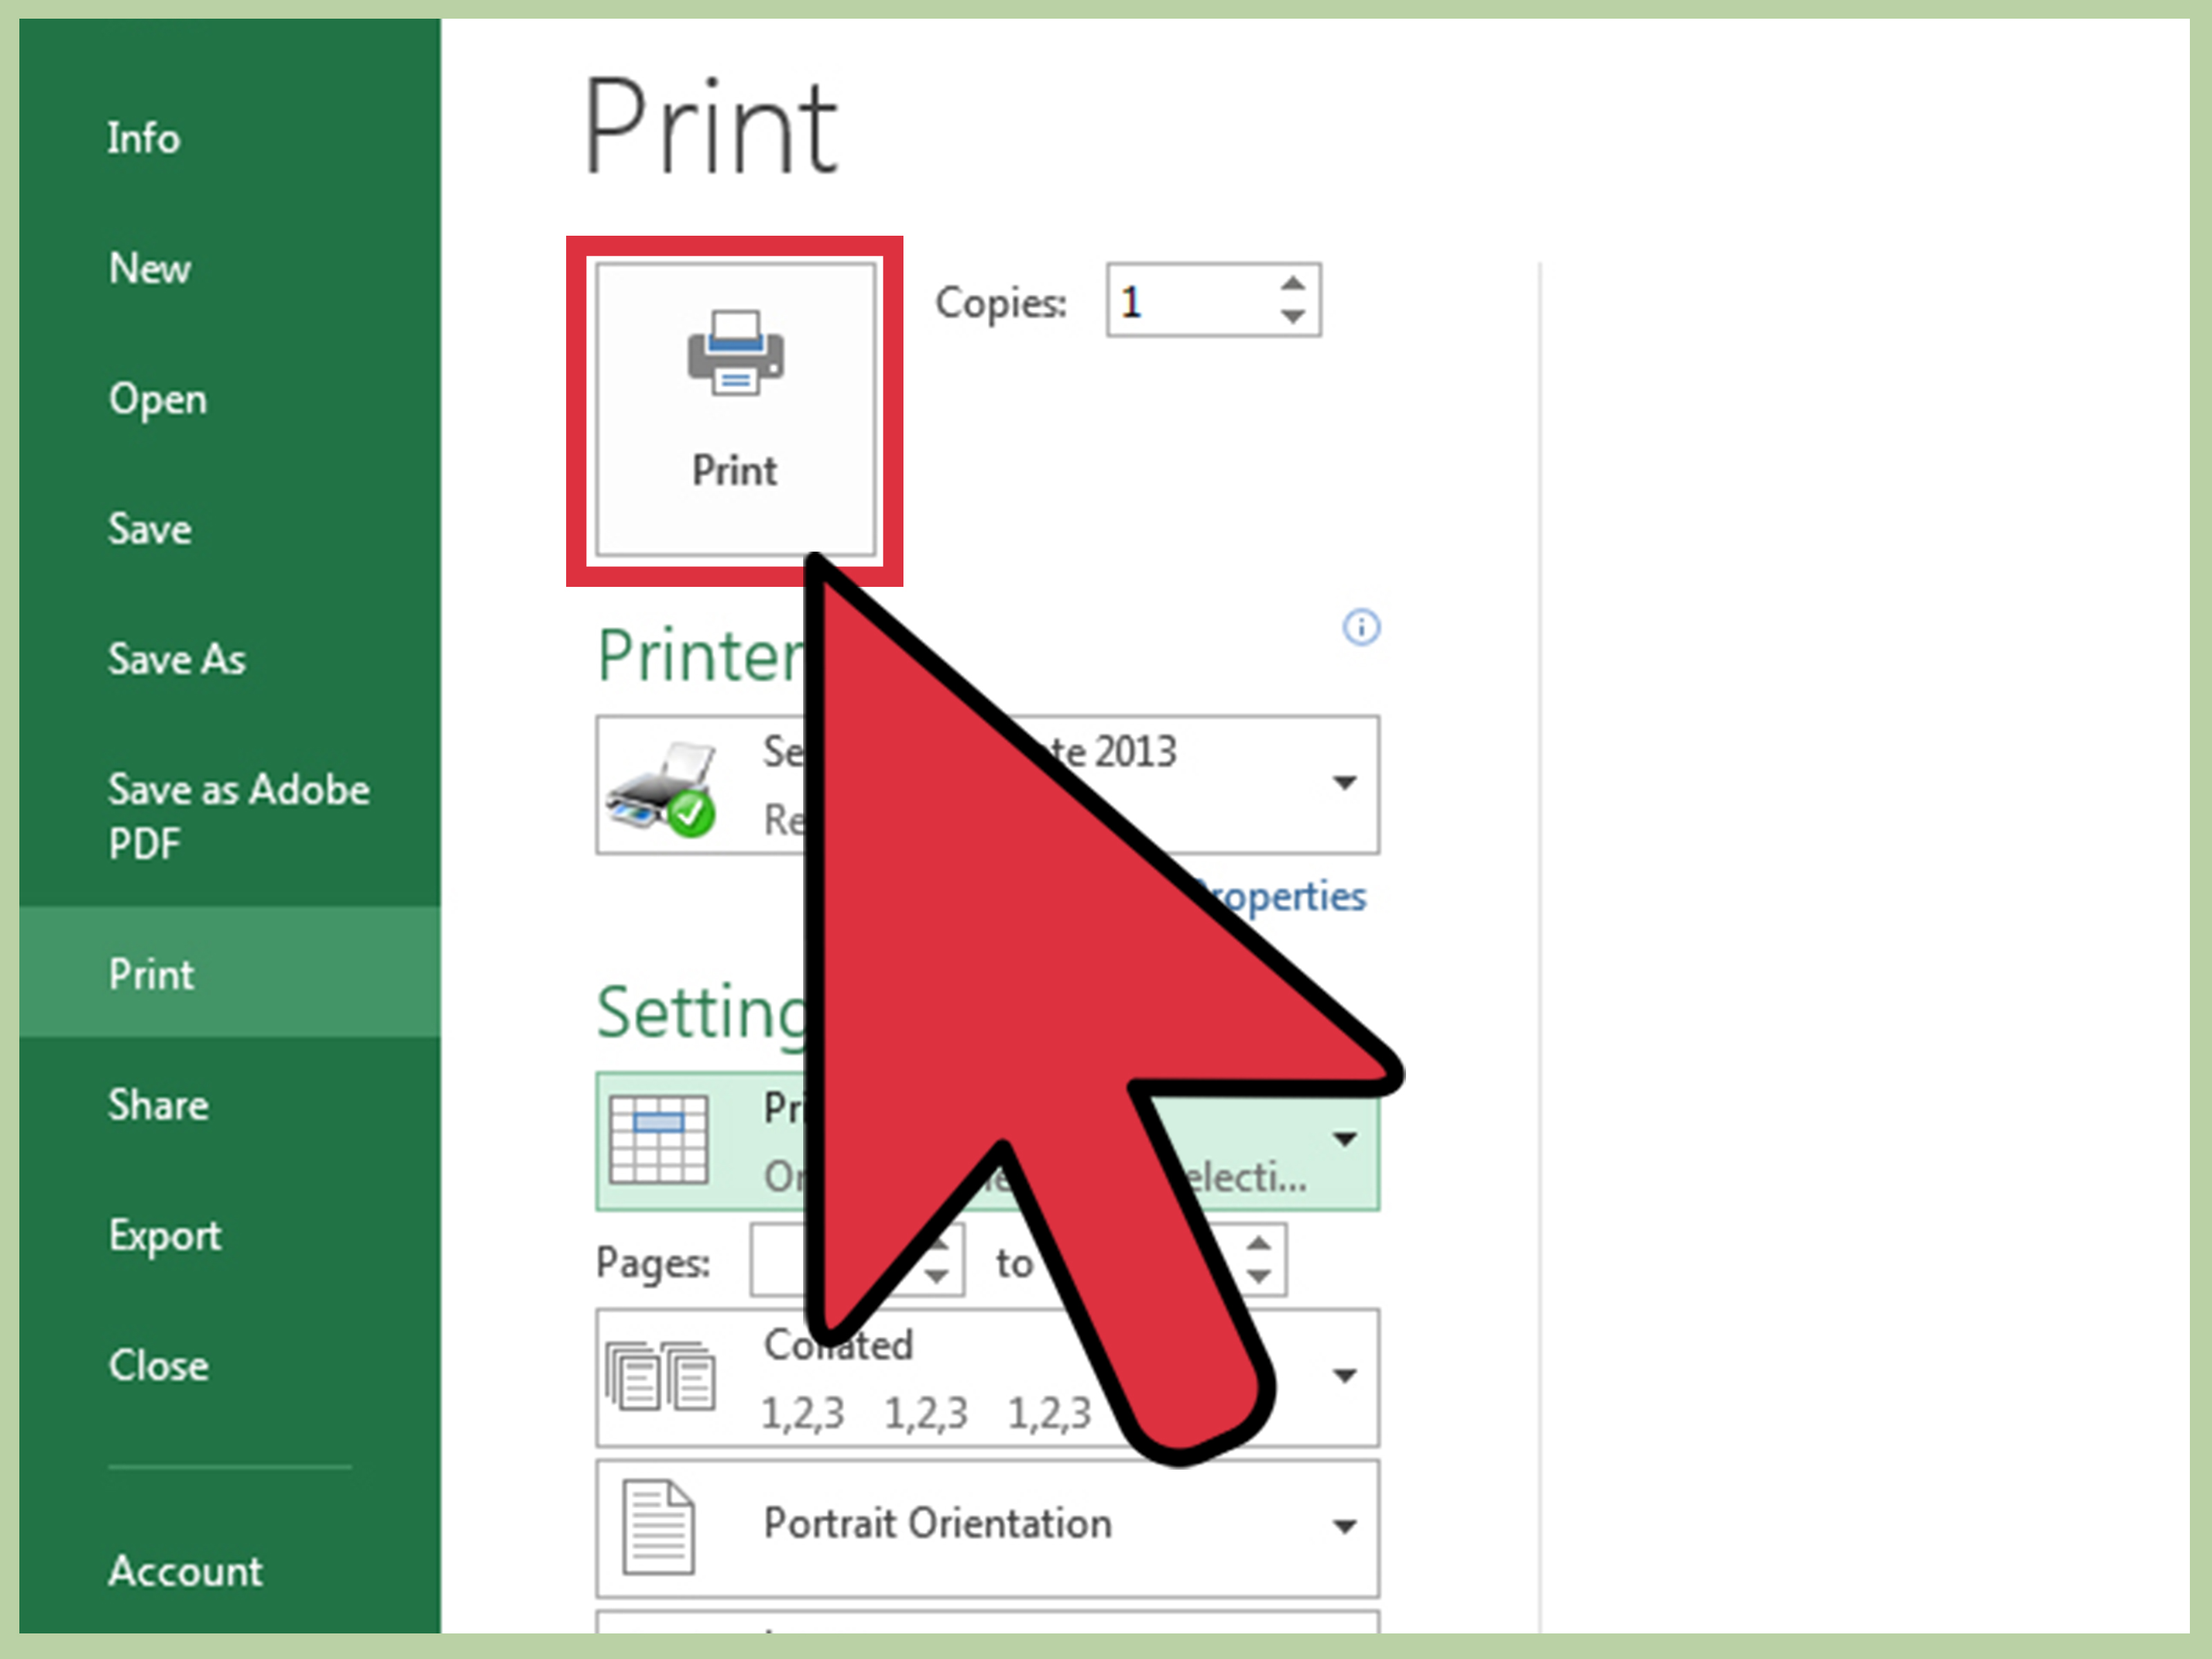
3 Ways to Format Excel Sheet for One-Page Print

When dealing with Microsoft Excel spreadsheets, ensuring that your data fits onto a single page when printed is crucial for both professional presentation and ease of communication. This tutorial outlines three effective strategies to format an Excel sheet specifically for one-page printing, whether you're dealing with complex spreadsheets or simpler data sets. From adjusting page layout to tweaking margins and scaling content, let's dive into the detailed steps to achieve a perfectly formatted printout.
Strategy 1: Adjusting Page Layout

One of the primary ways to ensure your Excel sheet prints neatly on one page is by modifying the page layout settings.
- Change Orientation: Navigate to Page Layout tab. Click on Orientation, then choose either Portrait or Landscape depending on which better accommodates your data layout.
- Adjust Page Margins: From the same tab, select Margins. Here you can choose from pre-set options or customize your margins for optimal fit.
- Change Paper Size: If your content fits snugly on A4 but spills over on Letter size, consider switching paper sizes through the Size option under Page Layout.
- Print Area: Set your print area to include only the necessary cells. This can be done by selecting the cells you want to print, then going to Page Layout > Print Area > Set Print Area.
📌 Note: When adjusting page layout, ensure your content does not become too cluttered or cramped. A neat, readable layout enhances readability.
Strategy 2: Scale to Fit

Scaling your sheet can be an effective way to manage space when you’re printing to fit one page.
- Width and Height Scaling: In Page Layout, locate the Scale to Fit section. You can manually adjust the Width and Height to fit your content onto one page.
- Auto-Fit: Check if your Excel version supports auto-fit features; if so, selecting this will automatically adjust the scaling to make everything fit.
- Manual Percentage Scale: If you prefer fine-tuning, you can adjust the percentage scale directly under Scale in the same section.
Strategy 3: Manipulate Rows and Columns

Sometimes, the key to fitting your data onto a single page lies in how you manage the rows and columns themselves.
- AutoFit Columns and Rows: Double-click the line at the edge of the column or row to auto-fit. This ensures that the content fits just right.
- Manual Adjustments: Manually adjust column widths or row heights to compress or expand the space taken up by your data. This can help in optimizing layout.
- Merge Cells: If you have headers or labels that need extra attention, merging cells can create visually appealing layouts.
To summarize, formatting an Excel sheet for one-page printing involves:
- Adjusting page setup options like orientation and margins.
- Using scale to fit your data onto a single page.
- Fine-tuning rows and columns to manage space effectively.
By implementing these strategies, you can create print-ready Excel sheets that convey information clearly, professionally, and within a single-page limit, enhancing the presentation and usability of your data.
What if my data still doesn’t fit onto one page?

+
If your data doesn’t fit even after scaling and adjusting, consider breaking it into multiple sheets or summarizing the data onto one page.
Can these methods affect data integrity?

+
Scaling and adjusting may sometimes affect readability. Ensure that any alterations don’t compromise the understanding of your data.
Will these changes affect my original Excel sheet?

+
Excel typically handles these settings as temporary, so your original data remains unaffected unless you save these changes intentionally.
Is there a way to preview before printing?

+
Yes, use the Print Preview option in the File > Print tab to view how your sheet will look when printed.


