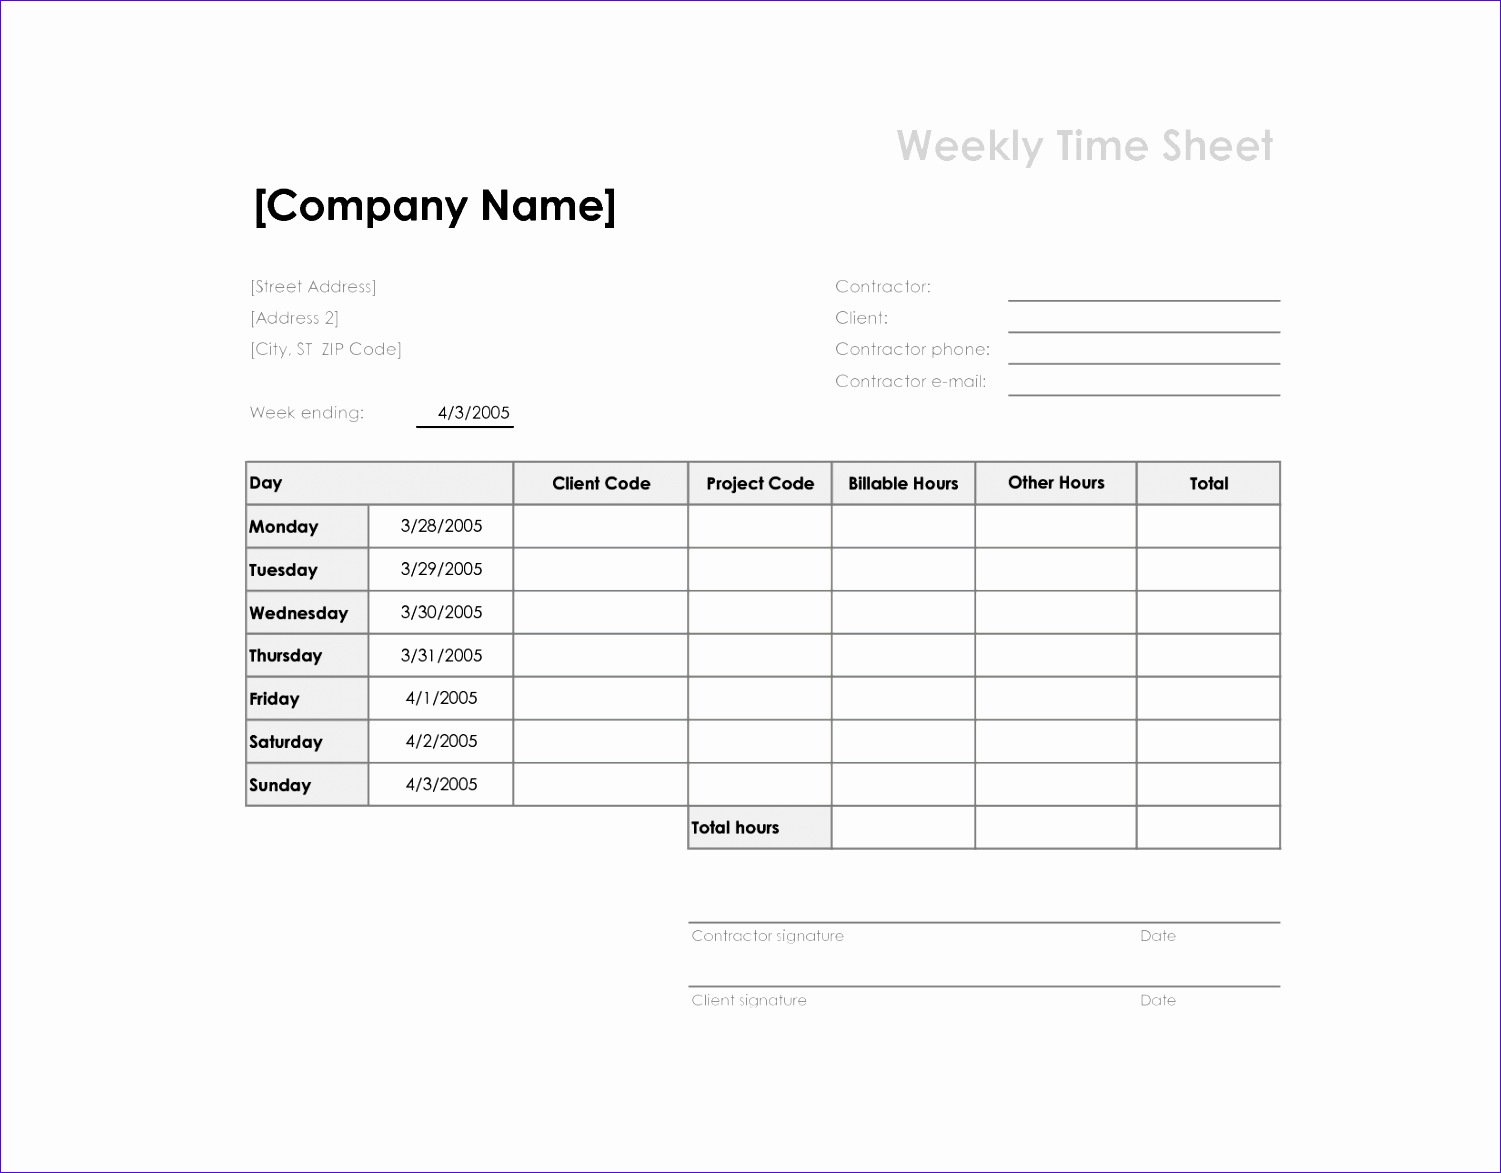
5 Easy Steps to Fill Time Sheets in Excel

Managing time effectively is crucial in any work environment, and one of the best ways to keep track of your hours is by using Excel time sheets. Excel's robust features make it an excellent tool for this purpose. Here's how you can efficiently fill out your time sheets in just five easy steps:
Step 1: Set Up Your Excel Sheet

- Open Excel and create a new workbook or sheet.
- Label your columns appropriately: Date, Start Time, End Time, Break Time, Total Hours, Activity/Project.
💡 Note: Ensure your columns are wide enough to display all your data clearly.

Step 2: Enter Your Work Details

- Enter the date in the ‘Date’ column.
- Fill in your start and end times under ‘Start Time’ and ‘End Time’.
- If applicable, record the duration of your break in ‘Break Time’.
- List the activity or project you worked on in the ‘Activity/Project’ column.
Step 3: Calculate Your Total Hours

- Use the following formula to calculate the total hours worked in cell G2, assuming your start and end times are in B2 and C2 respectively:
- Copy this formula down the column for all other entries.
🔖 Note: If using military time, you might not need the break time adjustment.
=C2-B2-D2
Step 4: Summarize Your Work

- At the bottom of your time sheet, sum up the total hours worked for the week or month. Use:
- Where X is the last row of your data. This gives you an overview of your total hours worked.
=SUM(G2:GX)
| Date | Start Time | End Time | Break Time | Total Hours | Activity/Project |
|---|---|---|---|---|---|
| 03/01/2023 | 08:00 AM | 05:00 PM | 01:00 | =C2-B2-D2 | Project A |
| 03/02/2023 | 08:30 AM | 06:00 PM | 01:00 | =C3-B3-D3 | Project B |

Step 5: Save and Review Your Time Sheet

- Save your Excel file regularly to avoid losing data.
- At the end of each week or period, review your entries for accuracy. Make corrections as needed.
Here's a final tip to keep your time sheet organized:
📍 Note: You can color-code different projects or activities for better visual management.
In this guide, we've explored the basic steps to create and manage a time sheet in Excel, helping you track your work hours efficiently. Whether you're freelancing, managing a project, or just need to keep tabs on your productivity, mastering this simple Excel task can significantly boost your time management and accountability. Remember, the key to a great time sheet is consistency and accuracy in how you record your hours. With practice, these steps will become second nature, allowing you to focus more on your work and less on the paperwork.
How do I handle overtime in my time sheet?

+
If your regular work hours are, say, 8 hours a day, anything beyond that can be marked as overtime. Add a column to track overtime hours separately or adjust the Total Hours column to reflect this by changing the formula to something like =IF(AND(G2>8, ISNUMBER(G2)), G2-8, 0) in an Overtime column.
Can I use Excel for team time tracking?

+
Yes, Excel can be adapted for team time tracking. You can create separate sheets for each team member or compile everyone’s data into one sheet with proper filters and sorting options.
What if I forget to fill in my time sheet?

+
Try to fill in your time sheet daily to avoid forgetting. If you miss a day, estimate based on your typical work hours or ask colleagues who might have noticed when you were at work.


