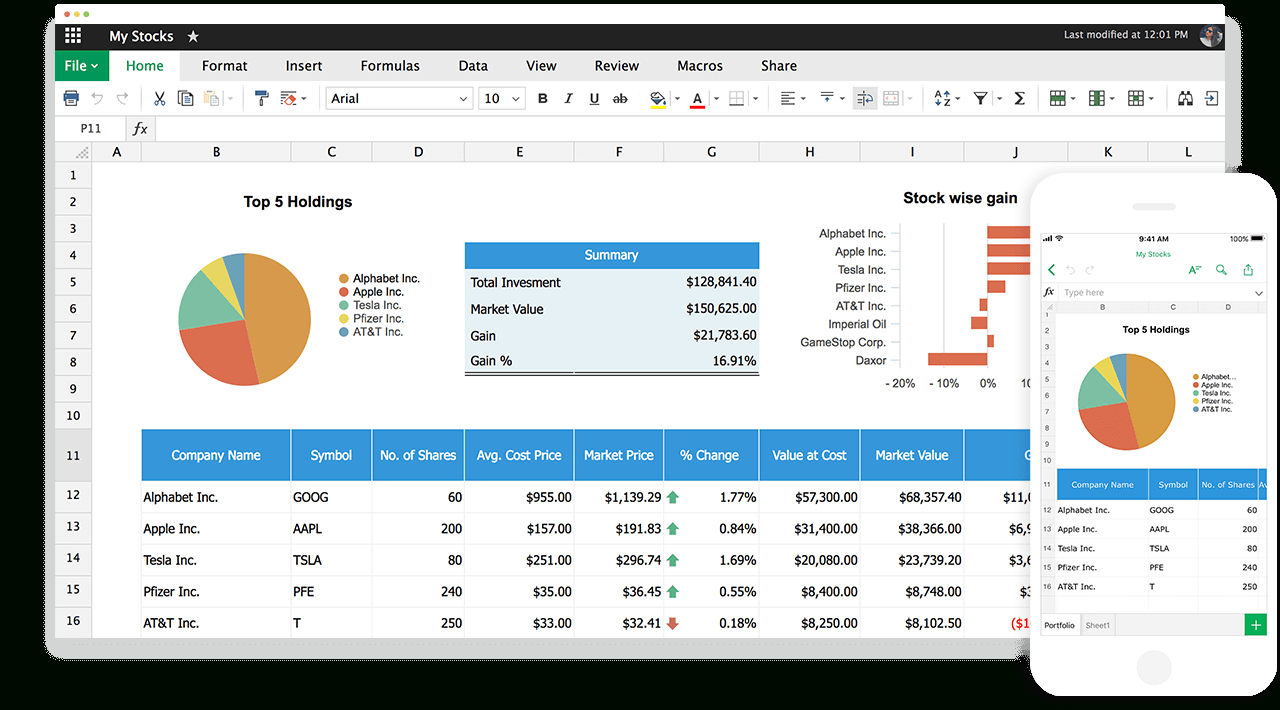
Embed Pictures in Excel: Quick and Simple Techniques

When working with Excel, data visualization is key to making information more digestible and engaging. While most people are familiar with charts, tables, and numbers, embedding pictures into your spreadsheets can bring a whole new dimension to your data presentation. This comprehensive guide will walk you through how to embed pictures in Excel, providing step-by-step instructions for both beginners and seasoned users looking to enhance their workbooks.
Why Embed Pictures in Excel?

Before we dive into the technical details, it’s worth exploring why you might want to include images in your Excel spreadsheets:
- Visual Appeal: Pictures can make your data presentation more visually engaging, helping to keep your audience focused.
- Contextual Information: Visual elements provide context that complements numerical data, making it easier for viewers to understand the significance of the numbers.
- Personalization: Including photos can personalize your spreadsheets, especially when dealing with human resources, employee data, or customer profiles.
- Product Catalogs: For businesses, images can represent products directly within the Excel inventory or catalog sheets.
How to Insert a Picture into Excel

Here are the steps to insert a picture into your Excel sheet:
- Open your Excel workbook.
- Select the cell or cells where you want the image to appear. Remember, you can resize the image later.
- Navigate to the Insert tab on the ribbon.
- Click on Pictures if you want to upload an image from your local storage, or choose Online Pictures to search for and insert images directly from the web.
- Locate and select the image you want to insert.
- Once you select or upload the image, Excel will place it on the sheet. You can move and resize it as needed.

💡 Note: Ensure your images are of good quality but not excessively large in size. Large files can significantly increase the workbook size and affect performance.
Resizing and Moving Images

Once your image is in Excel, you might want to:
- Resize: Click on the image and use the white square handles to adjust the image size.
- Move: Click and drag the image to any part of the sheet where you need it to be.
- Align: Right-click on the image, choose Size and Properties, and then use the Alignment options to position it perfectly.
Linking Pictures to Cells

For more dynamic control:
- Right-click on the image and select Format Picture.
- In the Format Picture pane, navigate to the Size & Properties tab.
- Check the option Move and size with cells to lock the image to the cell grid. This means your image will move and resize as you manipulate your data cells.

💡 Note: Using 'Move and size with cells' can be useful when creating a dynamic layout where data and images are frequently updated.
Using Images in Formulas

Excel offers advanced features like using pictures in formulas. Here’s how:
- NAMED RANGE: Define a named range for a picture. Select the image, go to Name Box, and give it a name (e.g., ‘ProductImage’).
- FORMULA: Use the formula like
=GET.PICTURE(‘ProductImage’)in a cell to display the picture there dynamically. This feature requires VBA or a third-party add-in.
Creating an Image Lookup Table

Sometimes, you might need to create an inventory or catalog where images need to be dynamically pulled based on a lookup. Here’s how to do it:
| Product Code | Product Name | Image |
|---|---|---|
| ABC123 | Blue Widget |  |
| XYZ456 | Red Widget |  |

To use this table:
- Use VLOOKUP or INDEX-MATCH functions to pull the image dynamically into another cell based on product code or name.
💡 Note: The lookup function for images requires the image to be in a separate cell or a named range for the formula to reference.
In this in-depth exploration of embedding images into Excel, we’ve covered the fundamentals and advanced techniques for enriching your data presentation. Whether you’re looking to add visual appeal, provide context, or create dynamic data displays, these methods will help elevate your Excel workbooks. By embedding pictures, you can make your spreadsheets more informative and visually appealing, aiding in better understanding and retention of the information presented. Remember to manage file sizes, use linking features, and explore Excel’s advanced functionalities to fully leverage the power of data visualization through images.
Can I embed multiple pictures in one Excel cell?

+
Technically, you can’t insert multiple images into a single cell. However, you can place images on top of each other, adjusting their transparency or arranging them with care to create the illusion of several pictures in one cell.
What are the file size implications when embedding pictures in Excel?

+
Each embedded picture increases the file size of your workbook. To mitigate this, use compressed images or use references to external images instead of embedding them directly.
How can I align multiple pictures in Excel?

+
Select multiple images by holding Ctrl or Shift and clicking on each one. Then, use the alignment tools under the Format tab to align them. You can also use Excel’s Smart Guides for better visual alignment.


