Delete Excel Column Items Easily: A Quick Guide

Excel spreadsheets can often become cluttered with unnecessary data, making it hard to focus on the important information. Whether it's for cleaning up data, streamlining a project, or organizing records, knowing how to swiftly remove columns in Excel is essential for efficient spreadsheet management. This guide provides straightforward instructions on how to delete columns in Excel, ensuring your spreadsheets remain clear and functional.
Understanding the Excel Interface

Before diving into the deletion process, it’s crucial to familiarize yourself with the Excel interface:
- Ribbon: This is located at the top of Excel, containing various tabs like ‘Home’, ‘Insert’, ‘Page Layout’, etc. Each tab houses related commands.
- Worksheet: Where your data lives. Excel supports multiple sheets within one workbook.
- Rows and Columns: Excel uses a grid system where rows are identified by numbers and columns by letters.
Step-by-Step Guide to Deleting Columns

Selecting a Single Column

To delete a single column in Excel:
- Click on the letter at the top of the column you want to remove. This will select the entire column.
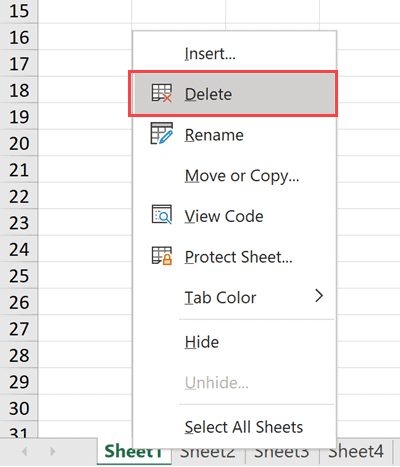
- Right-click on the column header, then choose ‘Delete’ from the context menu.
Deleting Multiple Columns

If you need to remove several columns at once:
- Click and drag to select the column letters for the columns you wish to delete. You can also hold the Ctrl key to select non-adjacent columns.
- Right-click on any of the selected column headers and select ‘Delete’.
Using Keyboard Shortcuts

For a quicker approach, use the following keyboard shortcuts:
- Select a column or multiple columns: Shift + Spacebar.
- Delete selected columns: Ctrl + ‘-’ (minus sign).
Advanced Tips for Column Management

Filtering Data Before Deletion

Use the filter option in Excel to:
- Highlight only the data you want to keep.
- Select the rows containing unnecessary data and delete them instead of columns.
Using Excel Functions to Manage Data

Consider using formulas to manage and organize your data:
- Sort: Sort data to place items in a logical order before deciding what to delete.
- Find and Replace: Use to locate specific entries to be deleted.
Unhide Columns

If you’re not sure if all necessary columns are visible:
- Right-click on a column header, choose ‘Unhide’ to make hidden columns visible.
Troubleshooting Common Issues

Columns Not Deleting

If Excel is not allowing you to delete columns:
- Check for any merged cells or overlapping data that might prevent the deletion.
- Ensure you have the necessary permissions if working in a shared environment.
Data Consistency

Be cautious when deleting data:
- Verify that the columns you intend to delete contain no critical data or are not referenced elsewhere in the workbook.
- Back up your data before making extensive changes.
It's important to keep in mind that deleting columns can impact data integrity, especially if the data is used in formulas or charts. Always consider how the removal will affect the overall functionality of your spreadsheet. Here are some additional notes:
💡 Note: Remember to save your work before performing mass deletions, and consider using the 'Undo' feature if something goes wrong.
Deleting columns in Excel might seem like a simple task, but doing it efficiently and safely requires a basic understanding of Excel's features and functionalities. By following the steps outlined above, you can maintain a well-organized and efficient spreadsheet environment. Whether you're a beginner or an advanced user, these tips will help you manage your data more effectively, ensuring clarity and precision in your work.
Can I recover a deleted column in Excel?

+
If you accidentally delete a column, you can quickly undo the action by pressing Ctrl + Z or by clicking ‘Undo’ from the Quick Access Toolbar.
How can I delete columns without deleting my data?

+
You might want to hide the columns instead of deleting them. Right-click on the column header and choose ‘Hide’.
What happens to the data in formulas when I delete a column?
+Deleting a column can cause issues with formulas that reference cells within that column. They will either break or reference the next column to the right, which might not be your intended behavior.


