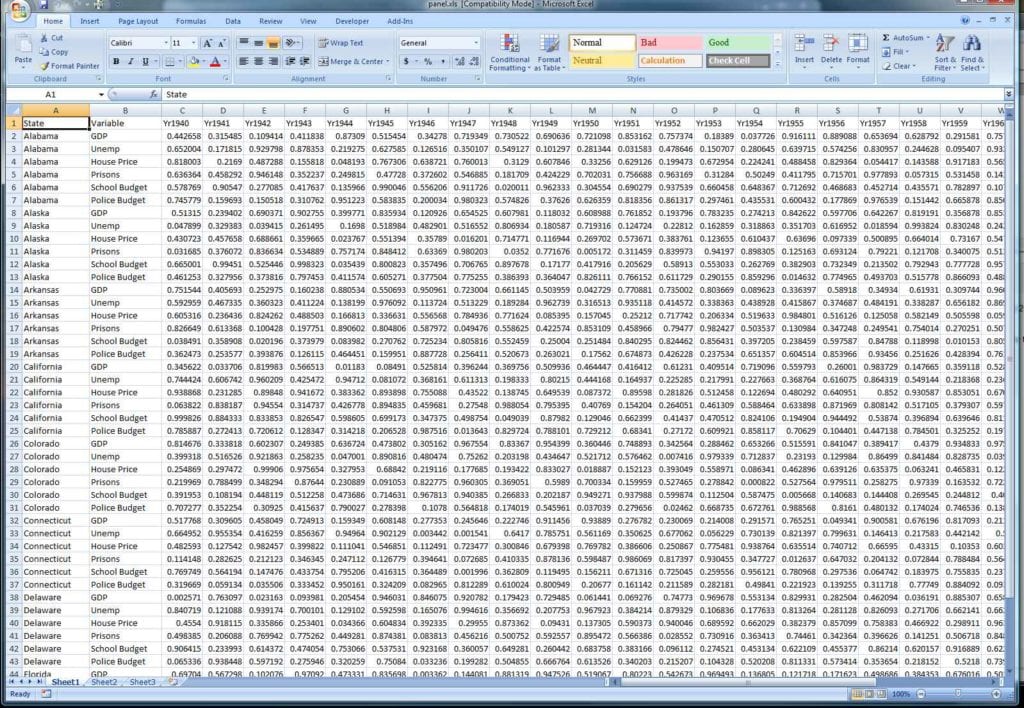
Effortlessly Transform Your Excel Files into Google Sheets

Have you ever found yourself staring at an Excel spreadsheet, wishing there was a way to move it into Google Sheets effortlessly? If so, you're not alone. With businesses increasingly relying on cloud-based solutions for collaboration and productivity, the shift from Microsoft Excel to Google Sheets has become a common transition for many teams. This post aims to guide you through the simplified steps to make this transformation smoothly, enhancing your productivity while leveraging the powerful features Google Sheets offers.
Understanding the Benefits of Google Sheets Over Excel
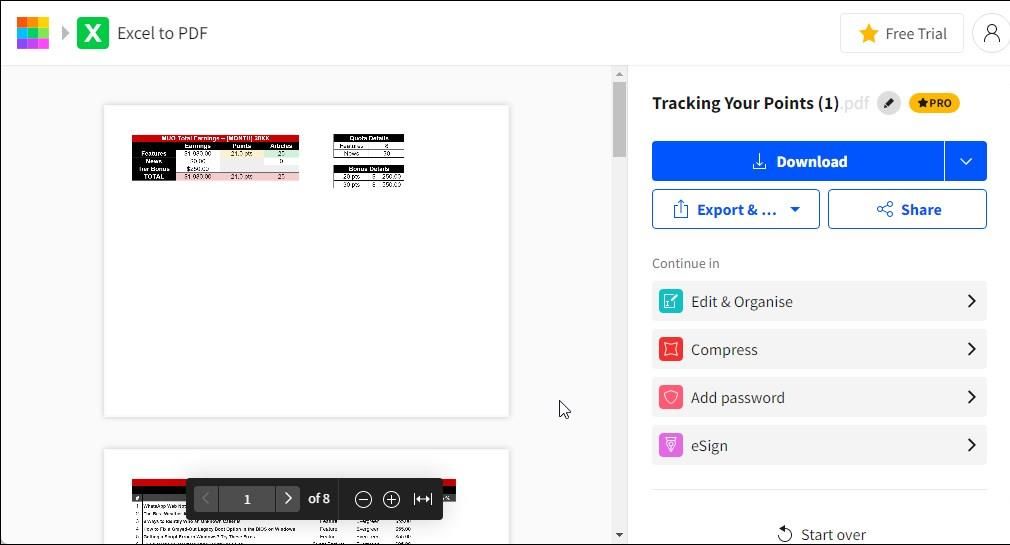
Before diving into the how-to, let’s briefly discuss why you might want to switch from Excel to Google Sheets:
- Real-time Collaboration: Google Sheets allows multiple users to work on the same document simultaneously, with changes syncing in real-time.
- Cloud Storage: No more worries about forgetting your laptop at home; your work is accessible from anywhere with an internet connection.
- Version History: Google Sheets provides a robust version history that lets you see and revert to earlier versions of your document.
- Mobile Accessibility: With Google Sheets, you can access and edit your spreadsheets on mobile devices seamlessly.
- Automatic Updates: Google automatically updates the software, ensuring you’re always using the latest features without any action on your part.
Step-by-Step Guide to Convert Excel to Google Sheets
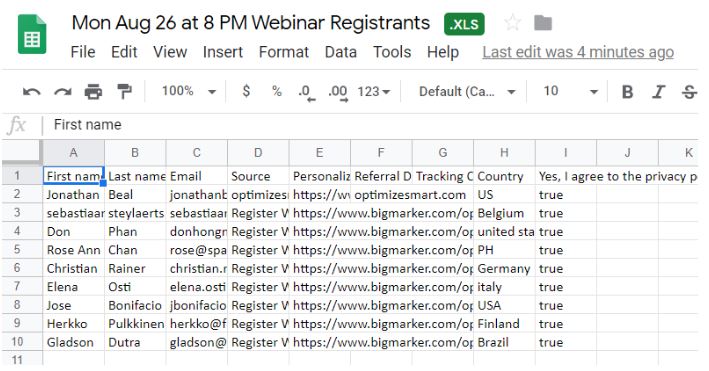
Converting Excel files to Google Sheets can be straightforward if you follow these steps:
1. Preparation

Before you begin the conversion process, ensure:
- Your Excel file is free from any confidential or sensitive data or saved in a secure environment.
- The Excel version you’re using is compatible with Google Sheets (most modern versions are).
- Any Excel formulas or functions should be checked for compatibility, as some might not work identically in Google Sheets.
2. File Upload to Google Drive
Here’s how you can upload your Excel file:
- Go to Google Drive and sign in with your Google account.
- Click on “New” and then “File Upload.”
- Select the Excel file from your computer and upload it.
Alternatively, if your Excel file is on Dropbox, you can link your Dropbox account to Google Drive for a seamless transfer.
3. Conversion to Google Sheets

Once your Excel file is uploaded to Google Drive:
- Find your file in Google Drive.
- Right-click on the file to open the context menu.
- Select “Open with” and choose “Google Sheets.”
- Google Drive will automatically convert your Excel file to Google Sheets. This process might take a moment, depending on the file size and complexity.
👉 Note: [📝] Note: If you’re using an older version of Excel or have many custom functions, some formulas might not convert perfectly. Review the new Google Sheets file for accuracy.
4. Review and Adjust

After conversion:
- Check all data for correct import and format integrity.
- Review formulas and functions for compatibility issues.
- Ensure conditional formatting, pivot tables, and charts are correctly translated.
- Make any necessary adjustments or edits.
Advanced Tips for Seamless Conversion
For those dealing with complex Excel spreadsheets or needing to make this process part of your workflow, consider the following:
- Macros and VBA Scripts: Google Sheets uses Google Apps Script, which doesn’t support VBA. You’ll need to rewrite or find alternatives for macros.
- Add-ins and Plugins: Check for Google Sheets equivalents or write custom functions.
- Automate Conversion: Use Google Apps Script to automate the conversion process for recurring files.
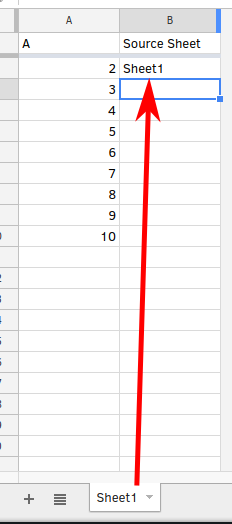
- Merging Data: If you have multiple sheets to merge into one Google Sheet, use the IMPORTRANGE function to pull data from different sheets.
📚 Note: Conversion from Excel to Google Sheets works best when your spreadsheets are relatively simple. Complex spreadsheets might require more manual intervention.
Collaborate with Confidence

Once your spreadsheets are in Google Sheets, you can leverage the full potential of cloud-based collaboration:
- Invite others to edit, comment, or simply view your sheets.
- Utilize comments and suggestions for clearer communication.
- Enable auto-updates for charts and pivot tables to reflect real-time data changes.
- Use Google Sheets’ built-in tools for organizing, scheduling, and project management.
📢 Note: Remember to manage permissions wisely to avoid accidental edits or loss of data confidentiality.
In this wrap-up, we’ve navigated through the various steps to turn your Excel files into Google Sheets, touching on why this transition can boost your team’s productivity and collaboration. From understanding Google Sheets’ advantages to preparing your Excel files for a smooth conversion, we covered the essentials of seamless data transfer. Advanced tips highlighted some considerations for complex spreadsheets. Ultimately, moving to Google Sheets means embracing the power of cloud technology for real-time work, collaborative editing, and automatic updates. We’ve equipped you with the knowledge to switch without losing data integrity or functionality, so you can start working smarter, not harder, today.
How long does it take to convert an Excel file to Google Sheets?

+
It typically takes just a few seconds to a minute, depending on the complexity and size of the Excel file. However, very large or complex files might take longer.
Can I convert all Excel functions to Google Sheets automatically?
+
Most common functions and formulas convert automatically, but some Excel functions don’t have direct Google Sheets equivalents, requiring manual adjustments.
What happens to my macros when I convert an Excel file to Google Sheets?
+
VBA macros don’t transfer. Instead, you’ll need to recreate them in Google Apps Script, which is Google Sheets’ scripting language.
