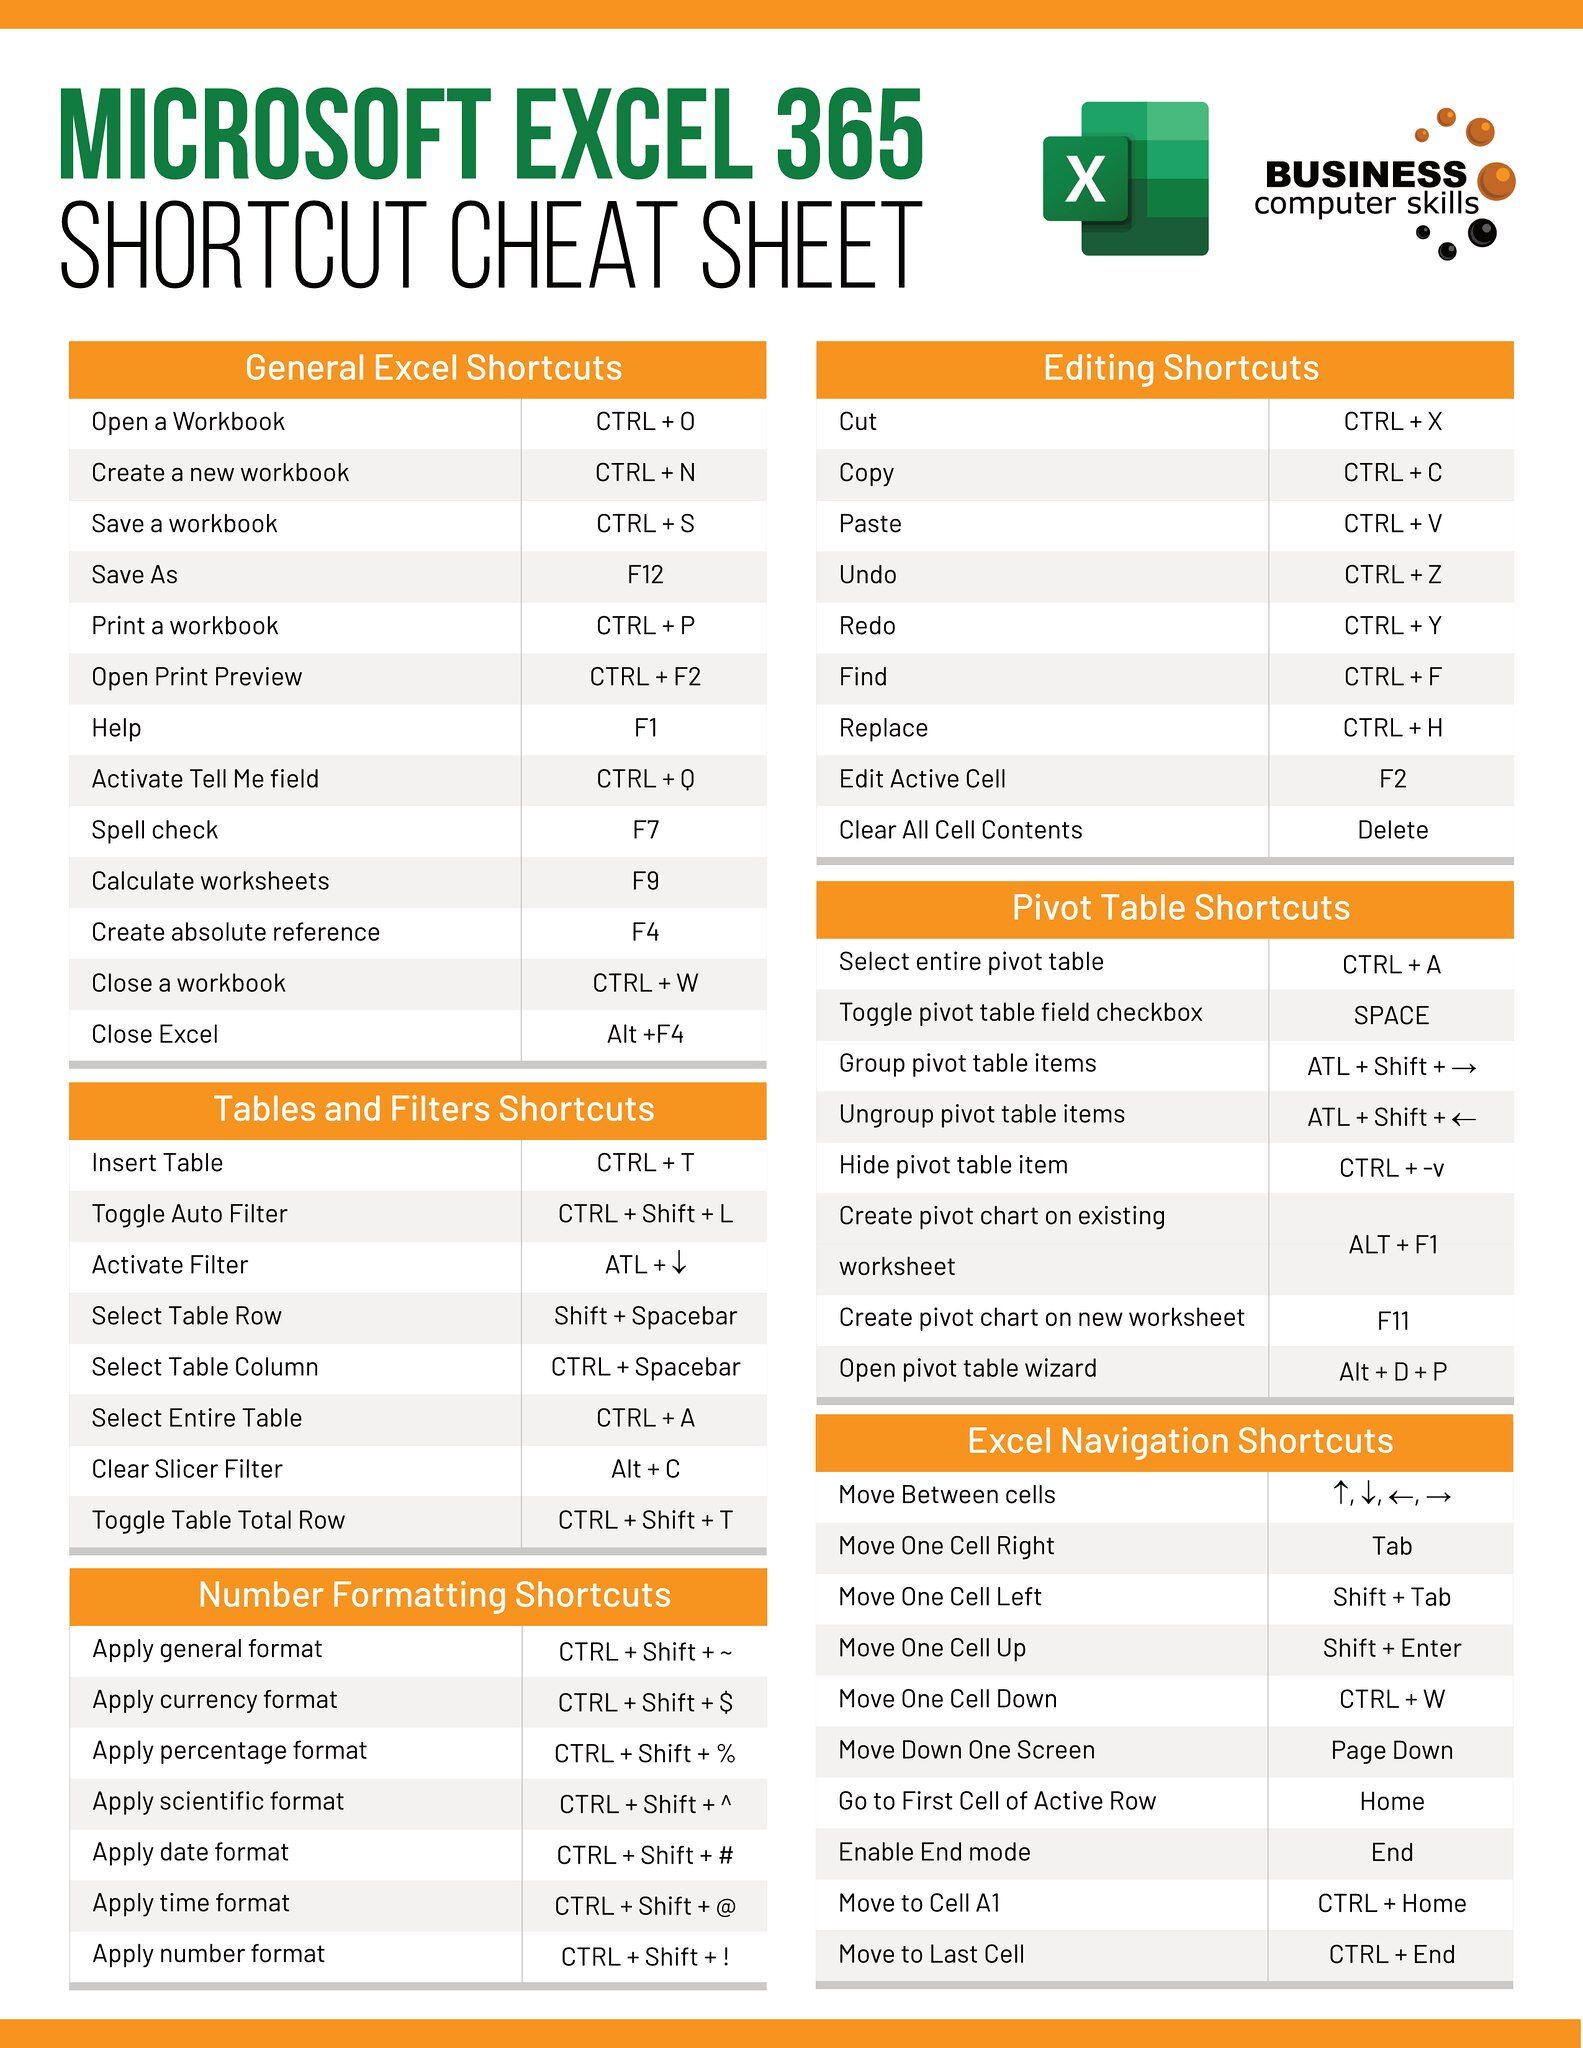
Convert Excel to Word: A Simple Step-by-Step Guide

In the era where digital document management and cross-platform compatibility are crucial, understanding how to convert files between formats like Excel to Word can significantly streamline your workflow. This guide will walk you through an easy, step-by-step process to convert your spreadsheets into formatted Word documents, ensuring you have both versatility and portability in your document management.
Preparation: Getting Your Spreadsheet Ready

Before you begin the conversion process, ensure your Excel spreadsheet is formatted in a way that will translate well into a Word document:
- Check all columns and rows are visible.
- Ensure all data is entered correctly.
- Consider the layout - if your Excel document has charts or images, understand that their placement might not convert perfectly.
Formatting Tips for Conversion:

Here are some formatting steps to prepare your Excel file:
- Freeze Panes: Freeze the first row or column to keep headers visible during conversion.
- Format Cells: Use number formats like currency, percentage, or date to ensure they appear correctly in Word.
- Remove Extra Spaces: Use Excel’s TRIM function to eliminate unnecessary spaces.
- Merge Cells: If your headers span multiple columns, merging cells can help keep the formatting intact.
Step-by-Step Conversion from Excel to Word
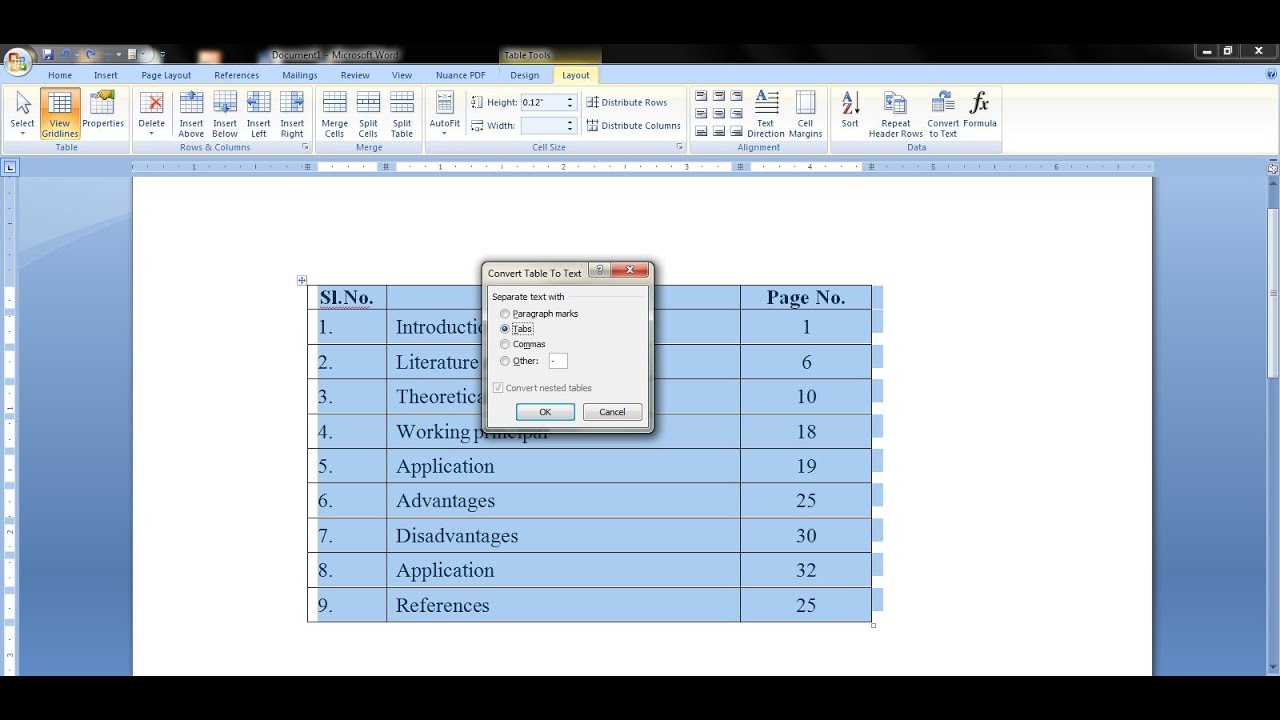
Step 1: Open Excel and Select Data

Open your Excel workbook. Select the range of cells you want to convert or press Ctrl+A to select the entire worksheet.
Step 2: Copy the Selection

Once your selection is highlighted, right-click and choose Copy or use Ctrl+C to copy the data.
Step 3: Open Microsoft Word
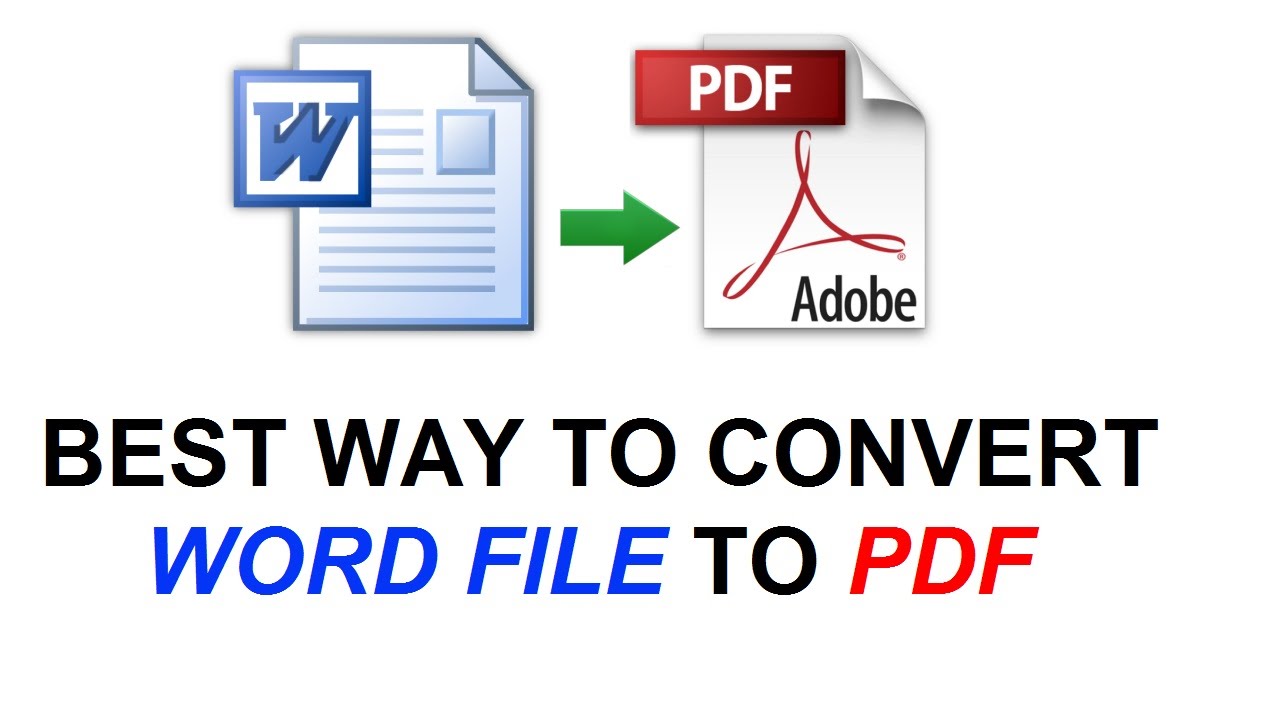
Launch Microsoft Word, or if you prefer, you can use online editors like Google Docs for basic conversions.
Step 4: Paste Special
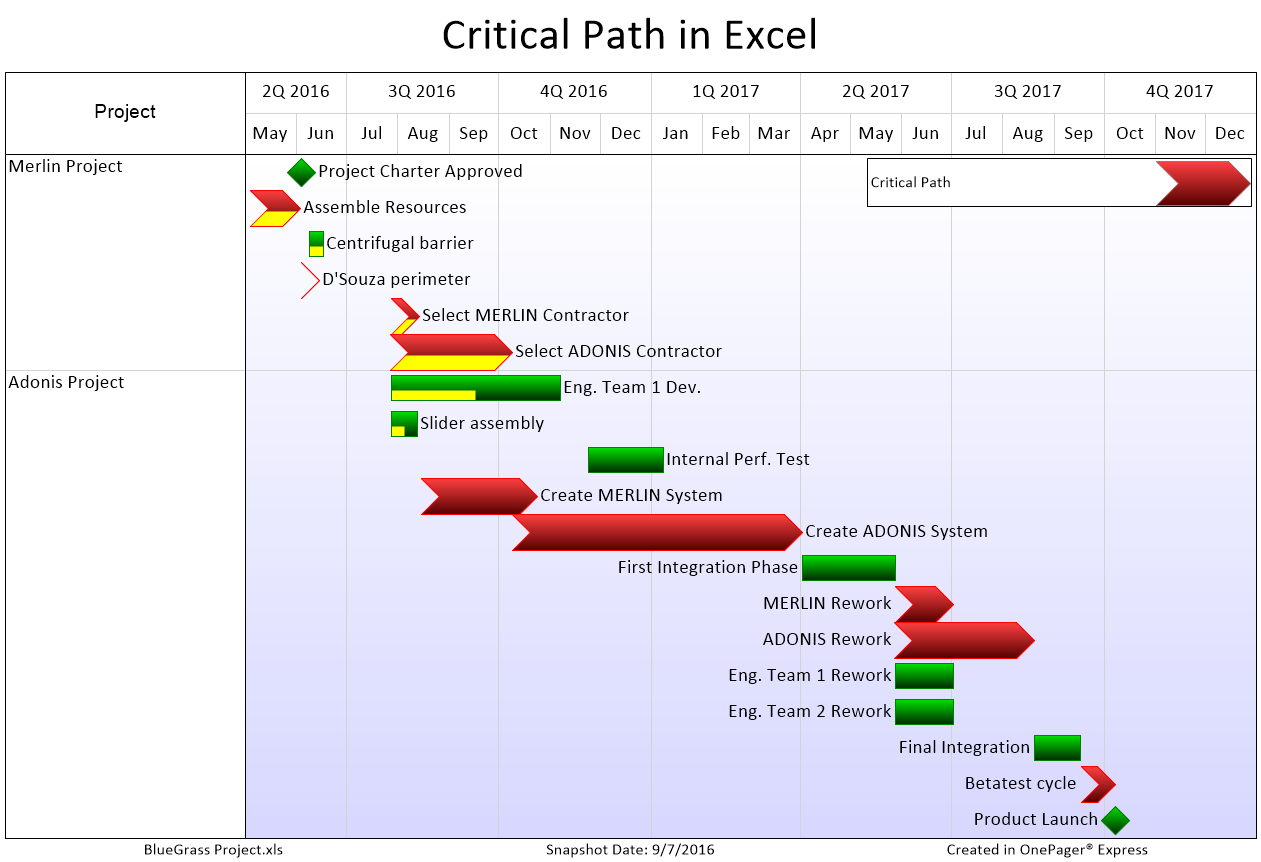
Right-click where you want to insert the Excel data in your Word document, then hover over Paste Options and select Paste Special.
Step 5: Choose Paste Option
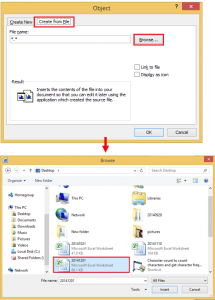
- Select Microsoft Excel Worksheet Object from the list to maintain the original formatting, or,
- Choose HTML Format to embed the data as a table. Here’s a table for clarity:
| Option | Description |
|---|---|
| Excel Worksheet Object | Keeps the link to the original Excel file, enabling updates to be reflected in Word. |
| HTML Format | Copies the data as a static table, but with limited interaction. |

Step 6: Adjust Formatting
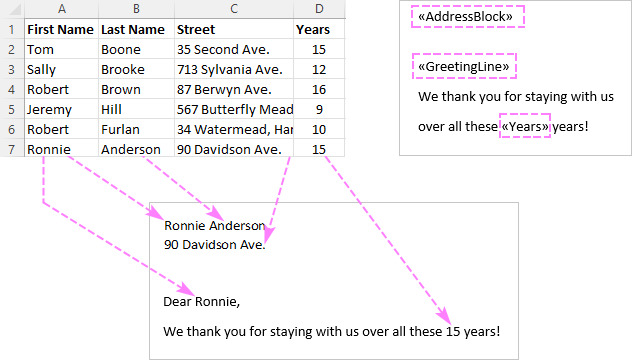
After pasting, you might need to:
- Adjust table properties such as column width or row height.
- Fix any formatting issues that did not translate well (e.g., merged cells might not appear correctly).
Post-Conversion Tips
📝 Note: Conversion might not be 100% perfect, especially with complex formatting or embedded objects. Here are some tips to ensure you get the best results:
- Review for Formatting: Check for any discrepancies in formatting, like cell borders or cell merging.
- Embed or Link: Understand whether you need to embed the Excel data or link it for dynamic updates.
- Manual Adjustments: Some charts or images might need manual adjustments in Word for proper alignment and placement.
By following these steps, you can smoothly convert your Excel spreadsheets to a Word document. This not only makes your data portable but also enhances your ability to share, edit, and present your information in a way that suits various document needs.
Why should I convert Excel to Word?
+
Excel to Word conversion allows for better document sharing and editing. Word documents are more versatile for general use, and they can include narrative text alongside your data tables or charts.
Can I link Excel data to Word so that changes reflect in Word?

+
Yes, if you choose the "Microsoft Excel Worksheet Object" paste option, changes in the Excel file can be reflected in the linked table in Word.
What are the limitations of this conversion?

+
The conversion might not perfectly replicate complex Excel functionalities like macros, dynamic charts, or pivot tables. Additionally, some formatting details might need manual correction in Word.
Converting from Excel to Word can greatly enhance document flexibility, making it easier to share, present, and edit data. By following this guide, you can ensure that your spreadsheets are converted efficiently, with minimal loss of formatting or functionality, empowering you to manage your data effectively across various platforms.

