5 Ways to Change Date Format in Excel Easily

Introduction to Changing Date Formats in Excel

When dealing with data management, Excel often stands out as the go-to software due to its versatility and ease of use. One of the common tasks when working with Excel spreadsheets is adjusting the date format to meet your specific needs, whether for presenting data, reporting, or simply for better readability. Here, we’ll dive into five straightforward ways to change date formats in Excel, enhancing both the functionality and the presentation of your data.
1. Using the Format Cells Dialog

To change the date format using the Format Cells dialog:
- Select the cells containing the dates you wish to format.
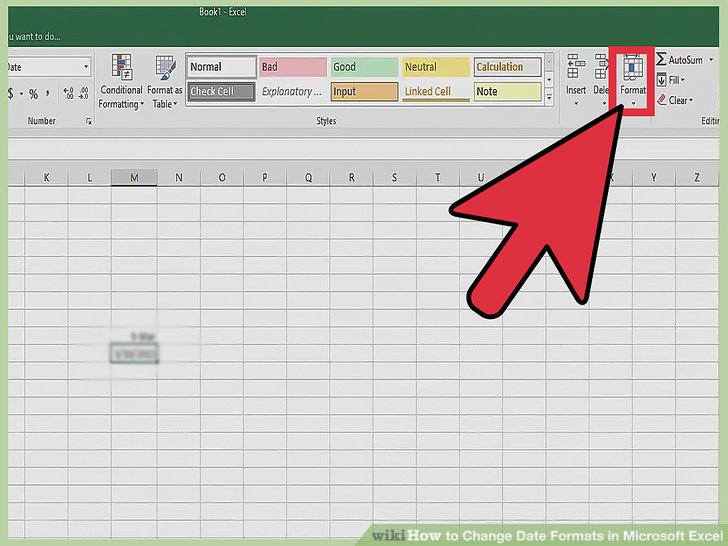
- Right-click and choose ‘Format Cells’ from the context menu or press Ctrl + 1 to open the Format Cells dialog.
- Navigate to the ‘Number’ tab.
- Choose ‘Date’ from the Category list, then select your desired date format from the ‘Type’ section.
- Click ‘OK’ to apply the new format.
2. Applying Custom Date Formats

If the preset date formats don’t meet your requirements:
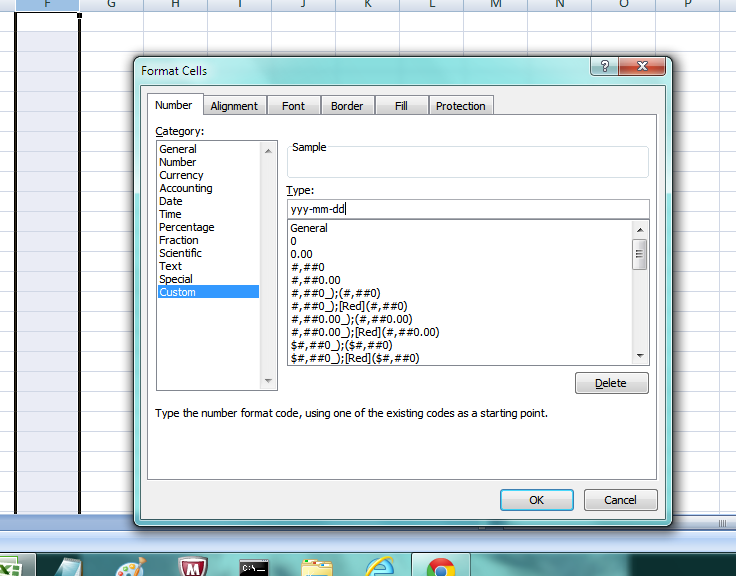
- After opening the Format Cells dialog as described above, under the ‘Type’ list, scroll down to ‘Custom’.
- Here, you can create your own format by typing in any date code or symbols:
- M for months (1-12), MM for double digit months (01-12)
- D for days (1-31), DD for double digit days (01-31)
- YY for two-digit years, YYYY for four-digit years
- Using slashes (/), dashes (-), or dots (.) for separators
- Text can be added too, like “th” for ordinal date formats
- Once you’ve entered your custom format, click ‘OK’.
💡 Note: Custom formats don't change the actual date value in Excel, just its display.
3. Using Excel’s TEXT Function

Excel’s TEXT function can convert dates into text with a custom format:
- Select an empty cell where you want the formatted date to appear.
- Enter the following formula:
=TEXT(A1, "DD-MMM-YYYY")where A1 is the cell containing the date. - Press Enter to display the formatted date.
4. Bulk Date Format Conversion

For changing date formats across a large dataset:
- Select the range or entire column containing the dates.
- Use the Format Cells method or TEXT function, but apply it across the whole selection.
- Alternatively, you can use a formula like
=TEXT(A1, "DD/MM/YYYY")in an adjacent column and then copy the formatted results back to the original column.
🔗 Note: Be cautious when pasting back formatted dates; Excel may interpret text as dates, leading to unintended format changes.
5. VBA Macros for Advanced Users

For users comfortable with VBA (Visual Basic for Applications):
- Press Alt + F11 to open the VBA editor.
- Go to ‘Insert’ > ‘Module’ to add a new module.
- Write a subroutine like this:
Sub ChangeDateFormats()
    Dim cell As Range
    For Each cell In Selection
        If IsDate(cell.Value) Then
            cell.NumberFormat = “dd/mm/yyyy”
        End If
    Next cell
End Sub
In the wrap-up, changing date formats in Excel can significantly enhance your data management capabilities. Whether you're dealing with daily entries or large databases, having control over how dates are displayed can make your work more intuitive, less error-prone, and more visually appealing. By mastering these five techniques, you'll be well-equipped to handle any date-related tasks efficiently, ensuring your spreadsheets are not only functional but also professional in appearance.
What is the difference between format cells and TEXT function in Excel?

+
The Format Cells dialog changes the display of dates while retaining them as date values. The TEXT function, however, converts dates into text strings, which means you can’t perform date-specific calculations on those values afterwards.
Why are my dates not formatting correctly in Excel?

+
Your dates might not format correctly if they are entered in an unrecognized format, or if Excel interprets them as text due to leading apostrophes, spaces, or if they’re already in a TEXT format.
Can I revert a date formatted using TEXT function back to a date?

+
Once a date is converted to text, it loses its date functionality. To revert it, you can use the DATEVALUE function or re-enter the date manually to recognize it as a date again.


